The Best Chocolate Cake Recipe
This recipe is a very special one to me. It’s the first that I ever attempted on my own over ten years ago, sparking my long term love for baking. I remember initially dragging my heels to the Dundee Flower and Food Show with my mum, but returning inspired by the Queen of Cakes herself, Mary Berry, who was performing her own live demonstrations and meeting fans.
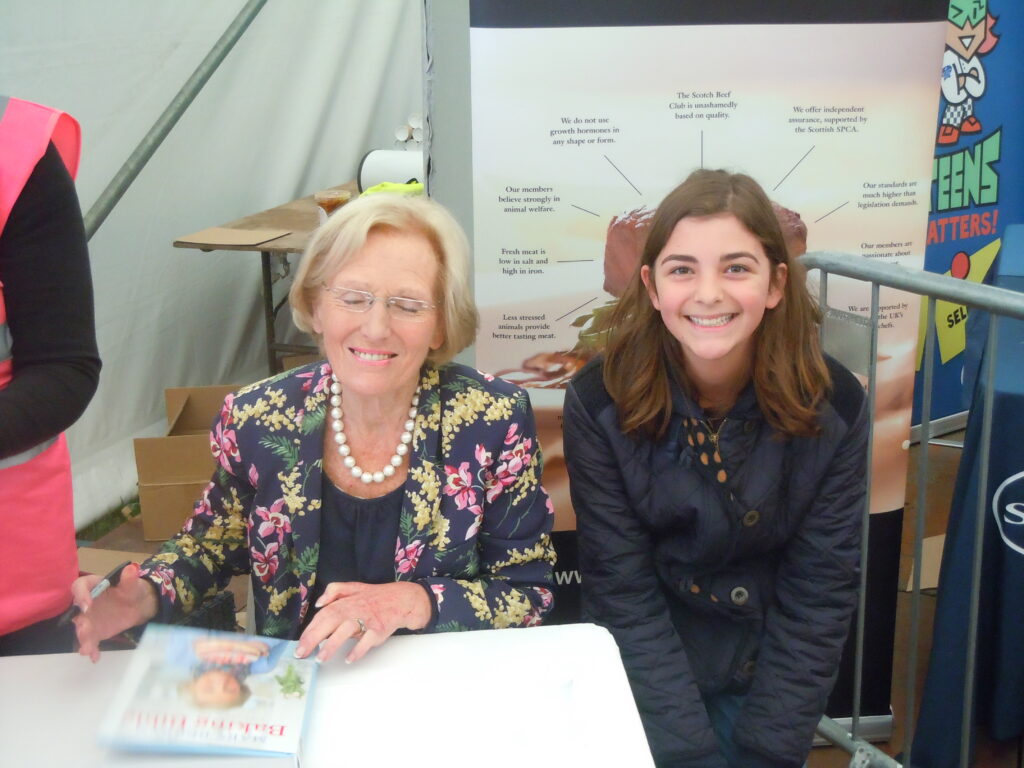
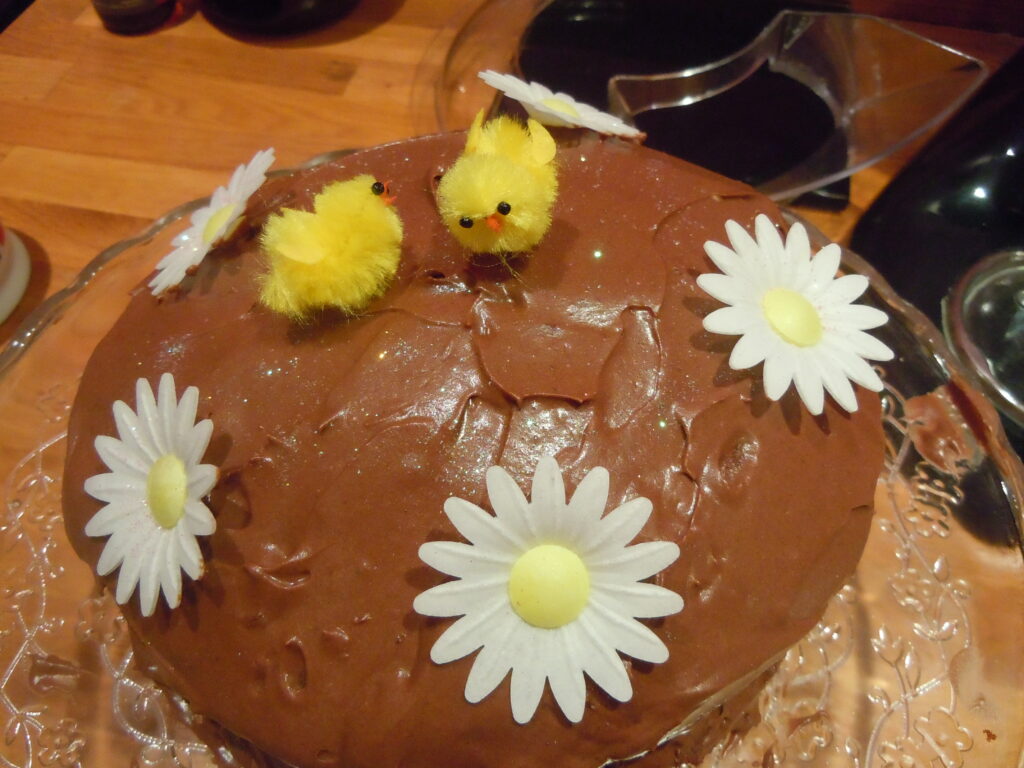
With a newly signed copy of her Baking Bible in hand, it was the ‘Death by Chocolate Cake’ which I was immediately drawn to, trying it as soon as I arrived home. It quickly became a family favourite for birthdays and all other occasions in between, evidenced by the recipe page which is in a bit of a sorry state now – covered in splatters from continuous use – but is a testament to Mary Berry’s simple, yet effective methods. If you don’t already have a copy of this book as a point of reference in your cupboard, I urge you to change that, as Mary’s recipes are unparalleled for their ease and accessibility.
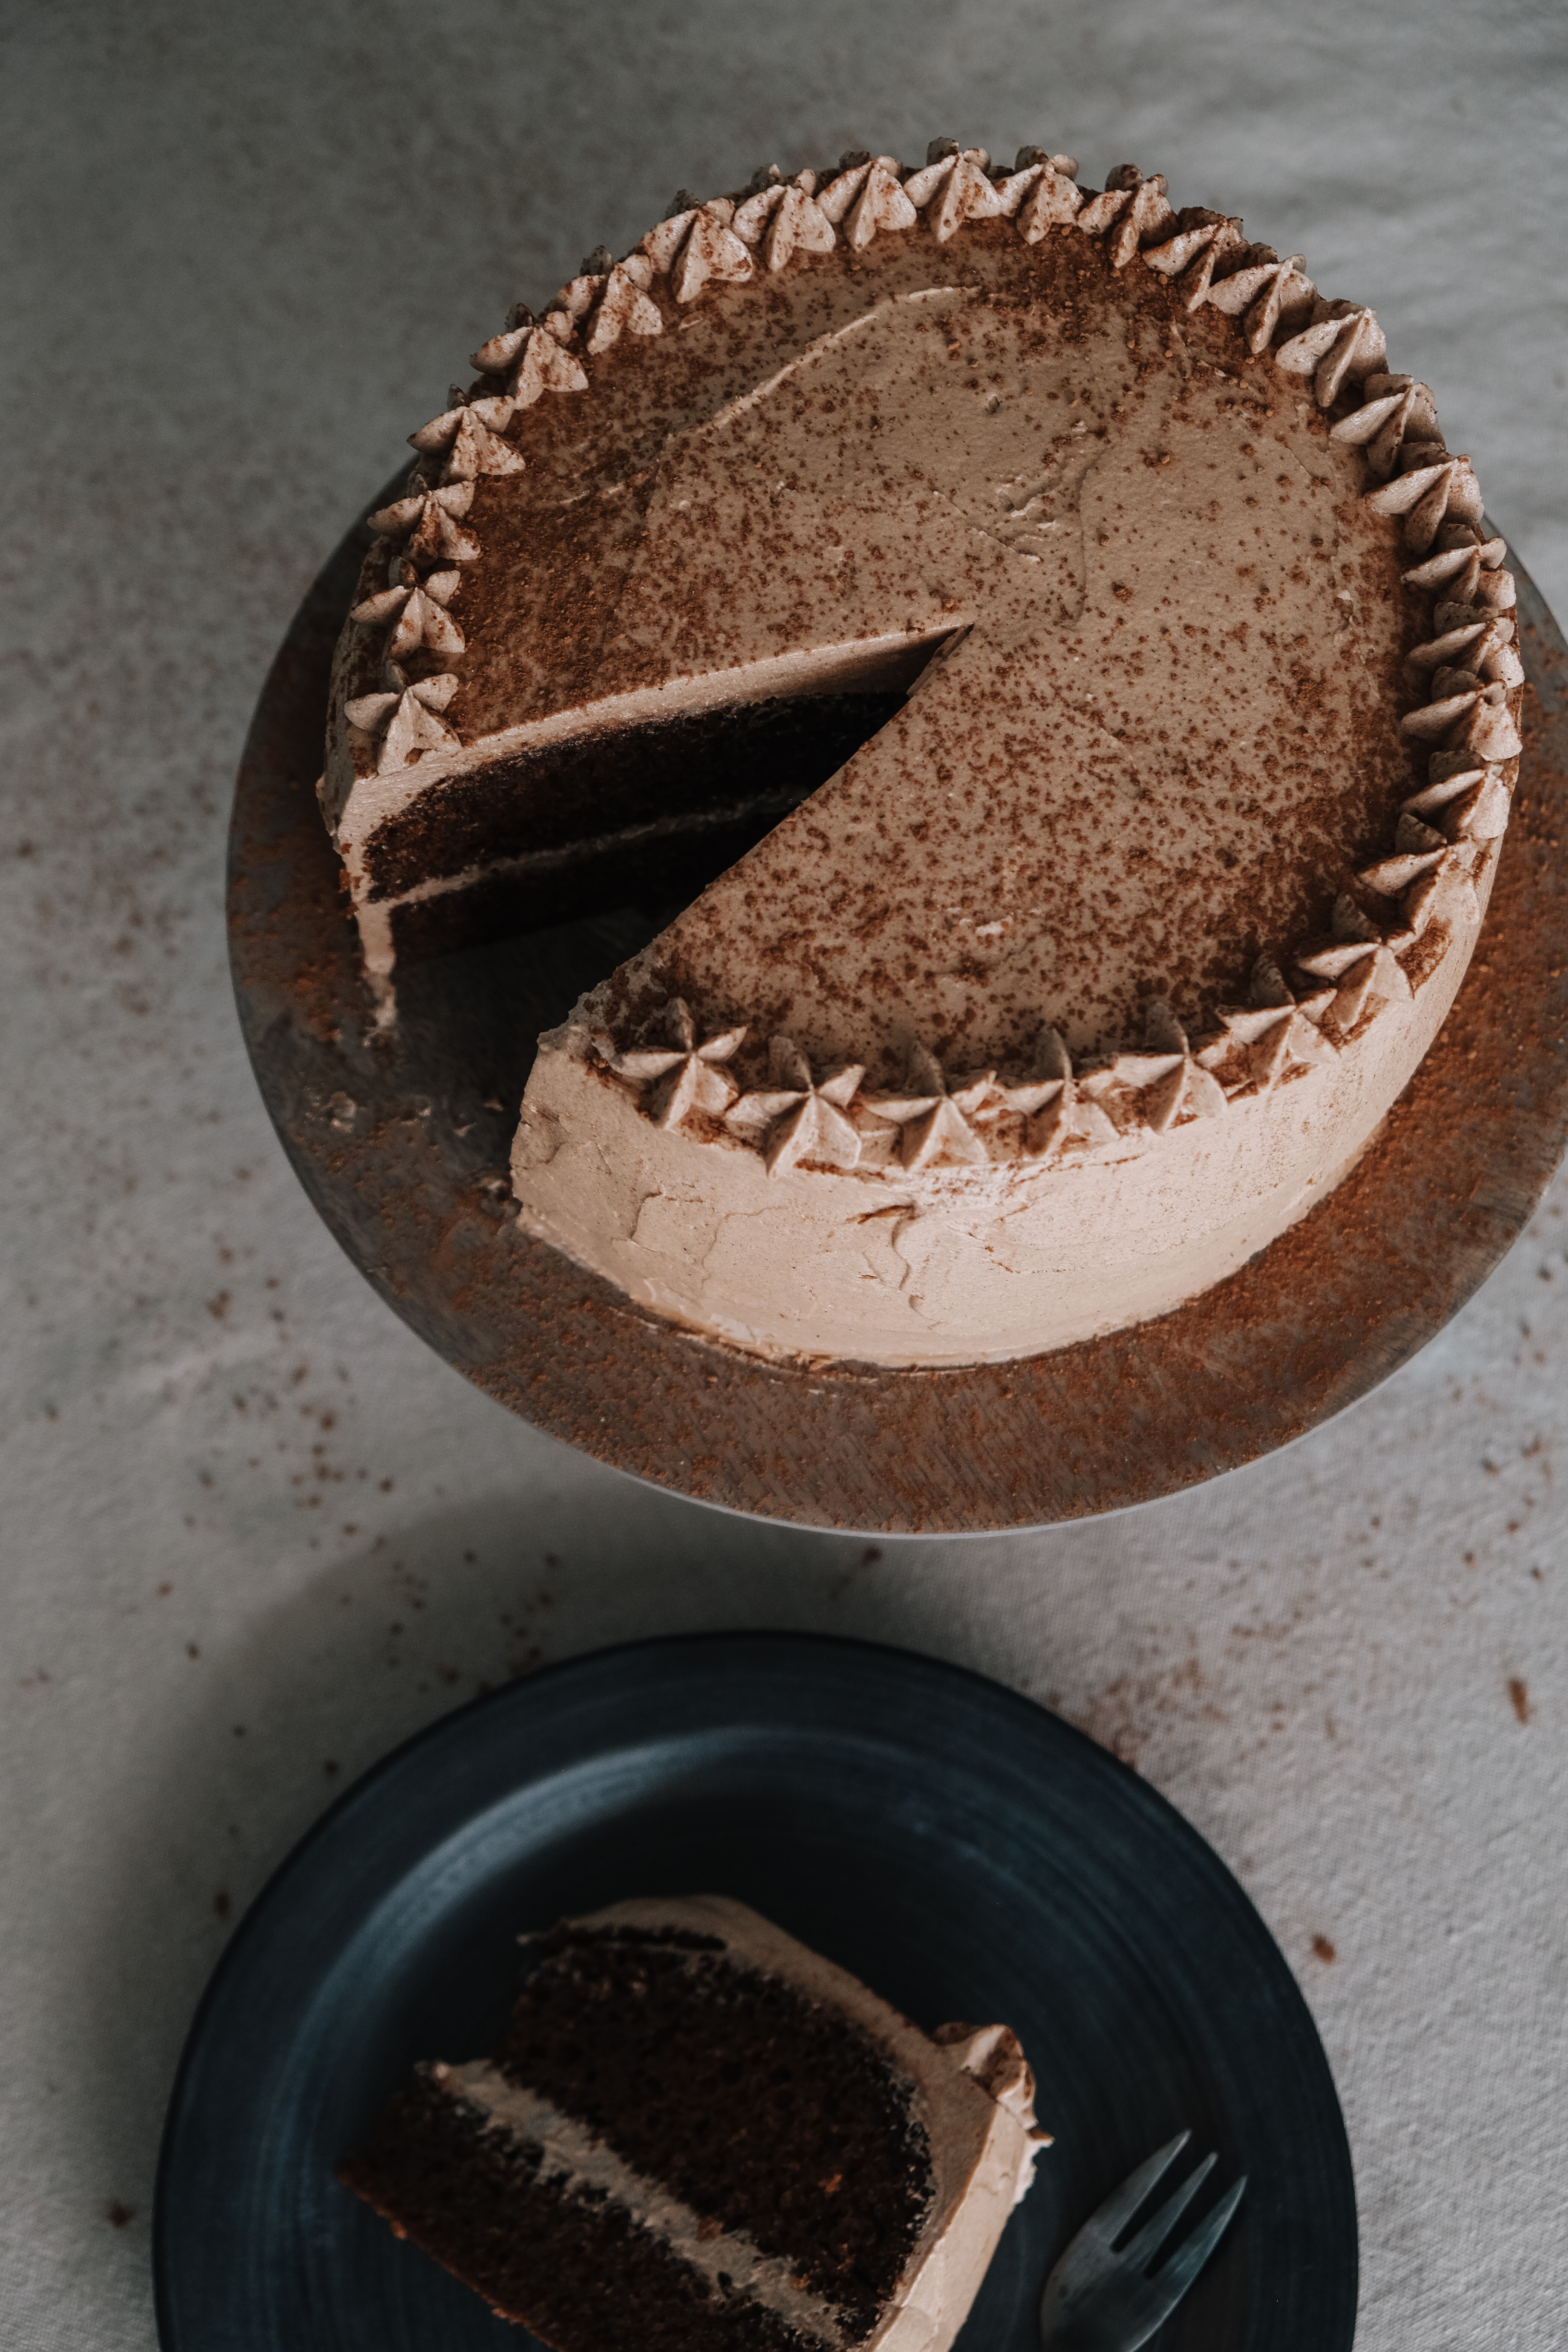
Flash forward ten years, I have adapted this recipe slightly, as I have acquired more experience and confidence as a home baker. For my classic chocolate cake, I closely follow Mary’s original recipe, but bake the mixture in one tin, instead of two, as I find it holds moisture much better. I also omit the ganache for a buttercream which is loosely based on her methods, but with some quantity changes. She introduced to me the technique of combining cocoa powder and hot water as a base for the buttercream, instead of chocolate, and it is one which I have never deviated from, as it is also a much cheaper method, with equally excellent results.
TIPS + TRICKS
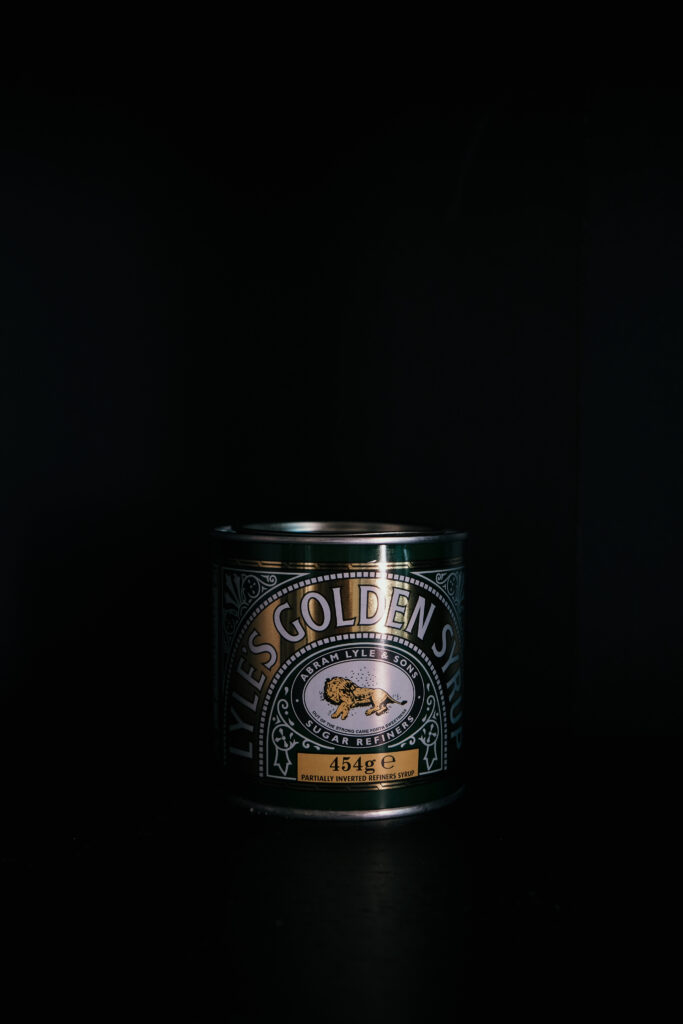
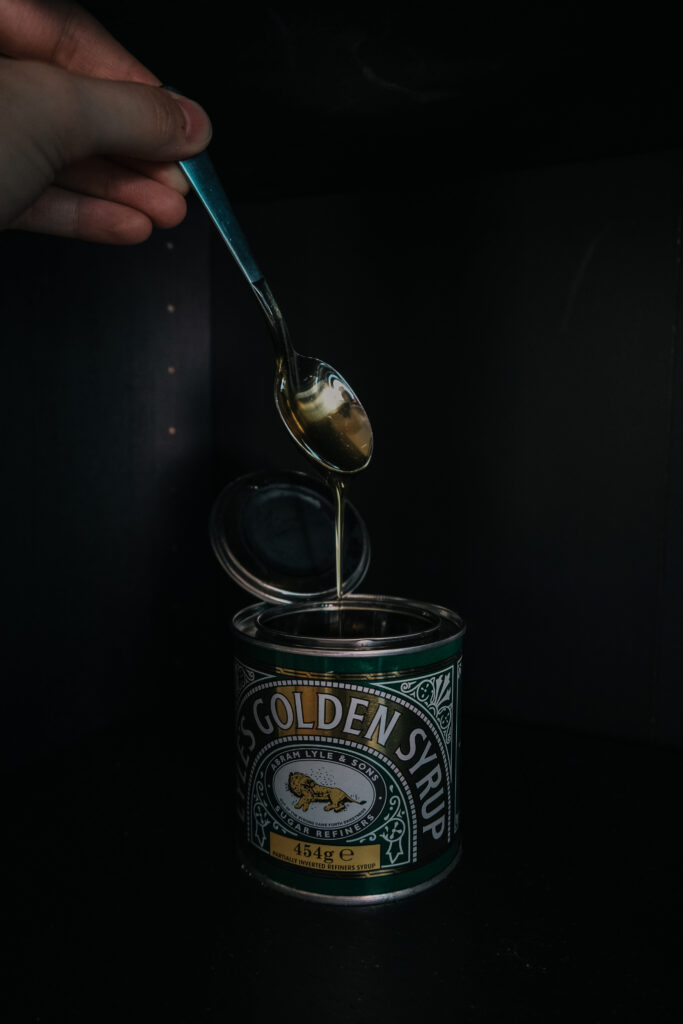
Why use golden syrup?
Golden syrup has such a distinct taste, which is why I can’t imagine substituting with any other alternative. If you can’t find it, I’m sure honey or molasses would also work, but it is golden syrup which truly elevates the taste of this cake.
How long should I bake the cake?
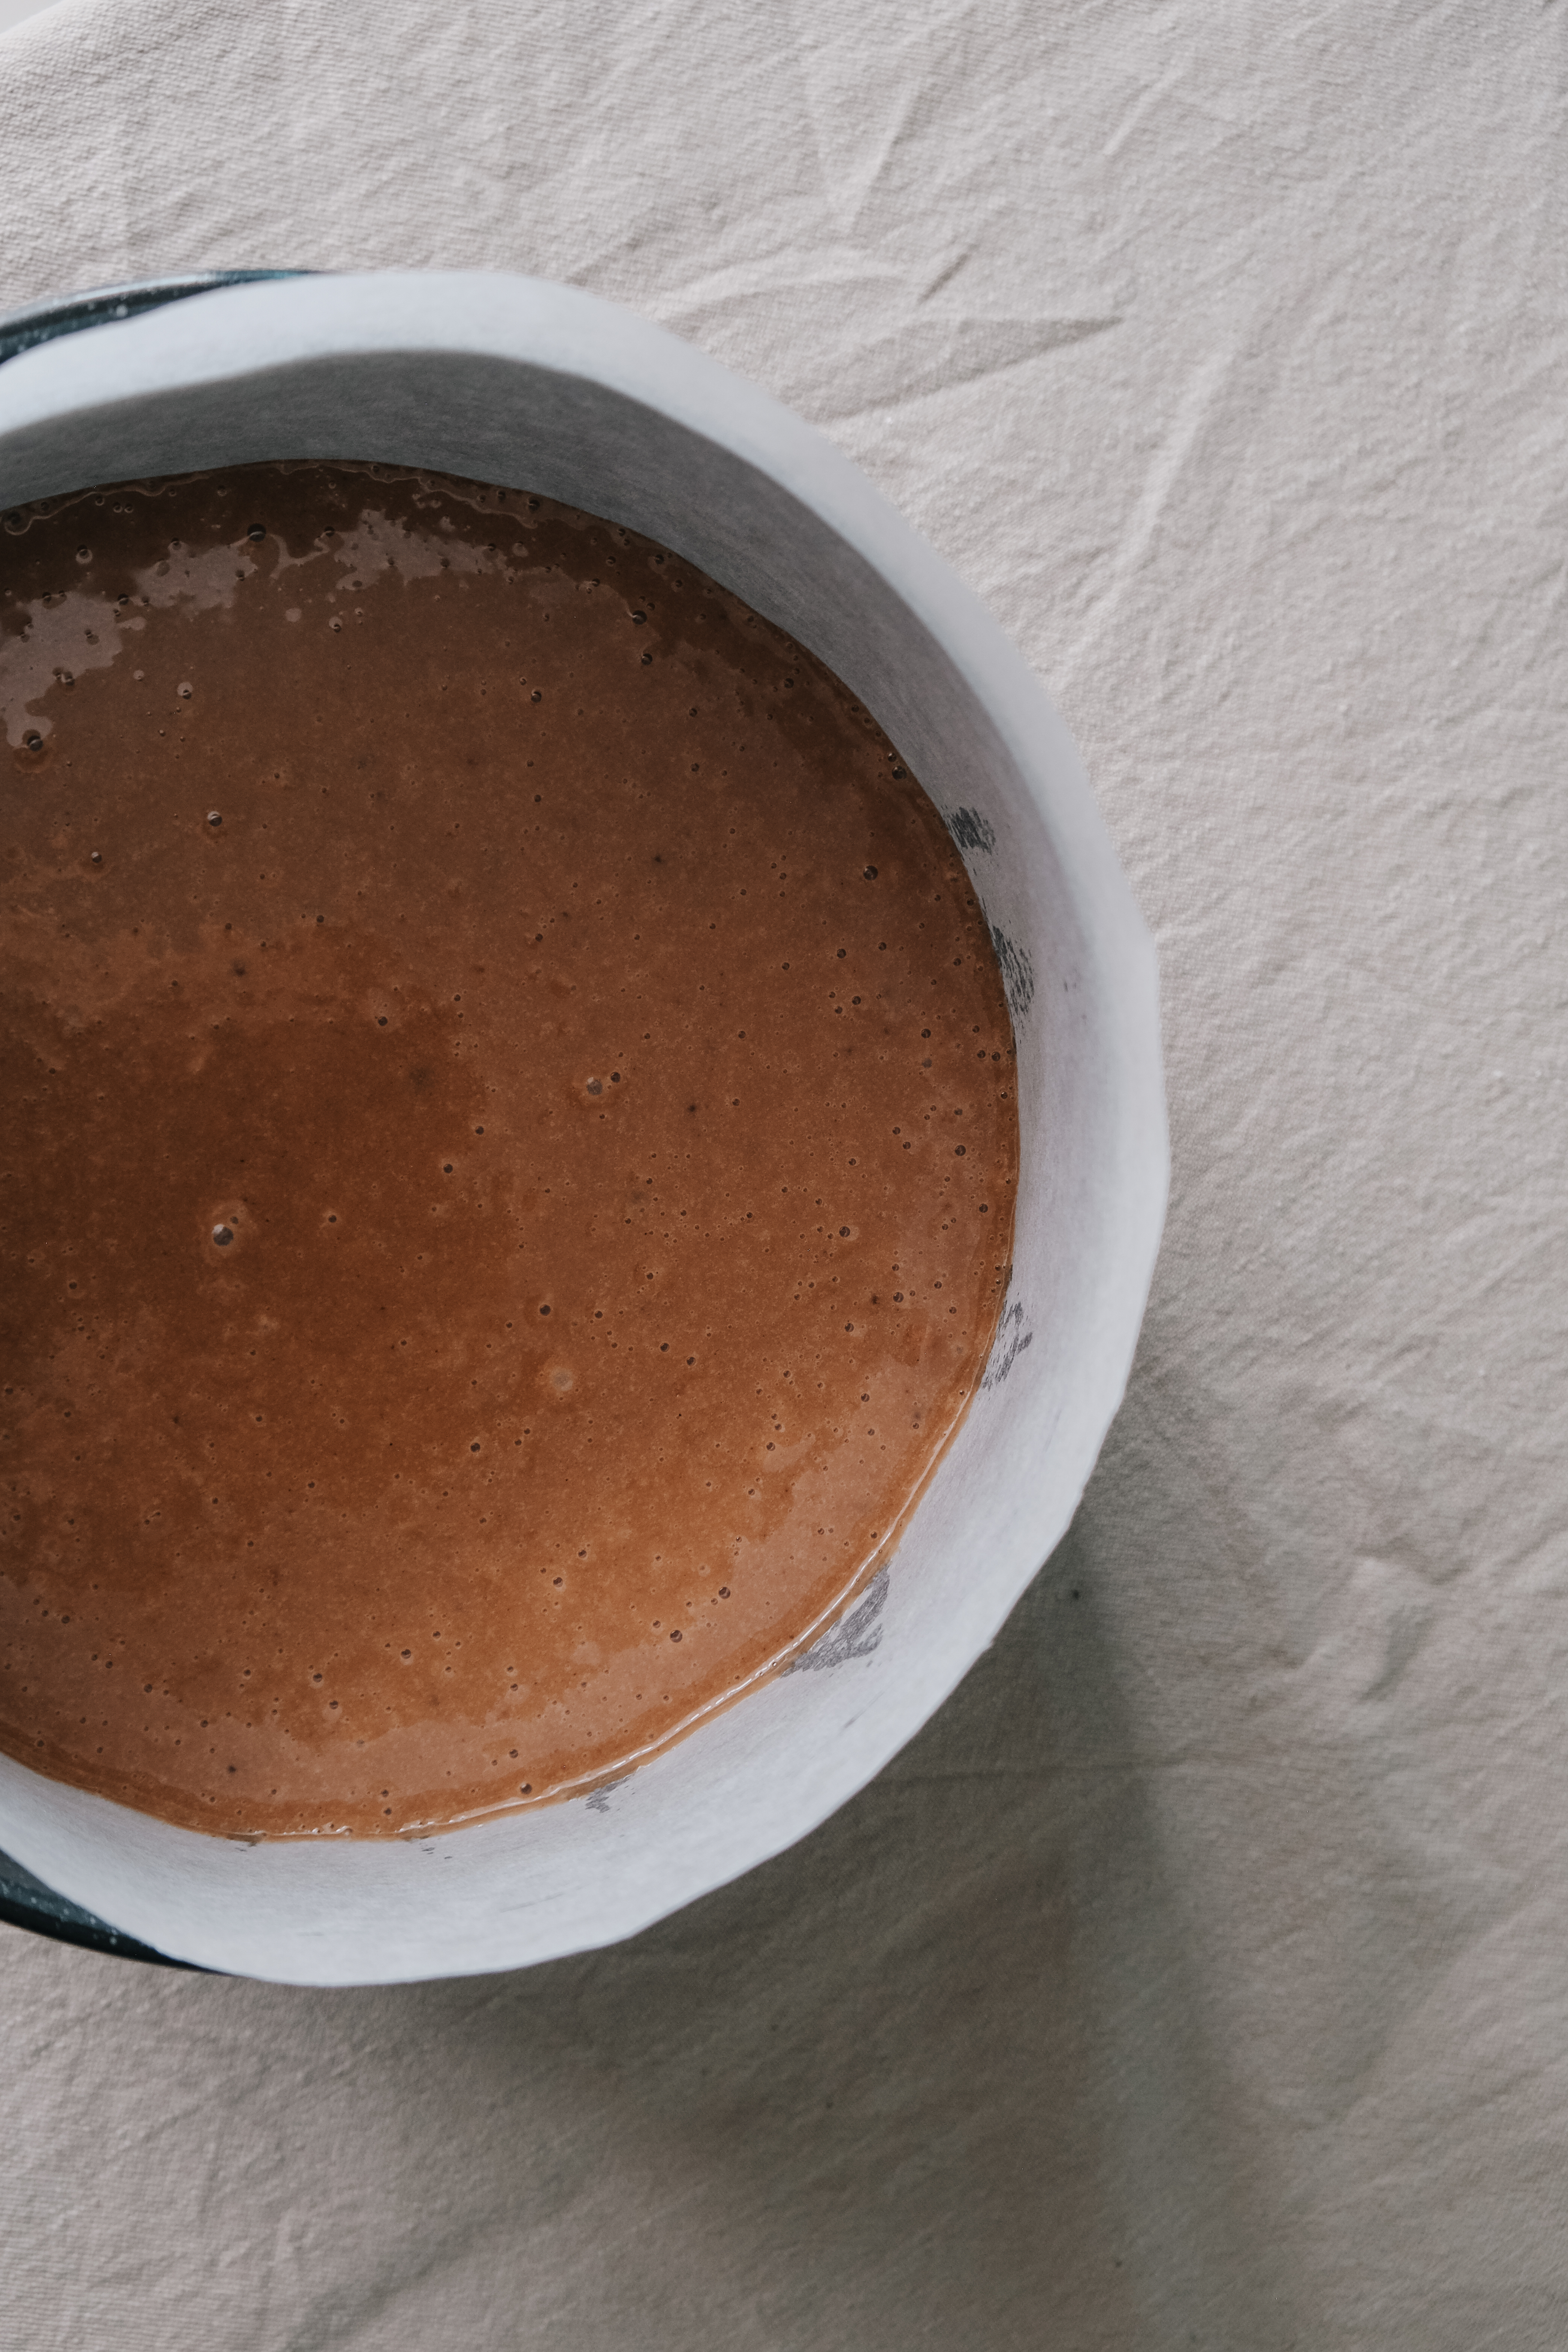
Mary advises you to cook the cake in two tins, but I’ve found that the cake tends to dry out quicker. I have, therefore, always baked the cake in one deep, 20cm tin, but it takes longer to cook and requires a watchful eye. Bake for around 45 minutes and then take a peek inside the oven. The cake should have a crust on top – if it’s catching, quickly cover it in a bit of tin foil. Bake for a further 20 minutes or until a skewer inserted comes out clean. It’s best to look through the oven window to gauge the timing – opening the oven too regularly will disrupt the rise.
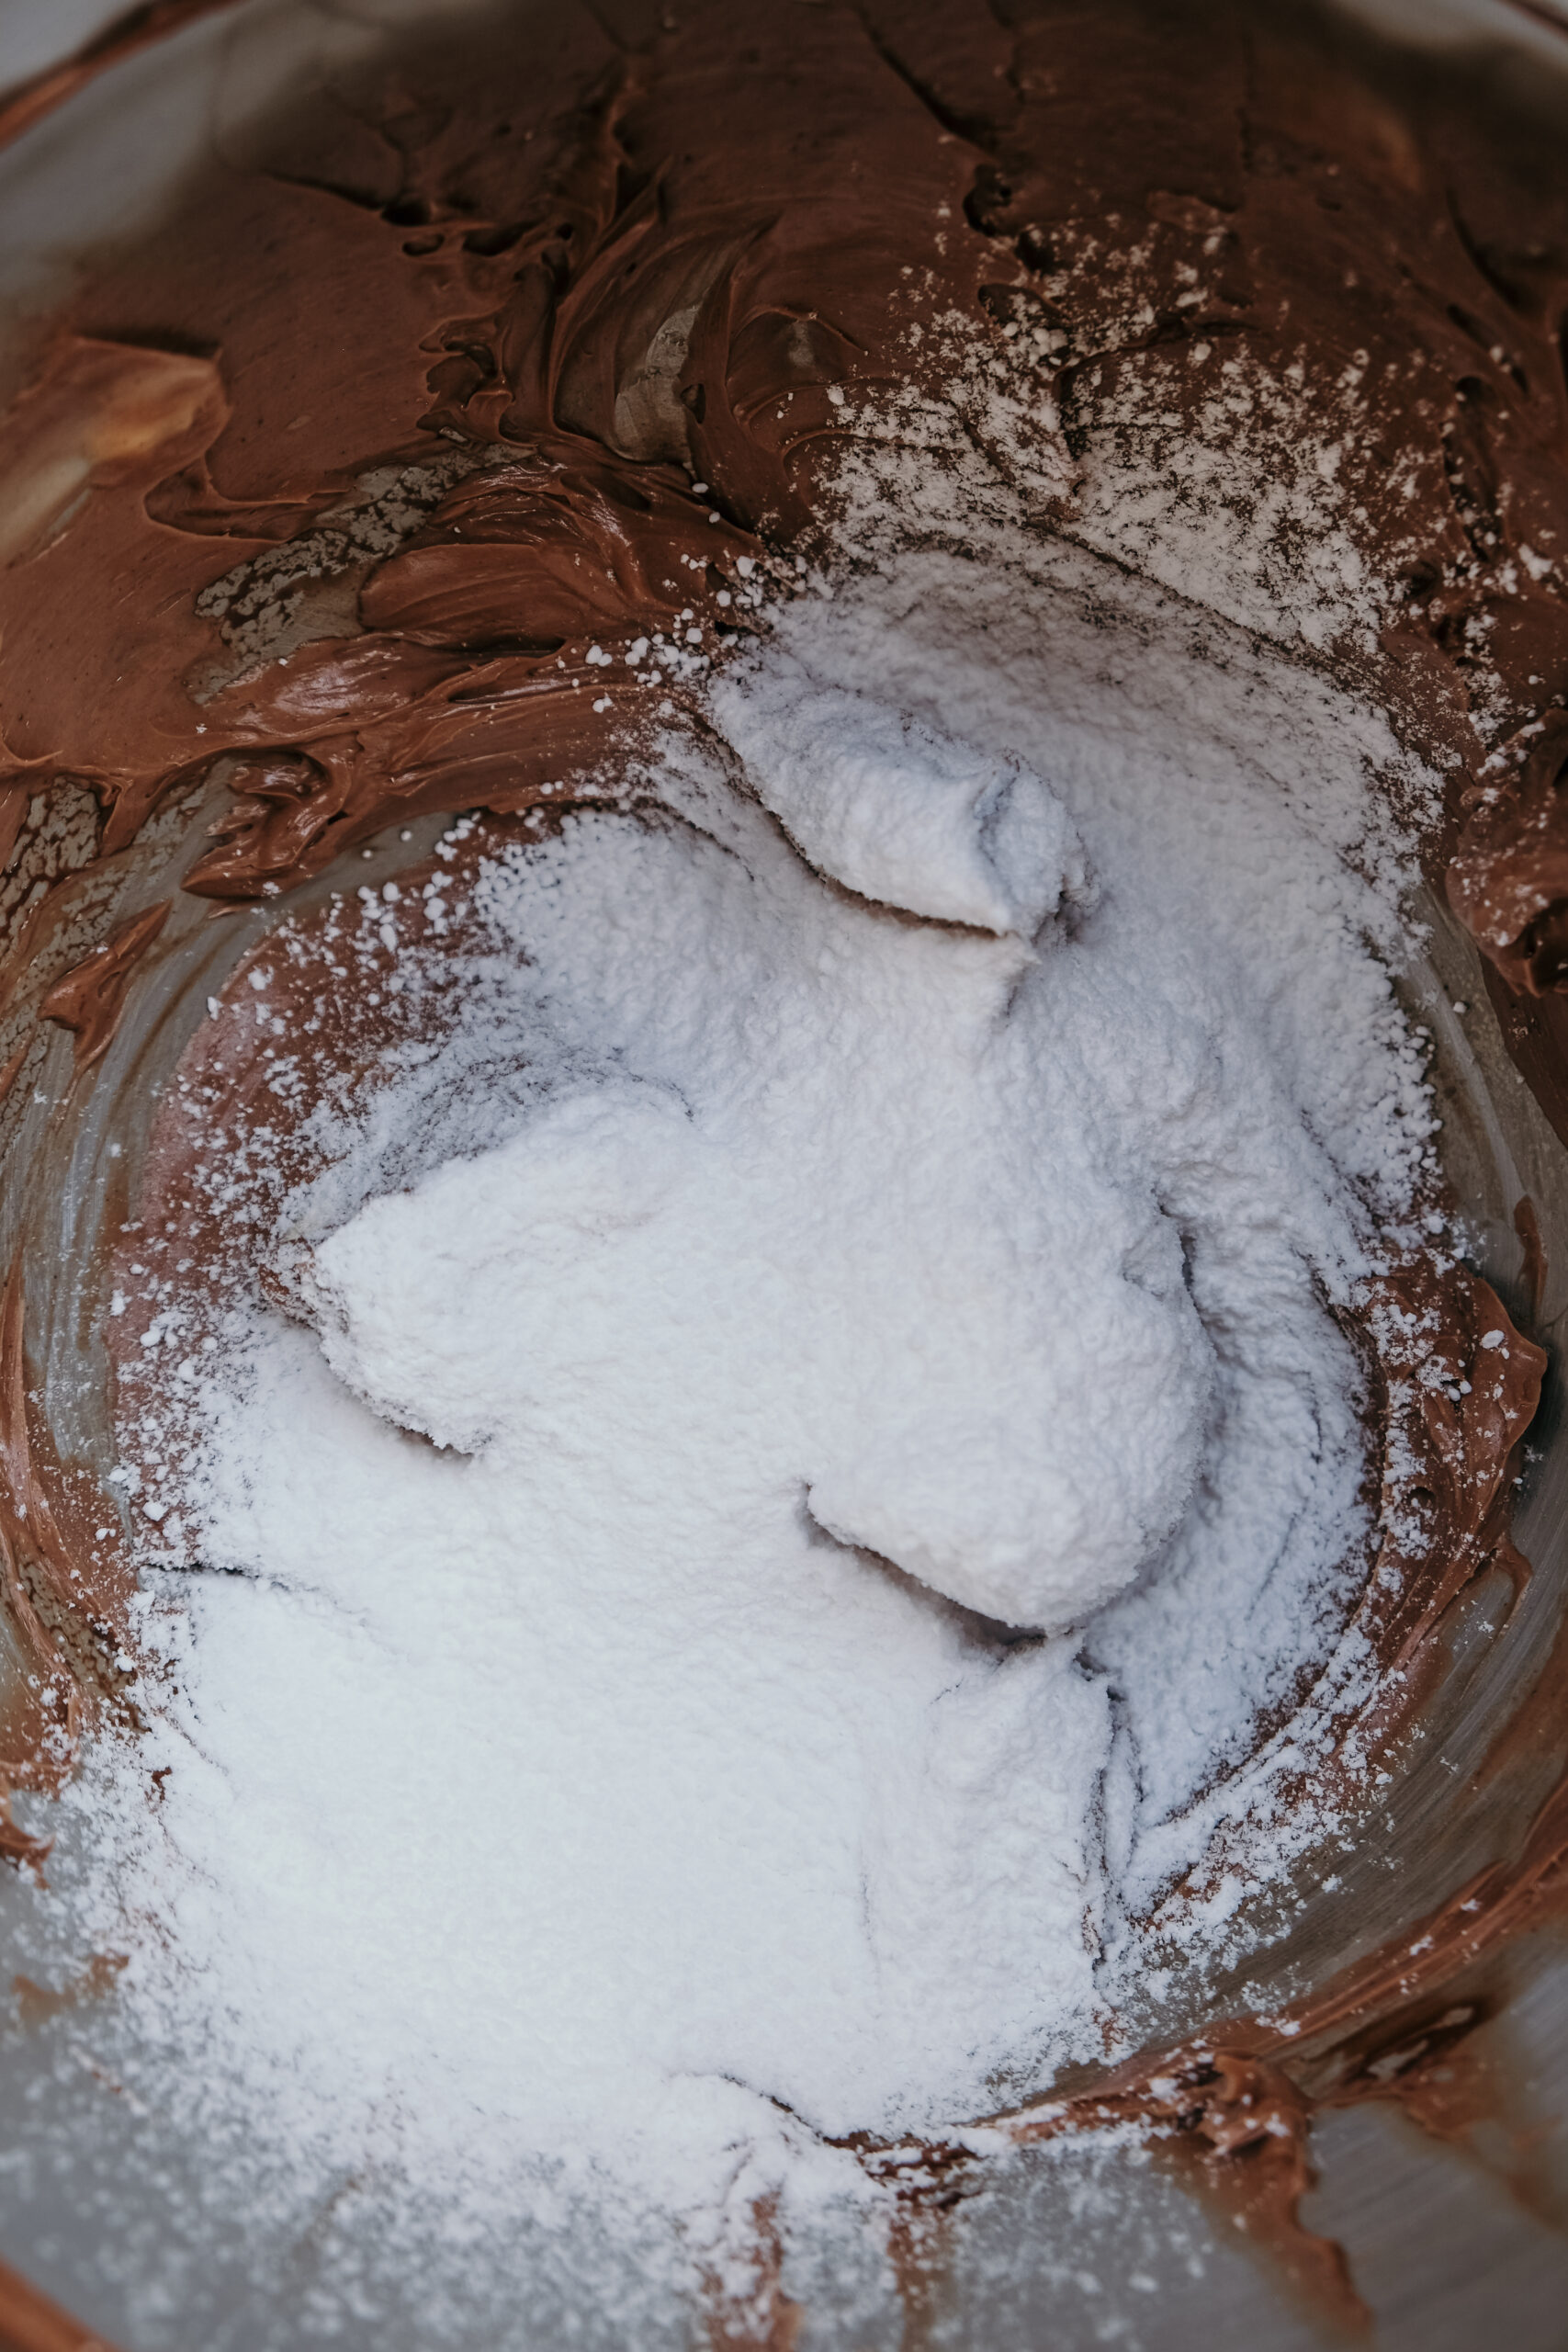
Do I have to sift the icing sugar?
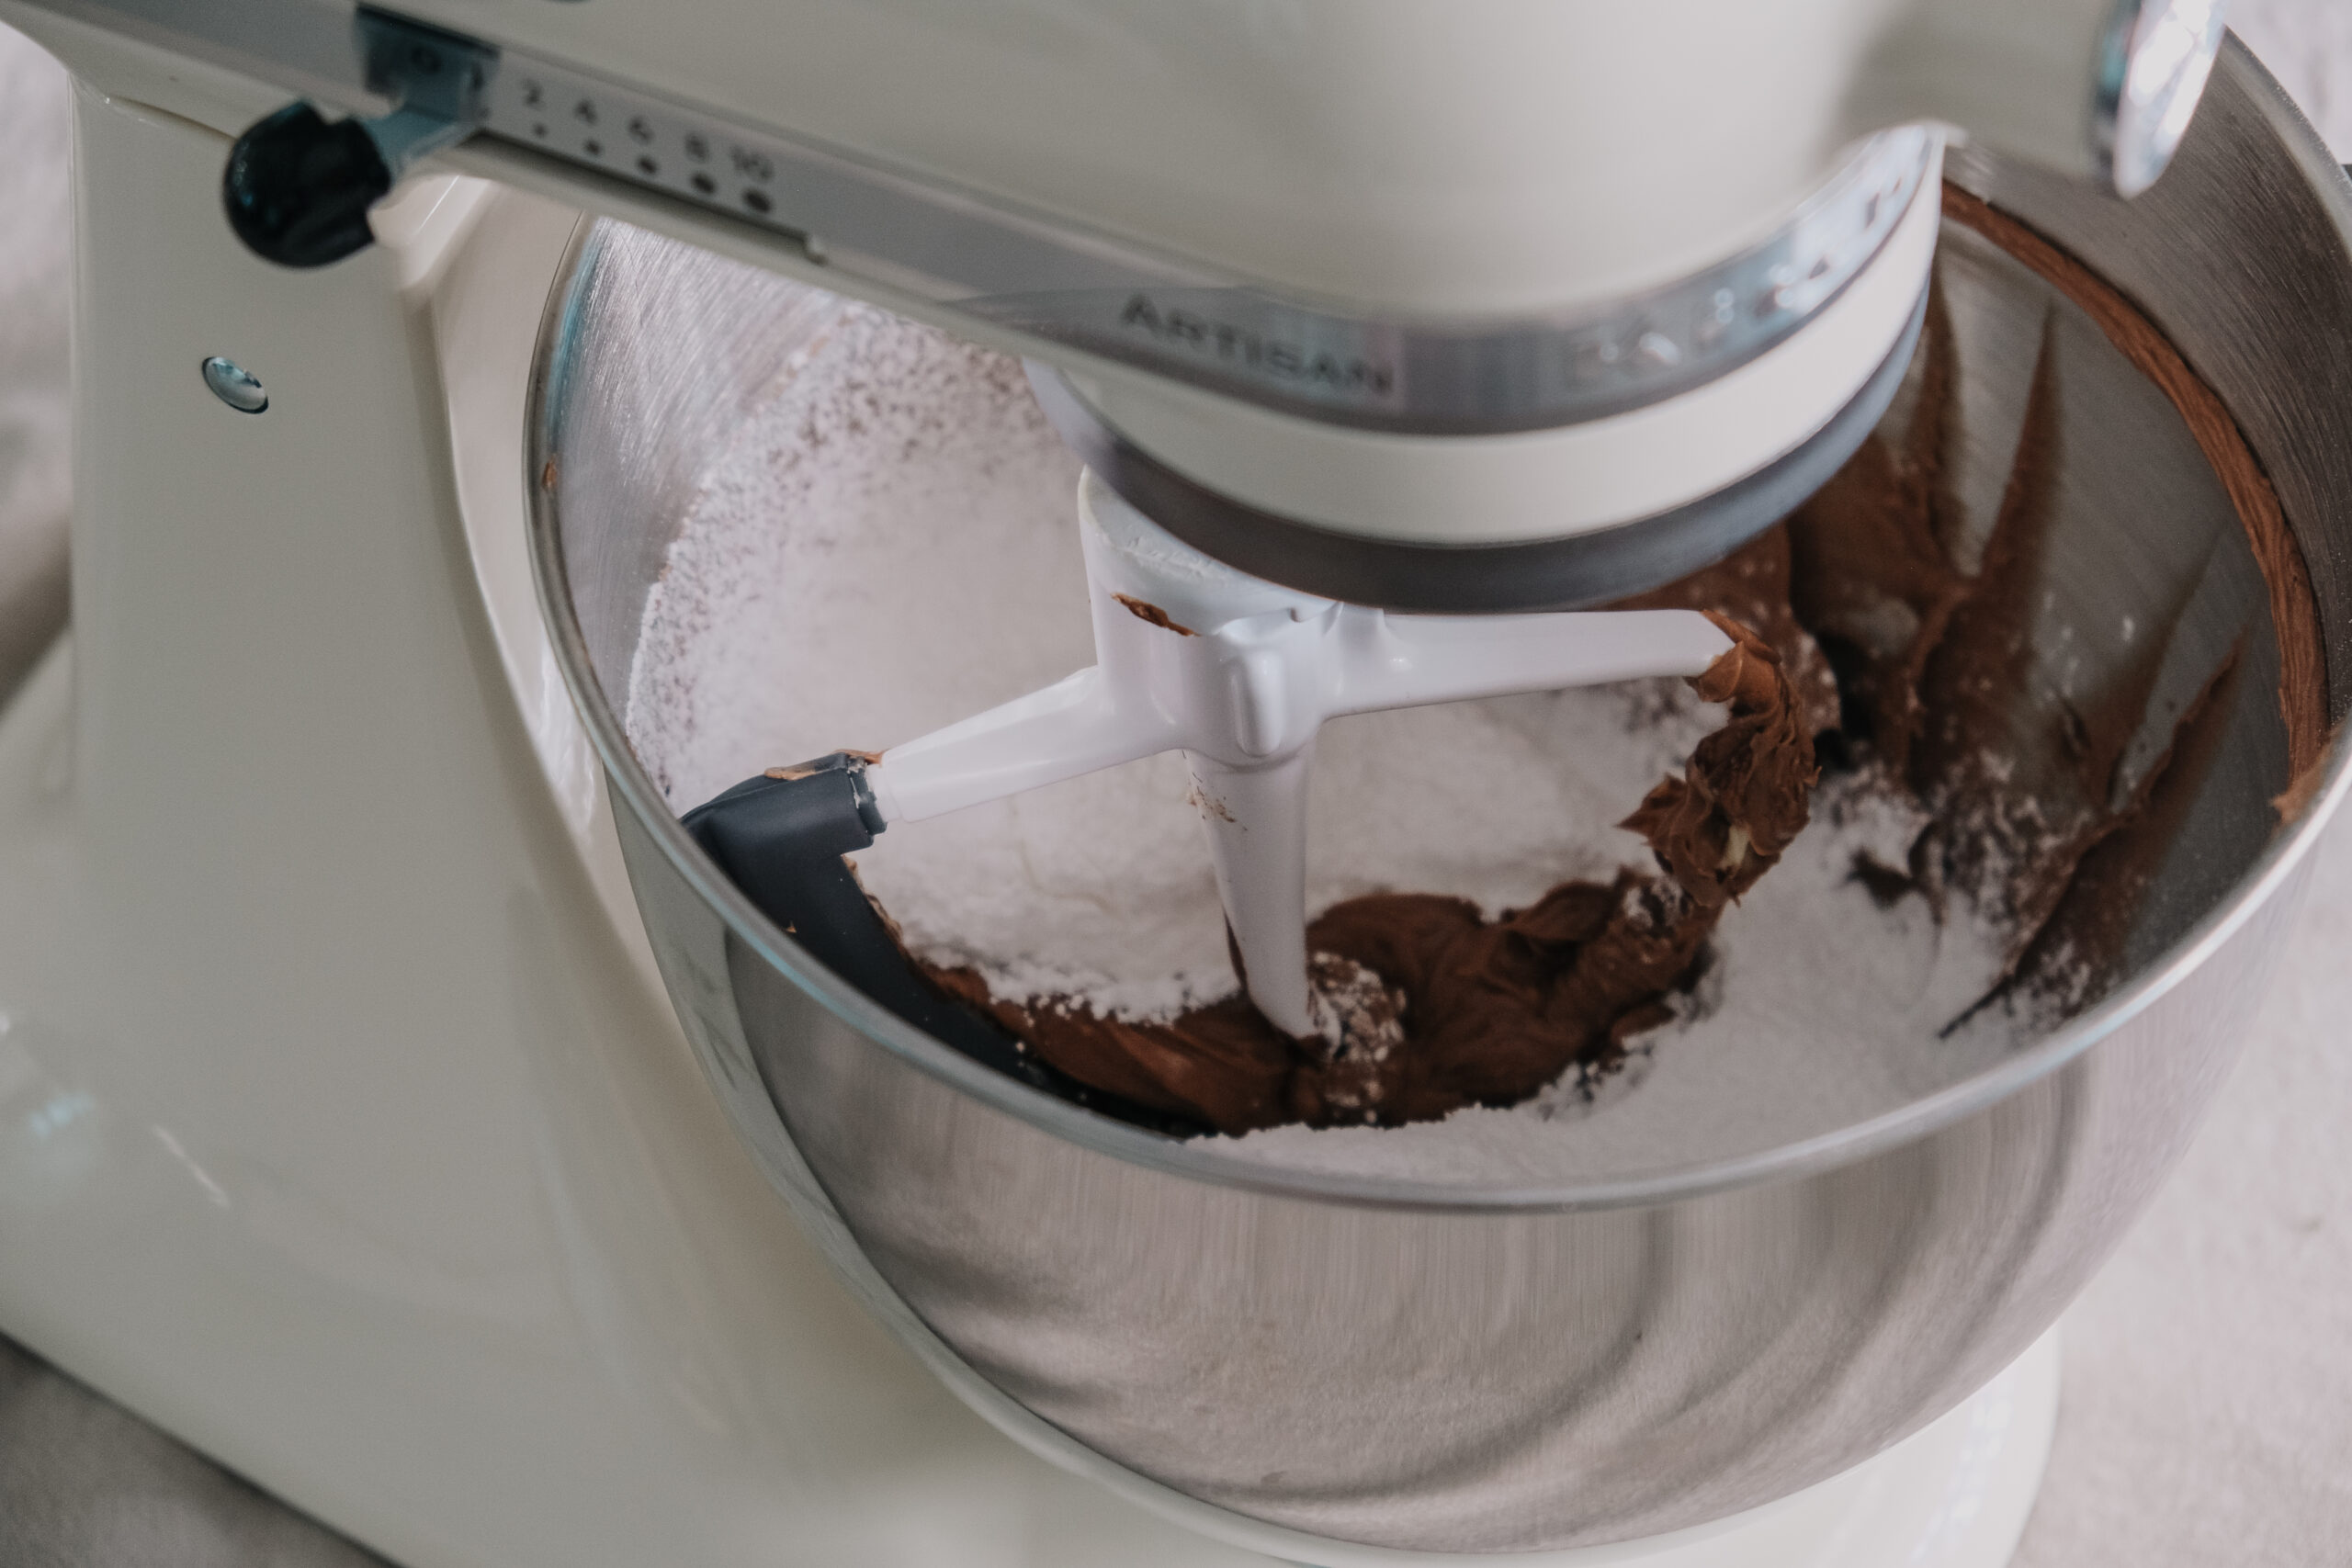
It might sound like a faff, but trust me, you’ll notice a huge difference. I never used to and was always bothered by the tiny lumps of icing sugar which weren’t caught by the beater. As messy as icing sugar is, sifting it is worth the extra cloud of dust. Icing sugar has a habit of hardening over time and sometimes does not incorporate properly, leaving the buttercream lumpy and grainy.
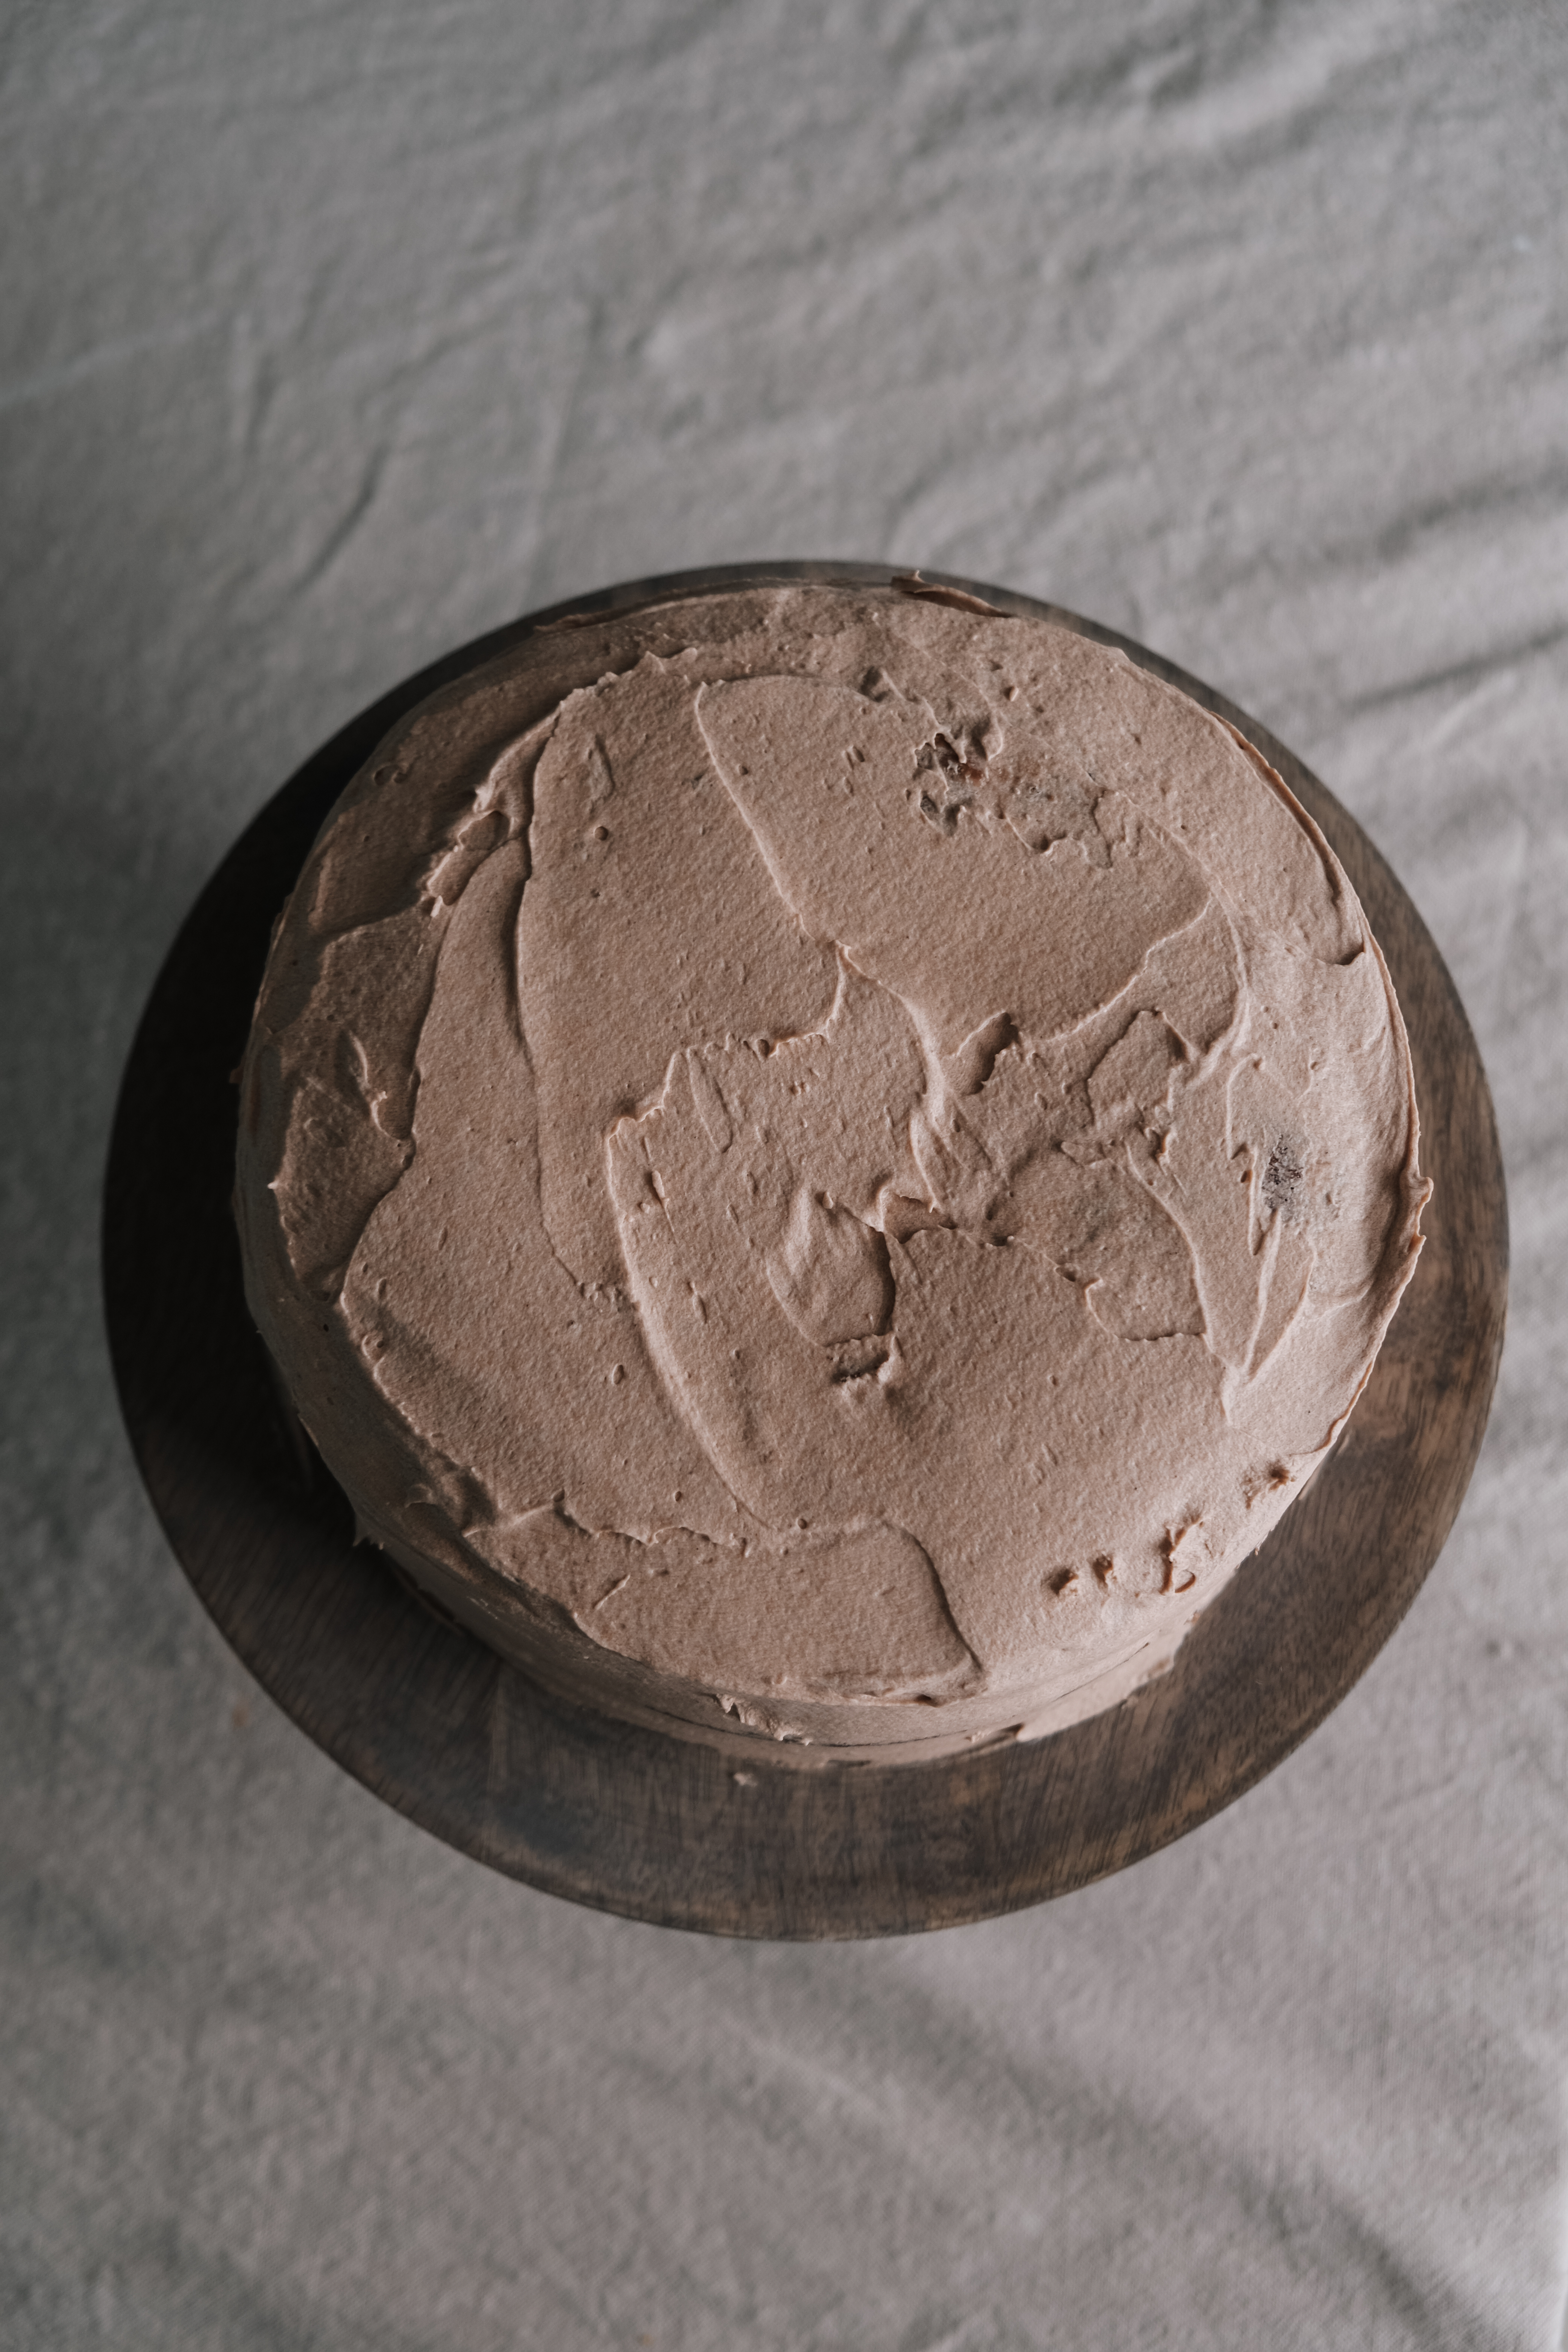
What is a crumb coating?
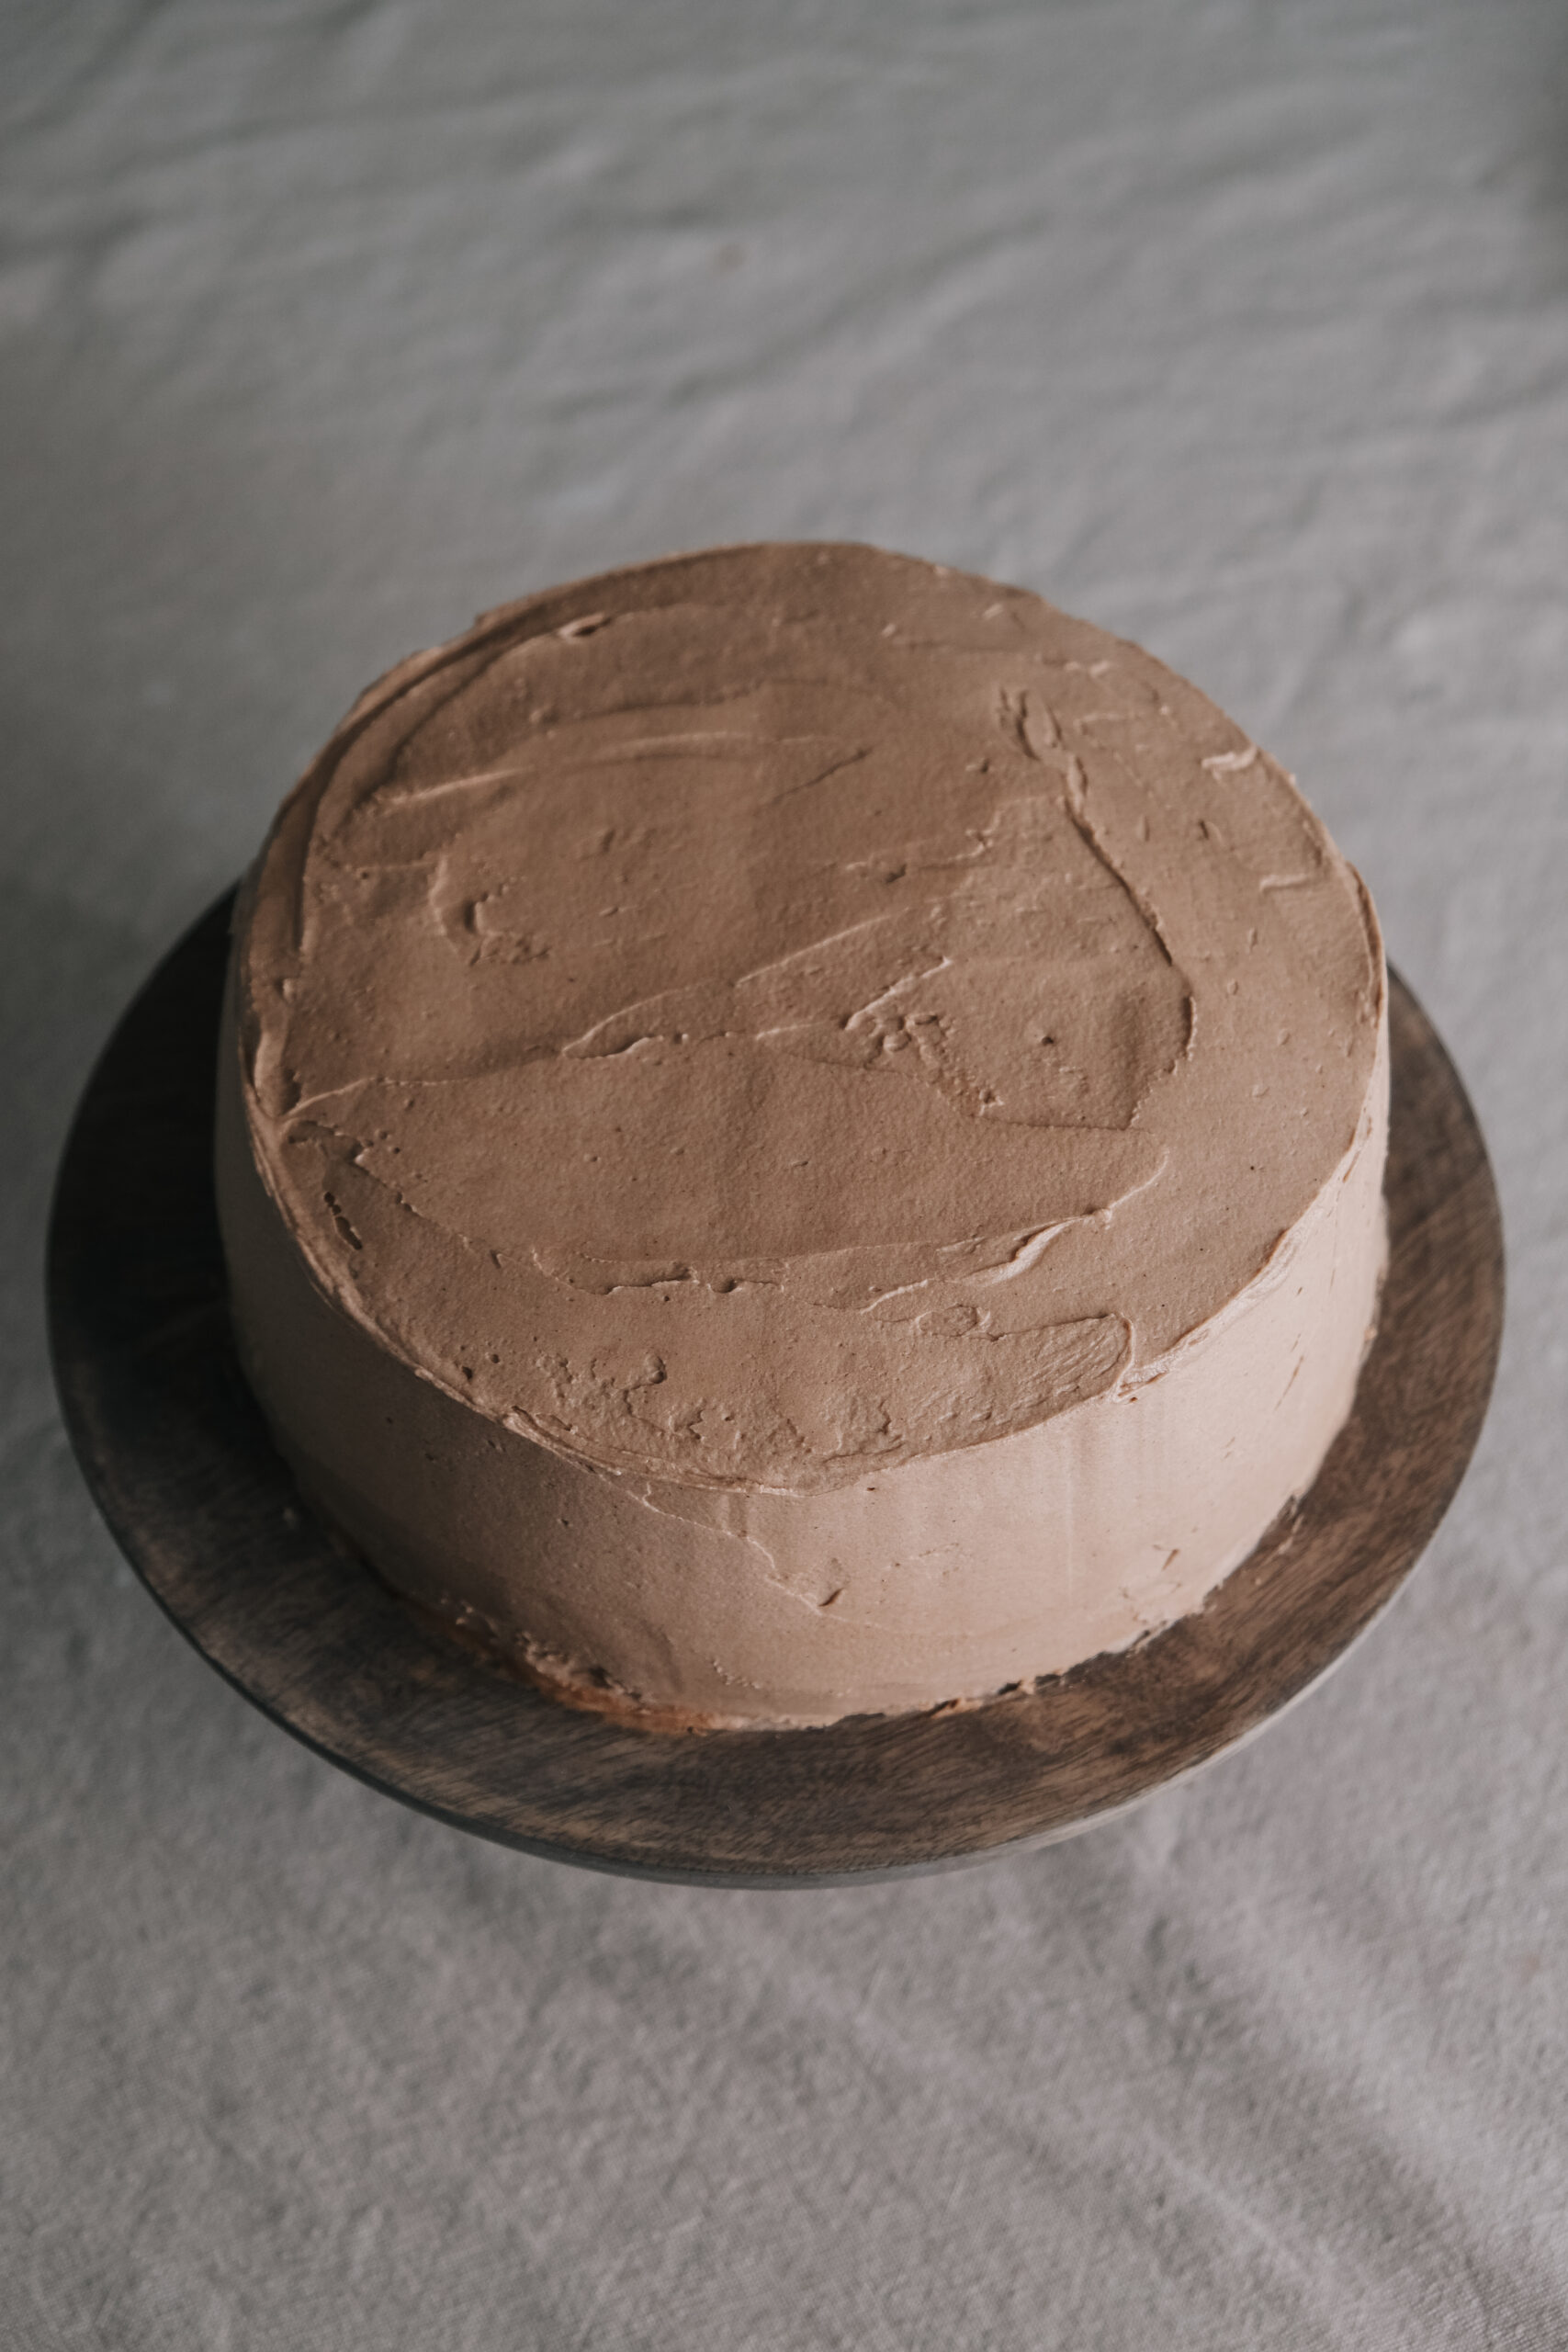
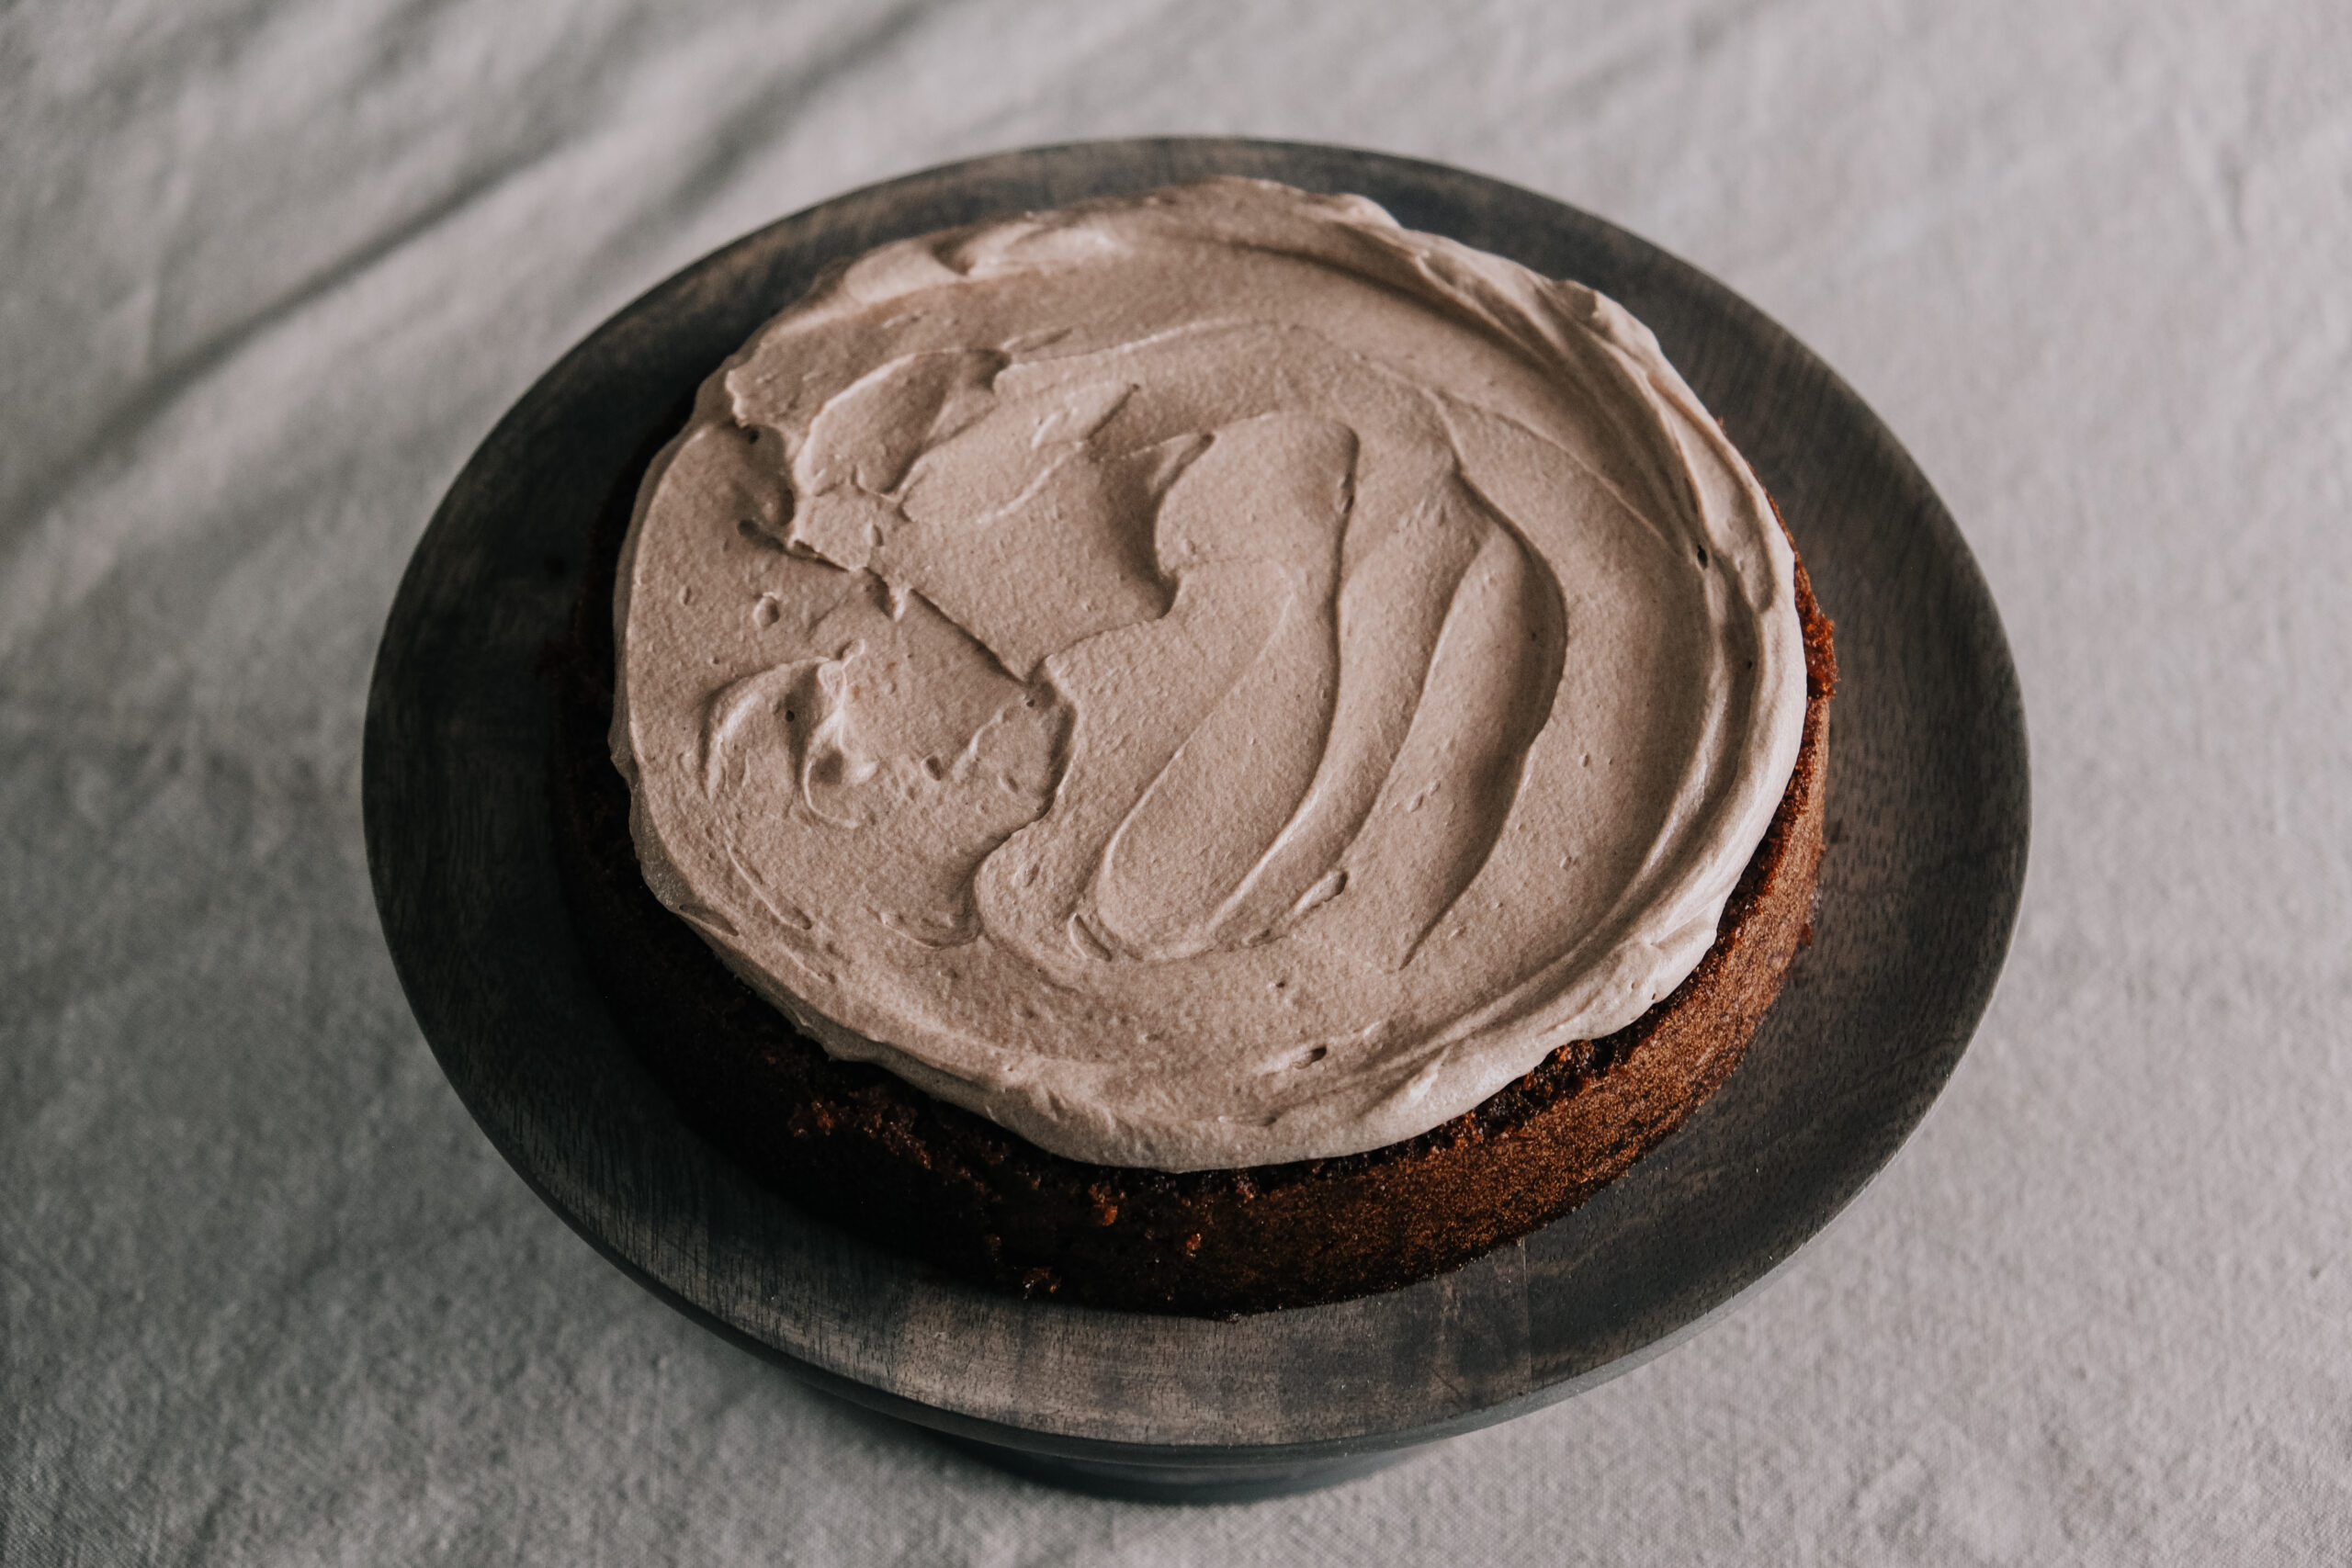
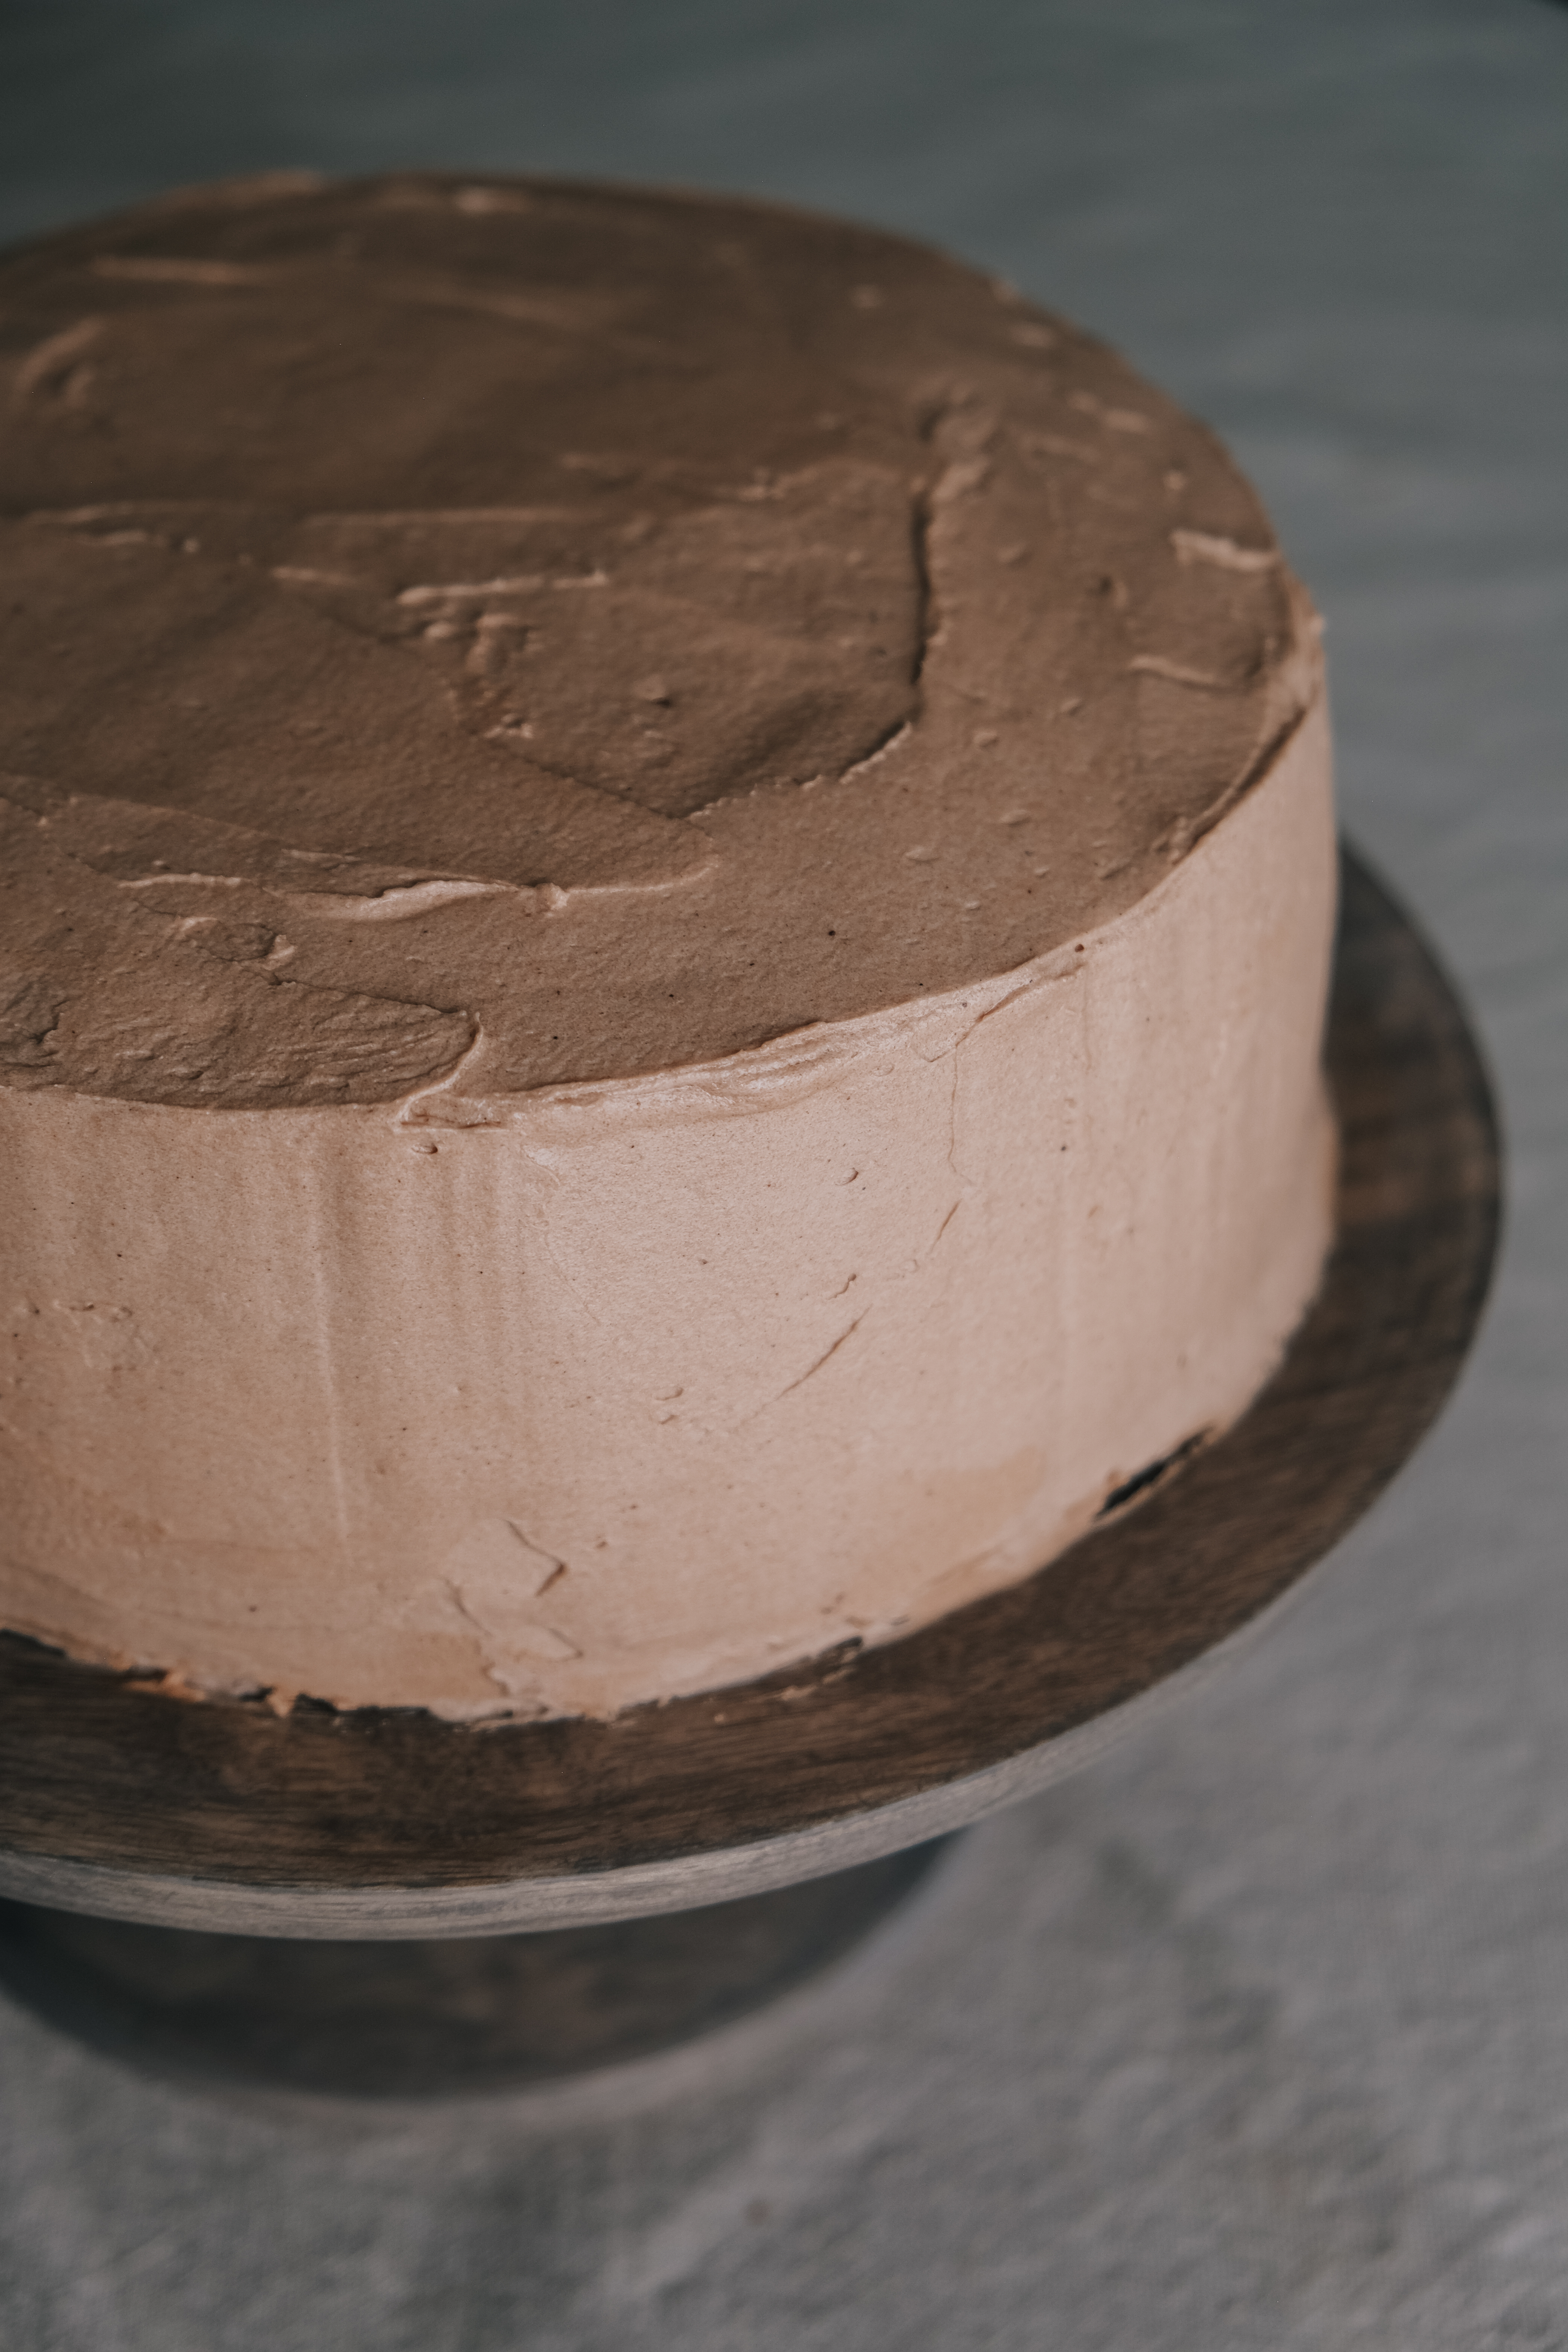
If you are pushed for time, or you prefer a more rustic look, you can skip this step, but a crumb coating ensures a smooth finish. Coat the cake in just enough buttercream to trap in the crumbs, and set it in the fridge for an hour, or in the freezer for half an hour.
Which decorative tools are worth the investment?
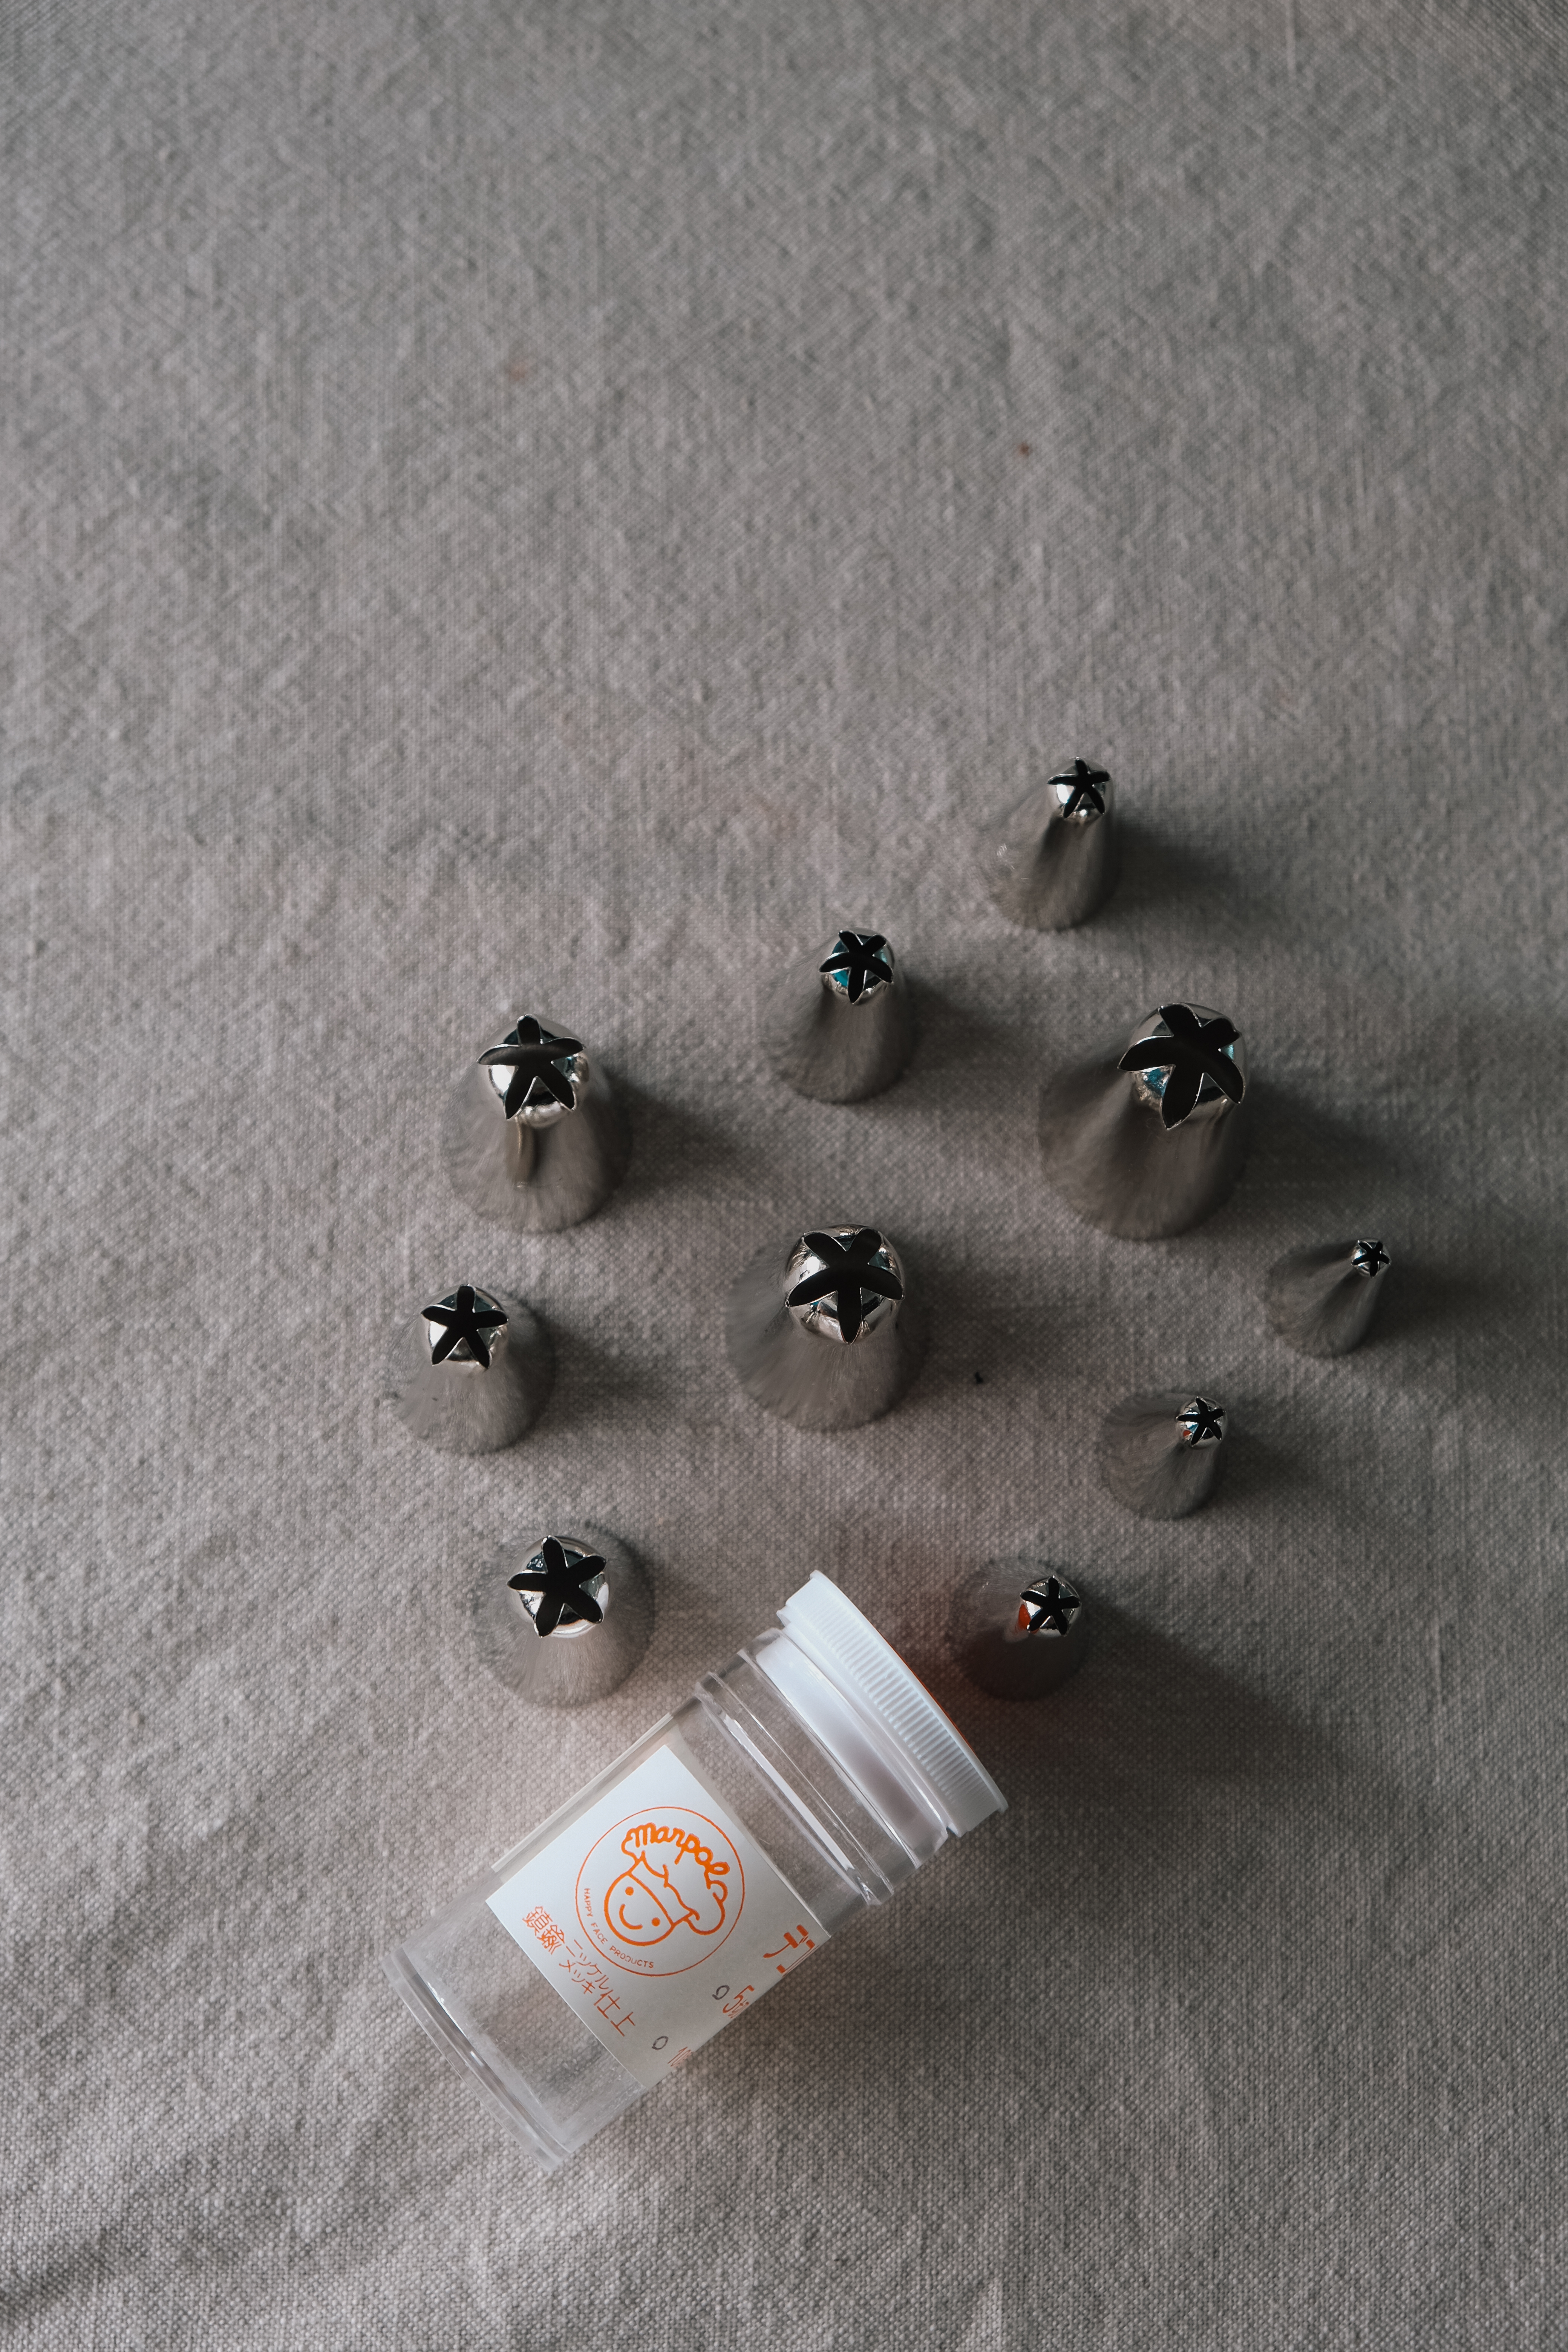
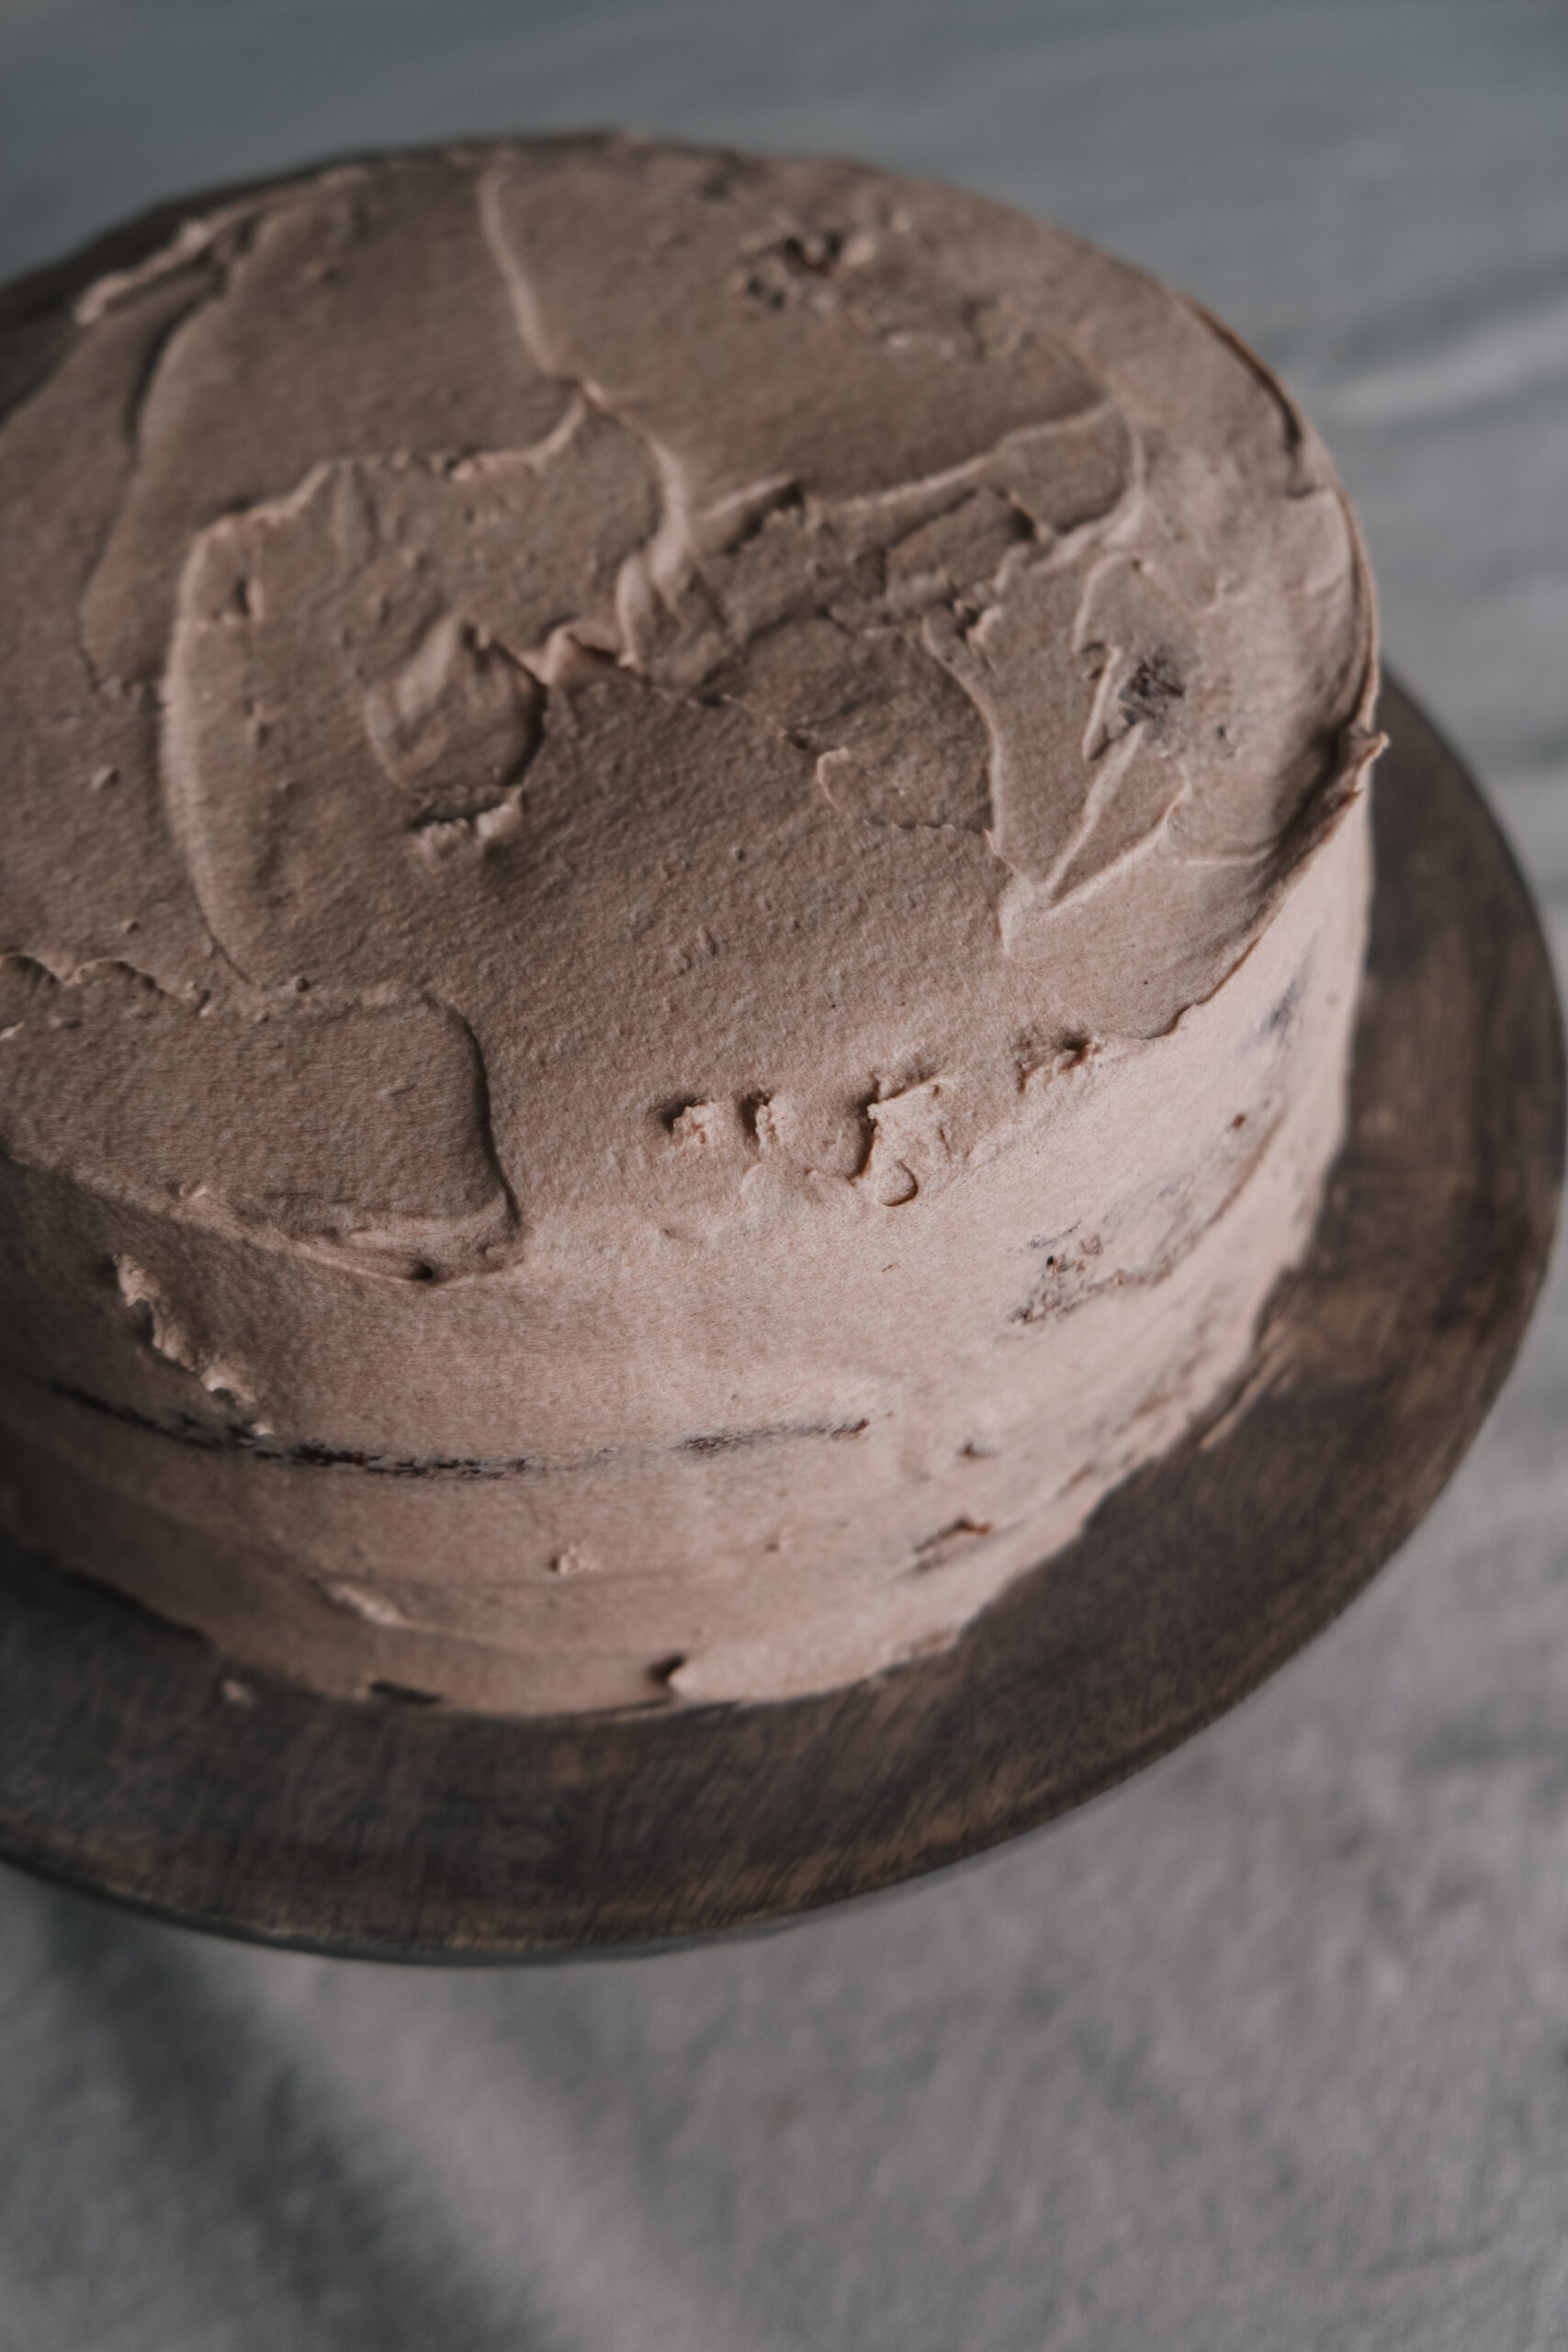
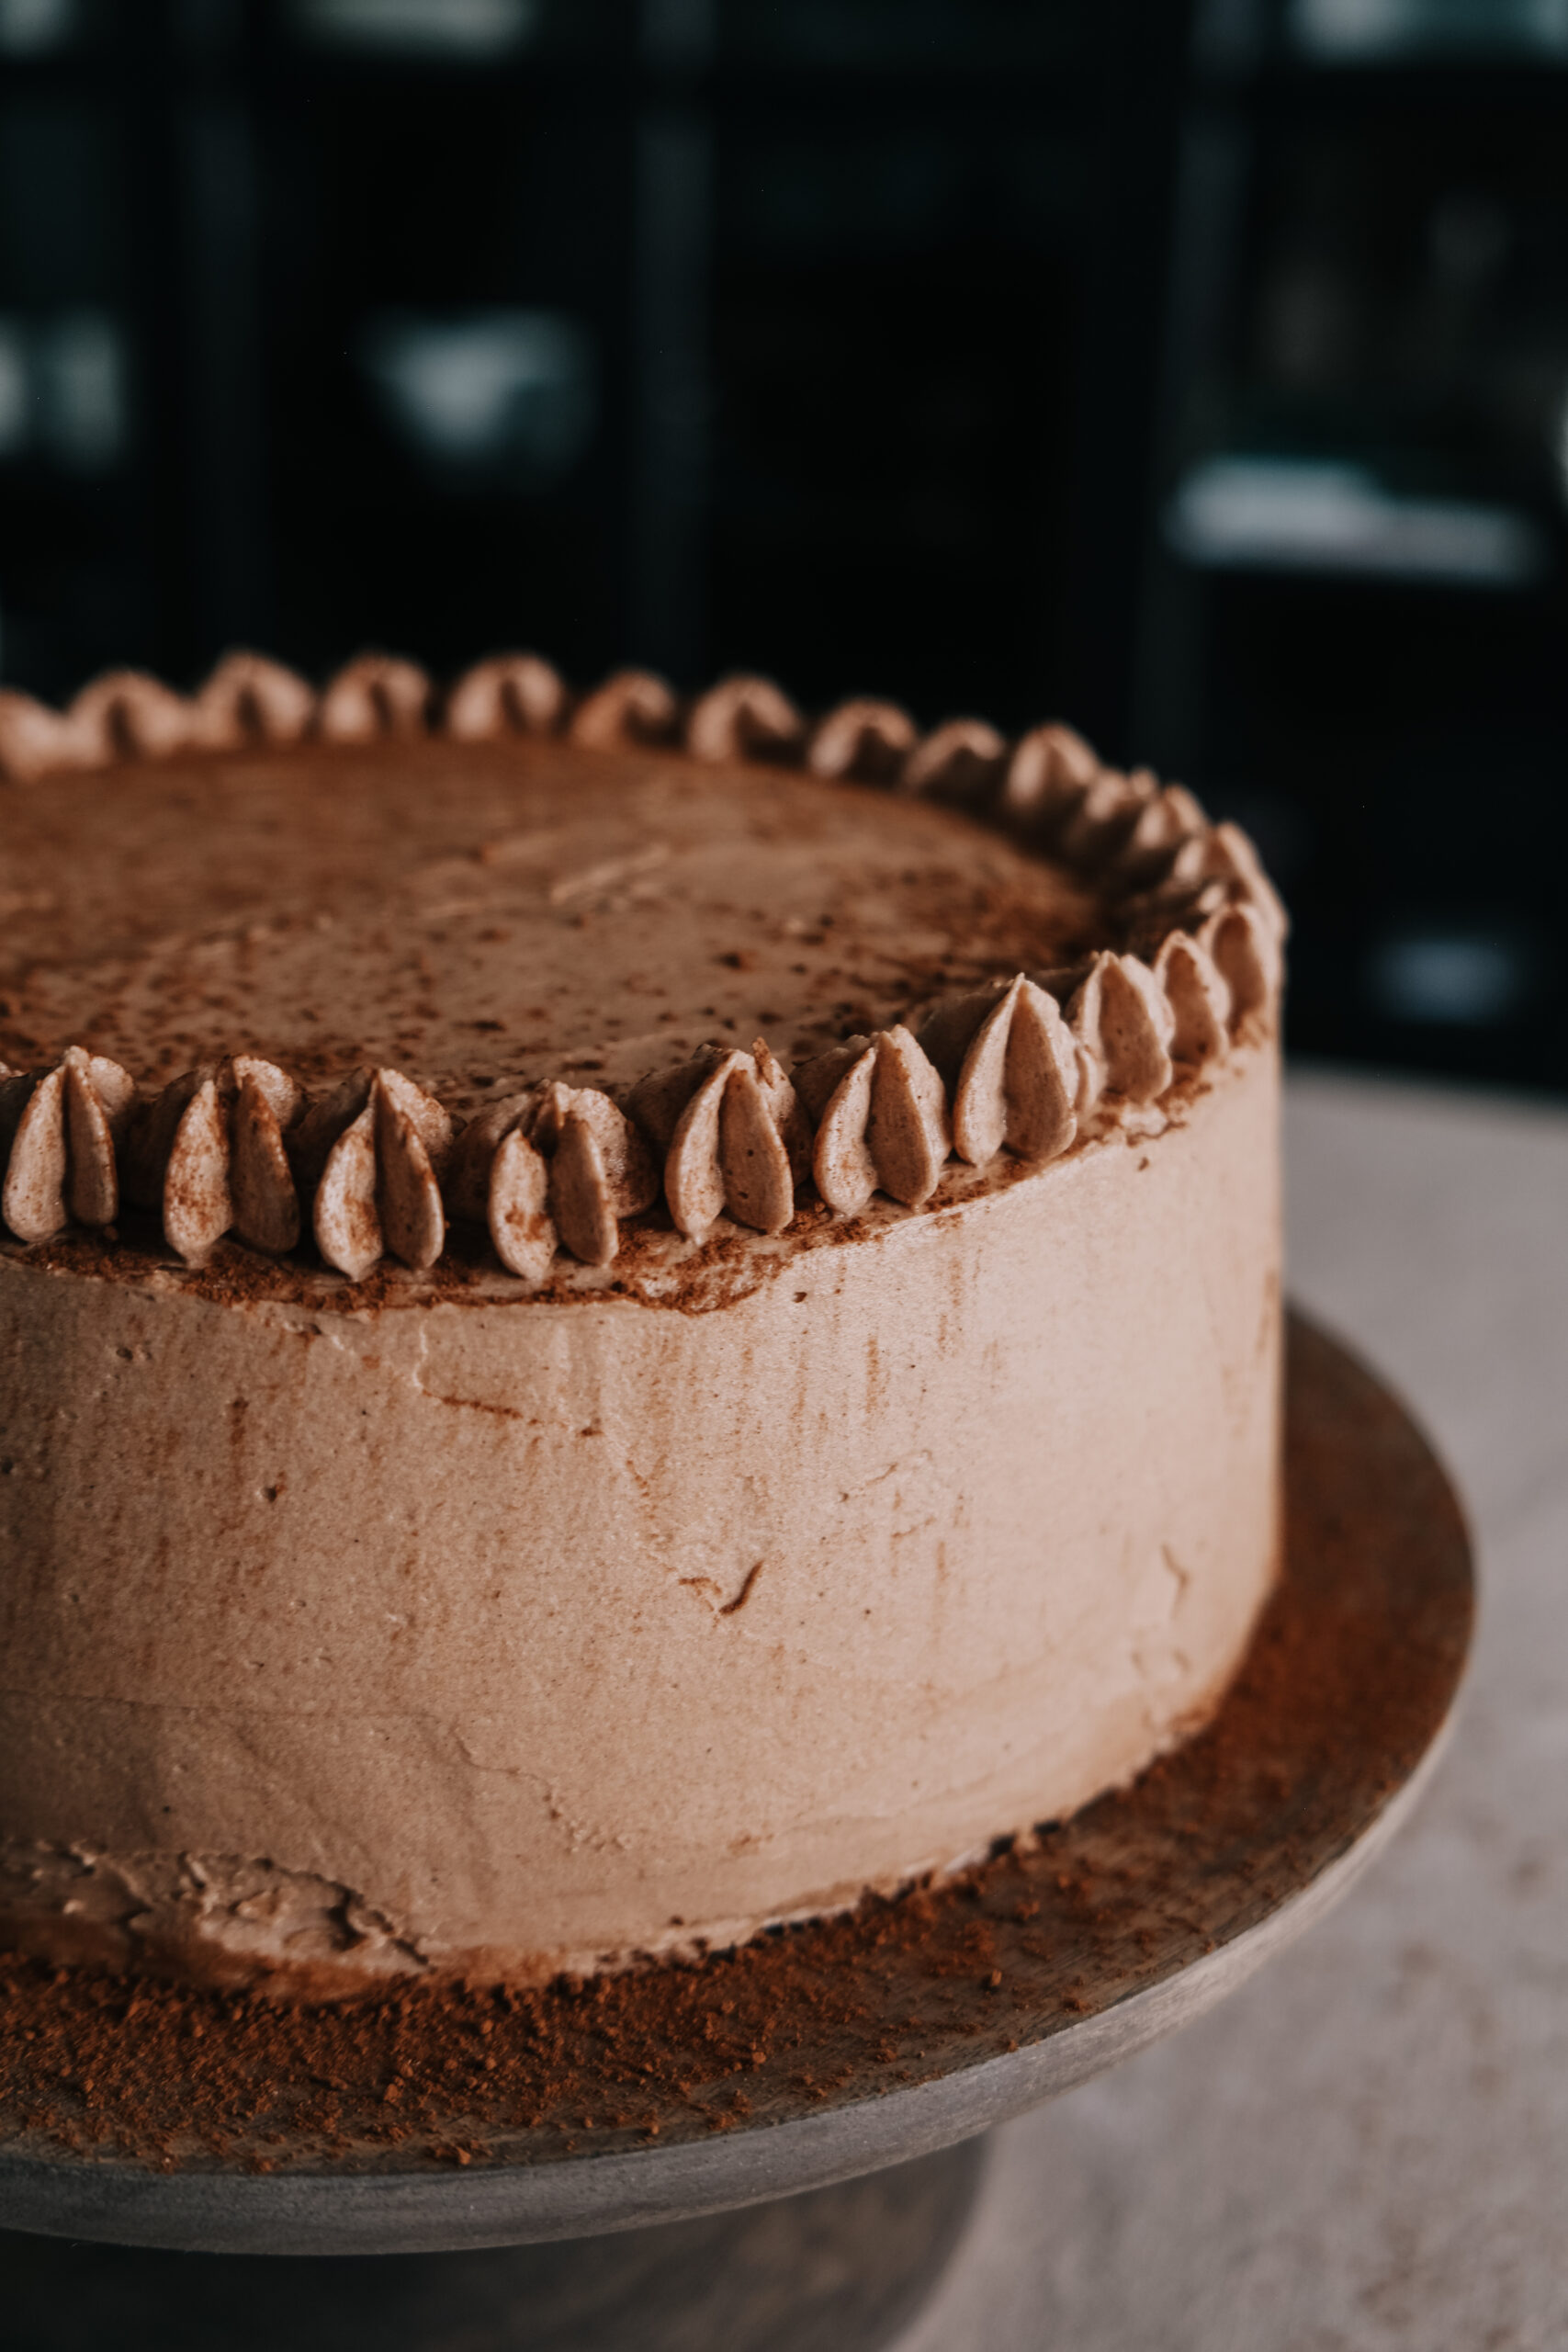
Again, this depends on what kind of finish you would like. You might just want to coat the cake with a spoon and butter knife, decorate with chopped chocolate or cocoa, and call it a day. If you want to go the extra mile, invest in a good quality nozzle, rather than plastic, as I’ve found that they can chip and break over time.
How long does the cake last?
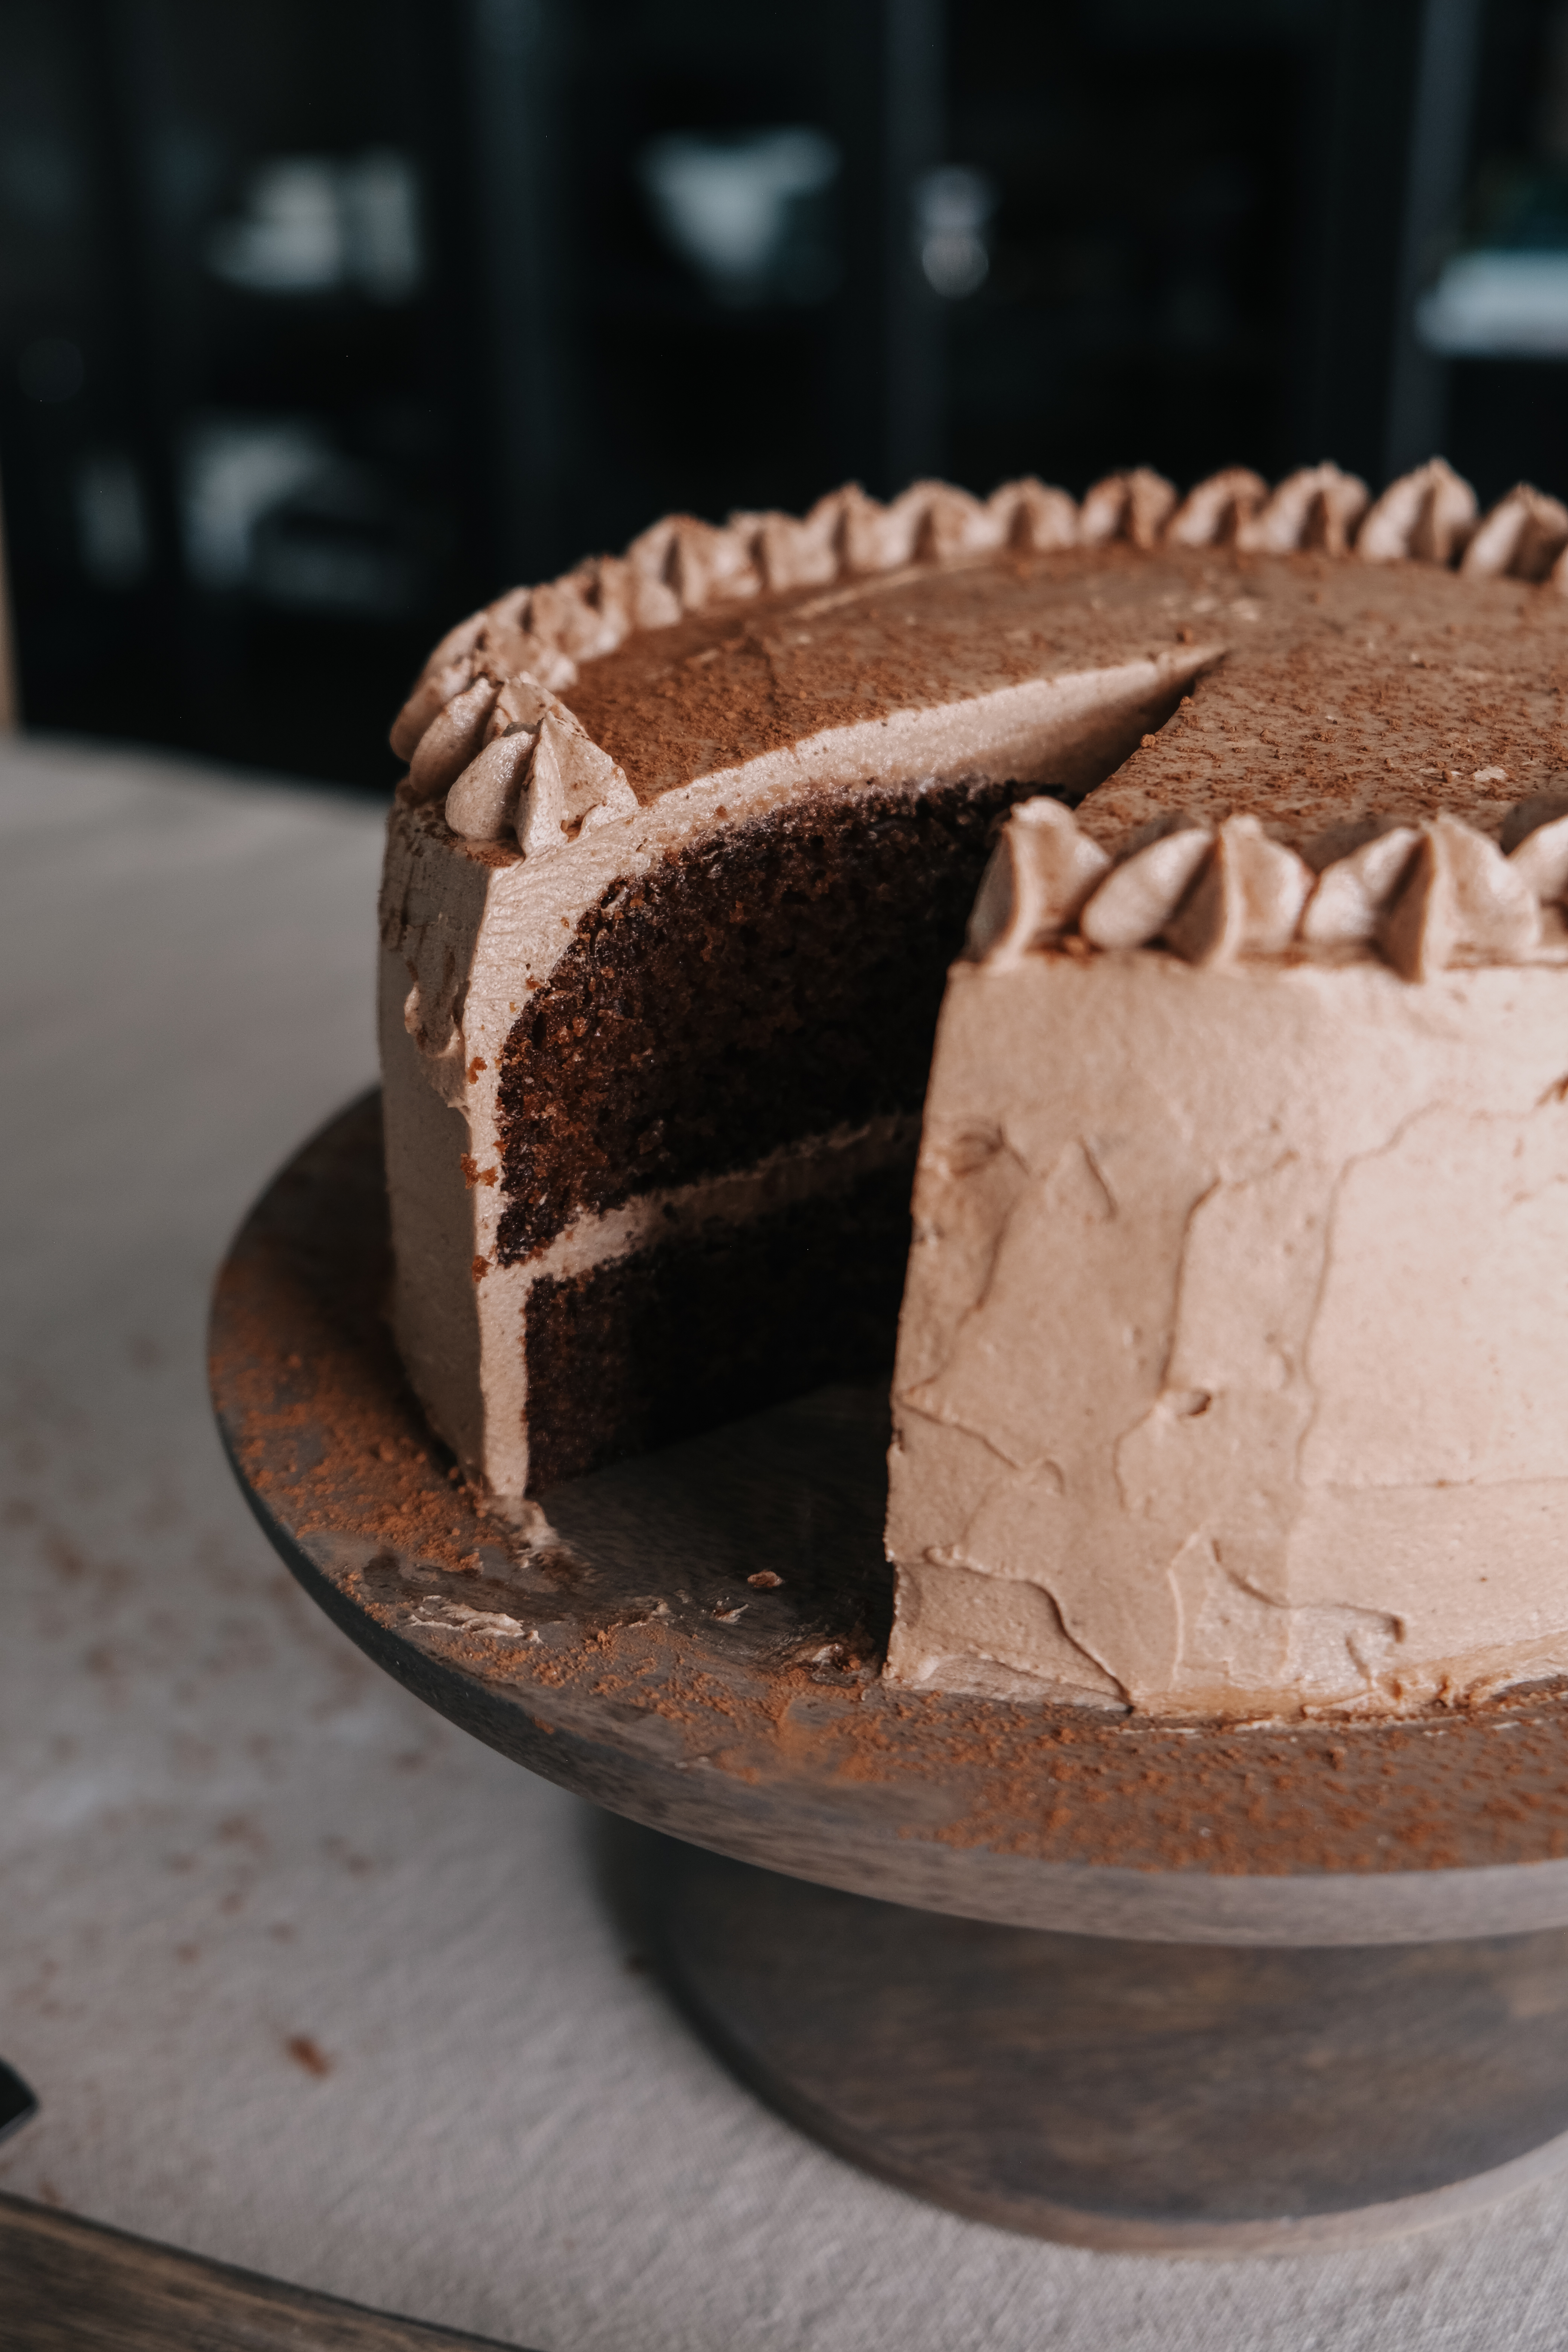
This sponge is incredibly light and moist, thanks to the sunflower oil. I’ve made this cake countless times and can safely say that it lasts at least four days at room temperature, depending on the climate. If it’s hot out, you might want to eat it on the day you make it – putting this cake in the fridge can be done, but I find that it dries out as a result.
Visual Steps

I always love hearing from readers, so if you have any questions or would simply like to connect, fill out the form on my contact page or message me through my social media accounts:
The Best Chocolate Cake
Equipment
- Deep 20cm springform pan
- Measuring Spoons
- Measuring jug
- Electric whisk
- Baking Paper
- Wire rack
- Offset baking spatula or a smooth butter knife
- Piping tools (optional)
- Tin foil
Ingredients
- For the Sponge:
- 275 g plain flour
- 3 level tablespoons cocoa powder
- 1 ½ level teaspoons bicarbonate of soda
- 1 ½ level teaspoons baking powder
- 215 g caster sugar
- 3 tablespoons golden syrup
- 3 large eggs lightly beaten
- 225 ml sunflower oil extra to grease
- 225 ml milk
- For the Chocolate Buttercream:
- 3 level tablespoons cocoa powder plus extra to decorate
- 260 g unsalted butter softened
- 400 g icing sugar sifted
Instructions
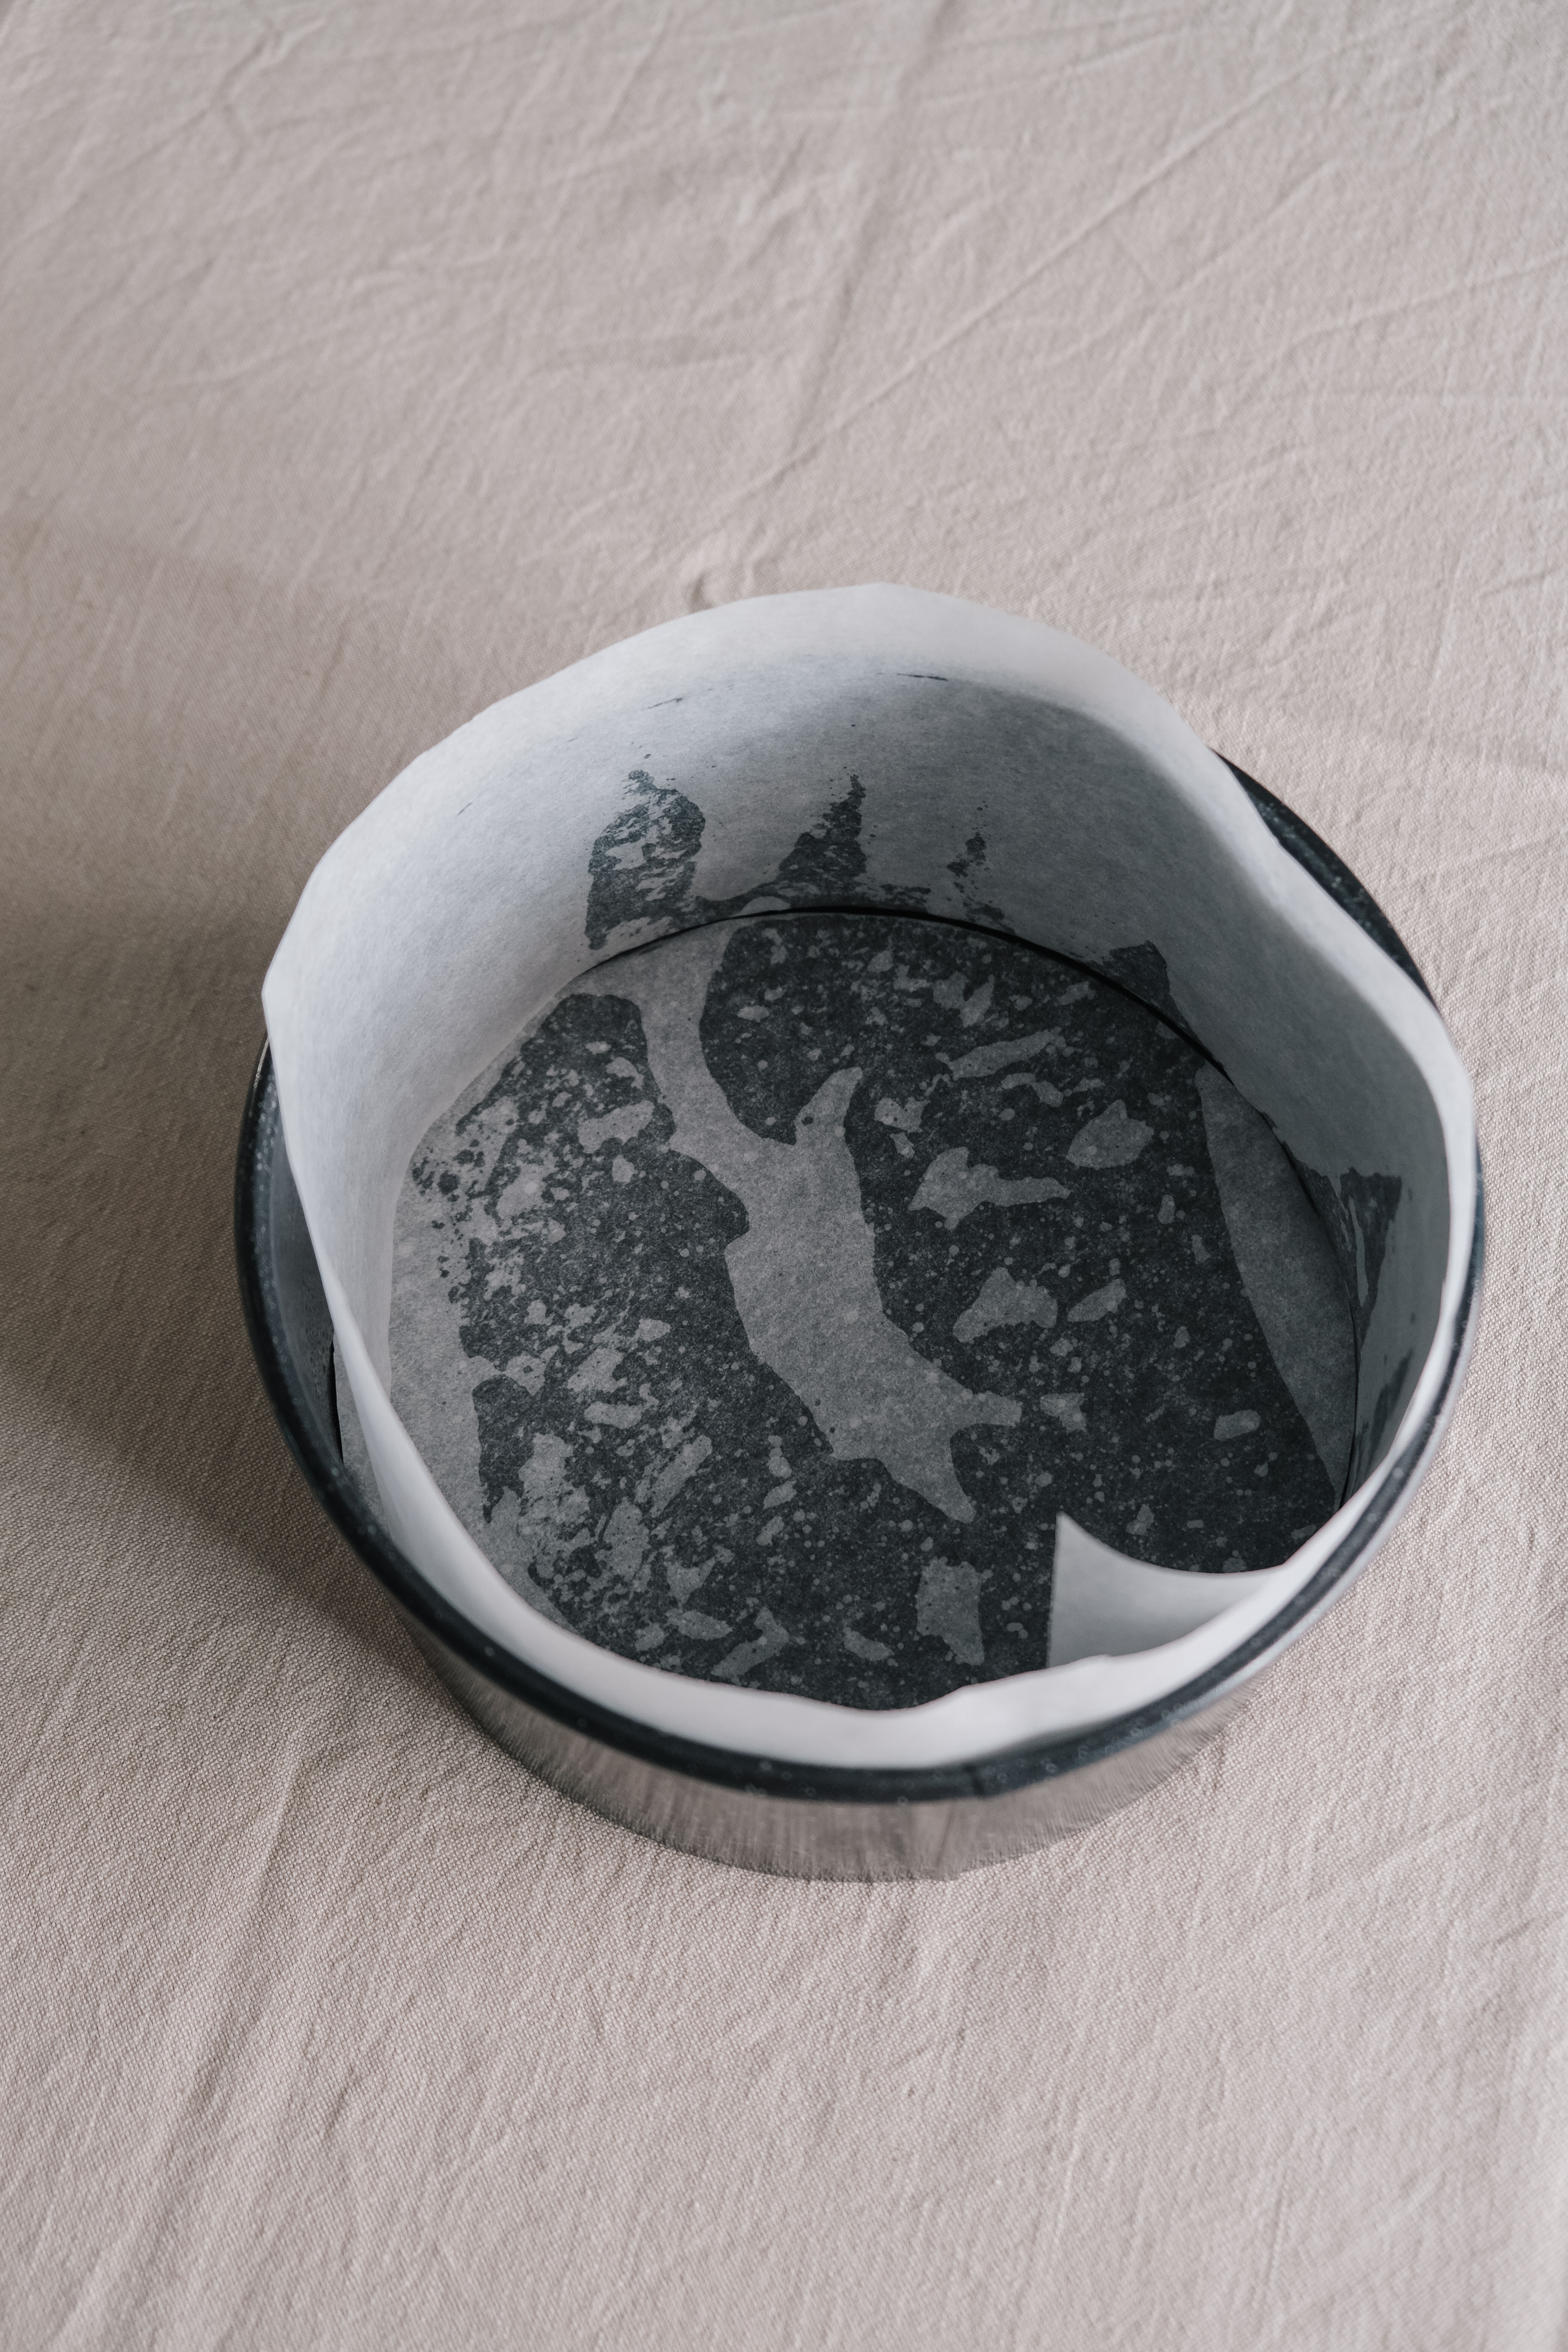
- Preheat the oven to 160℃/140℃ fan/gas 3. Lightly grease a deep 20cm spring form cake tin with sunflower oil and line the base and sides with baking paper.
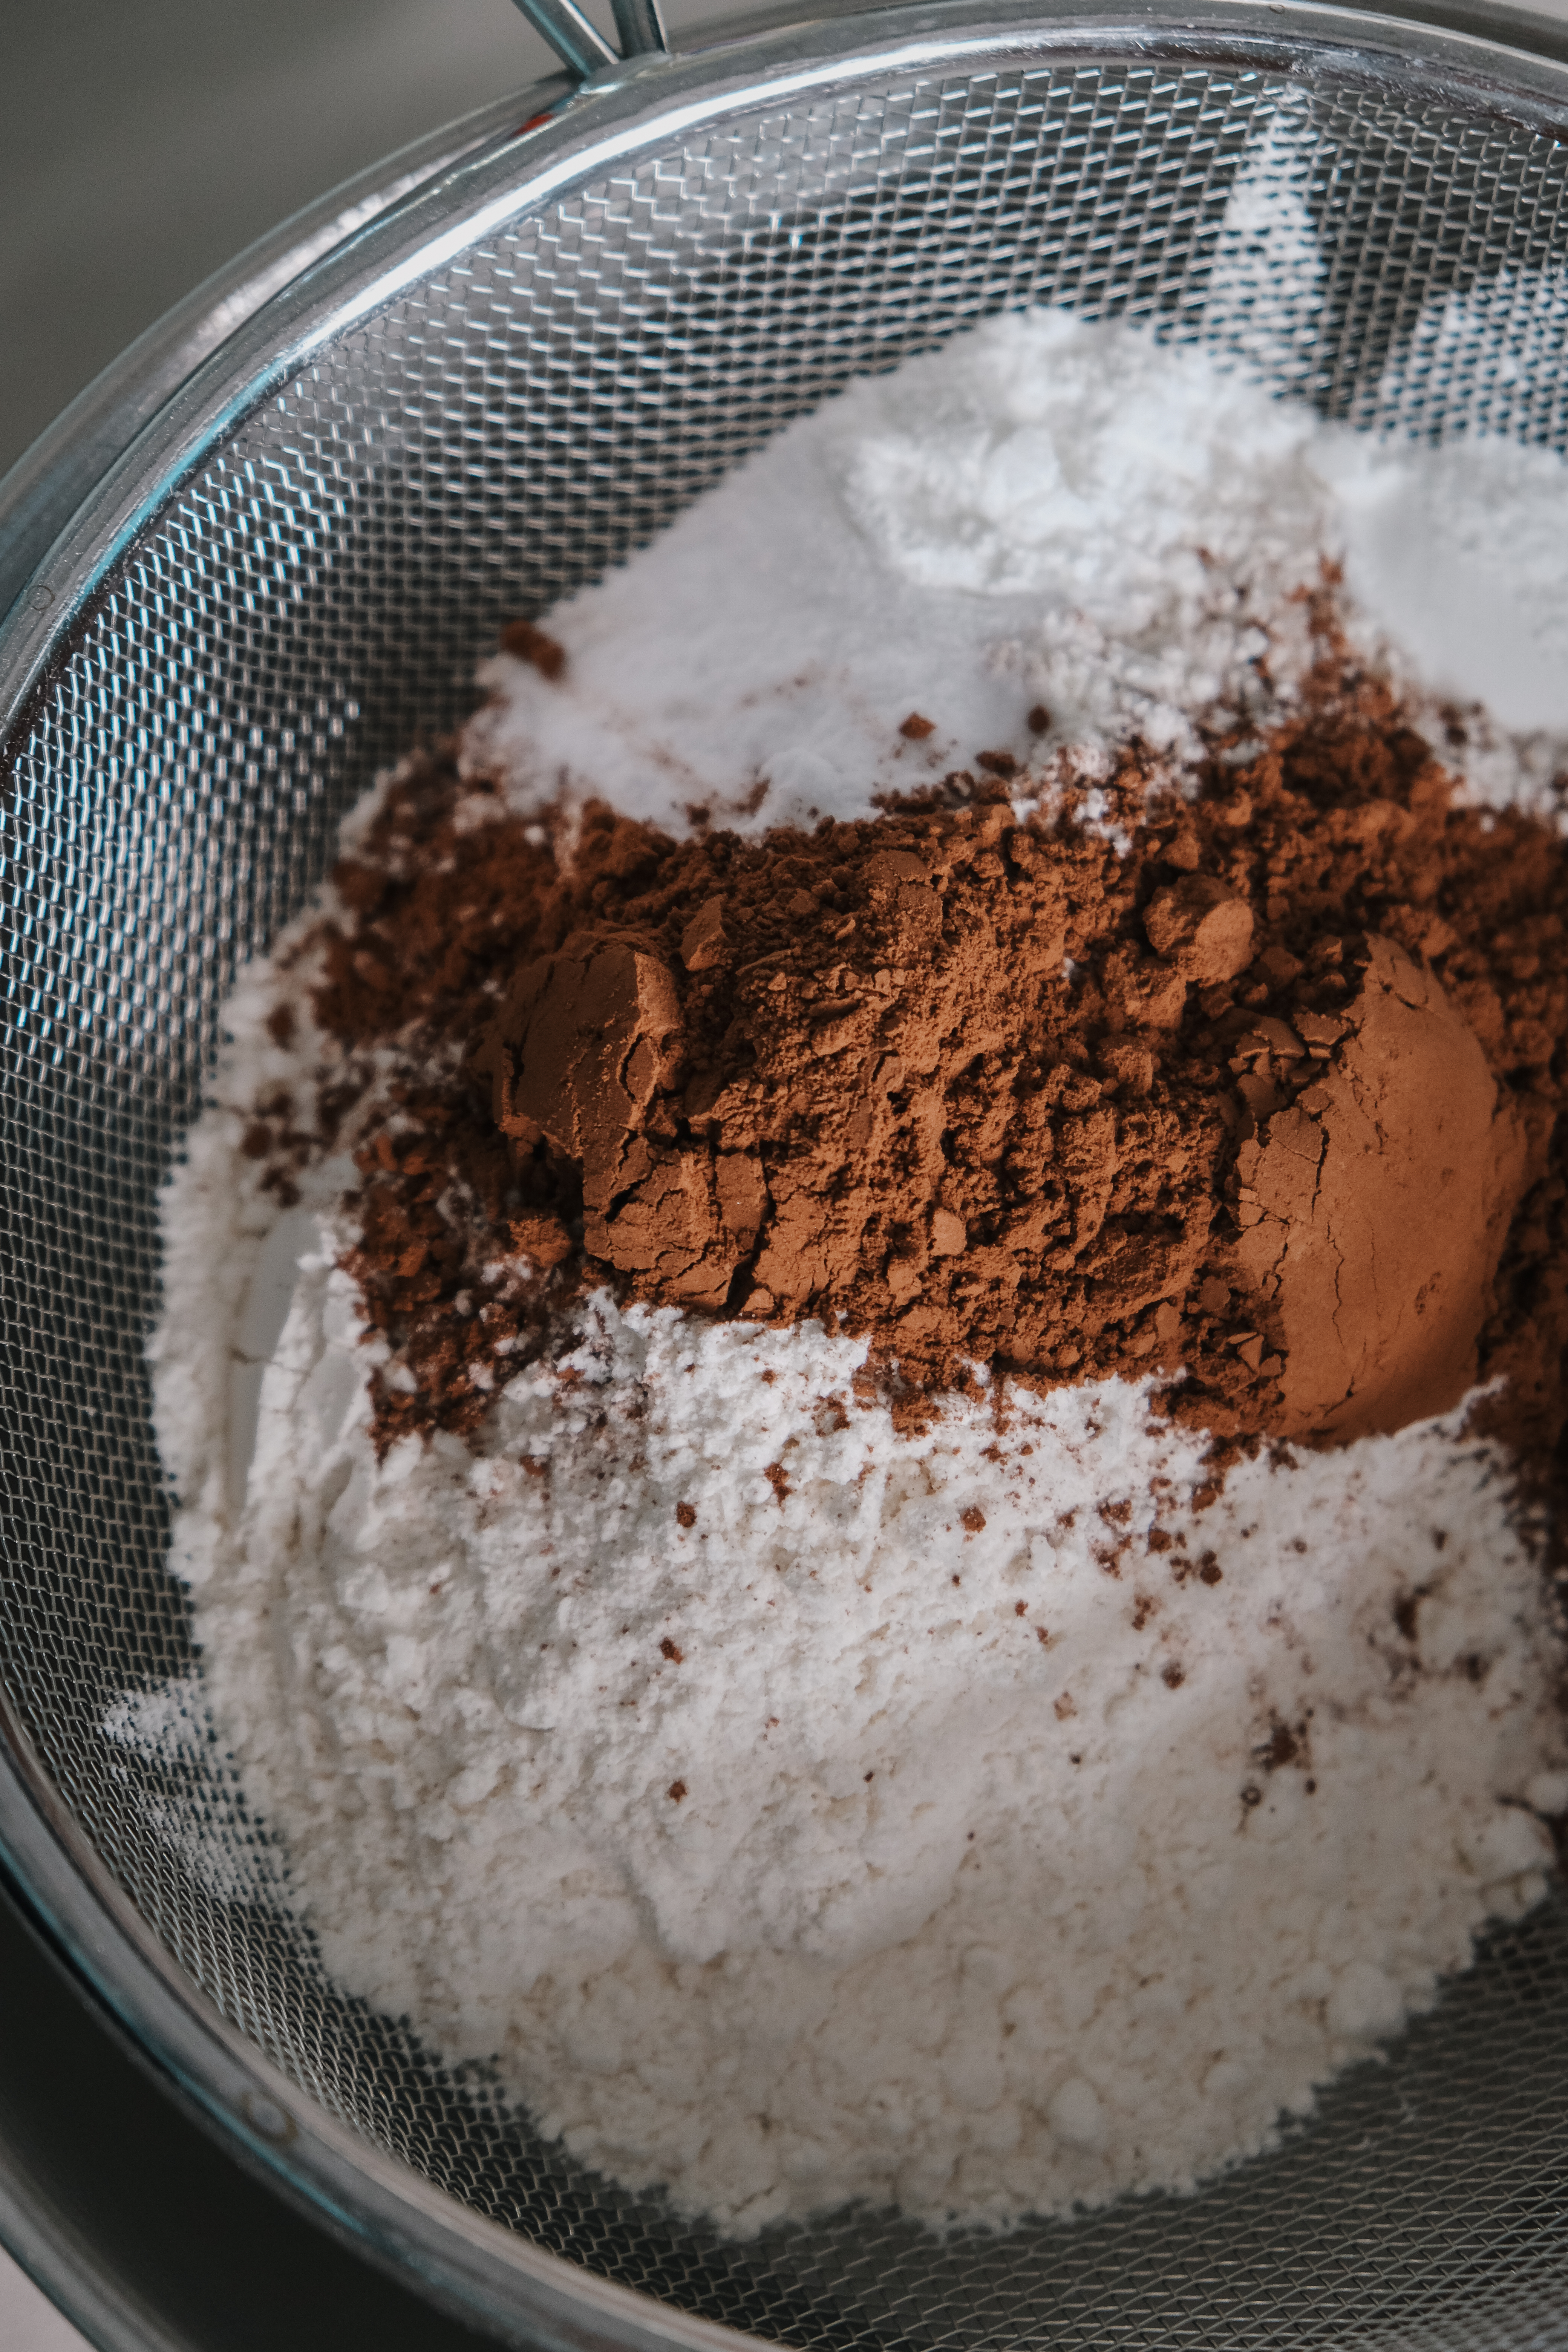
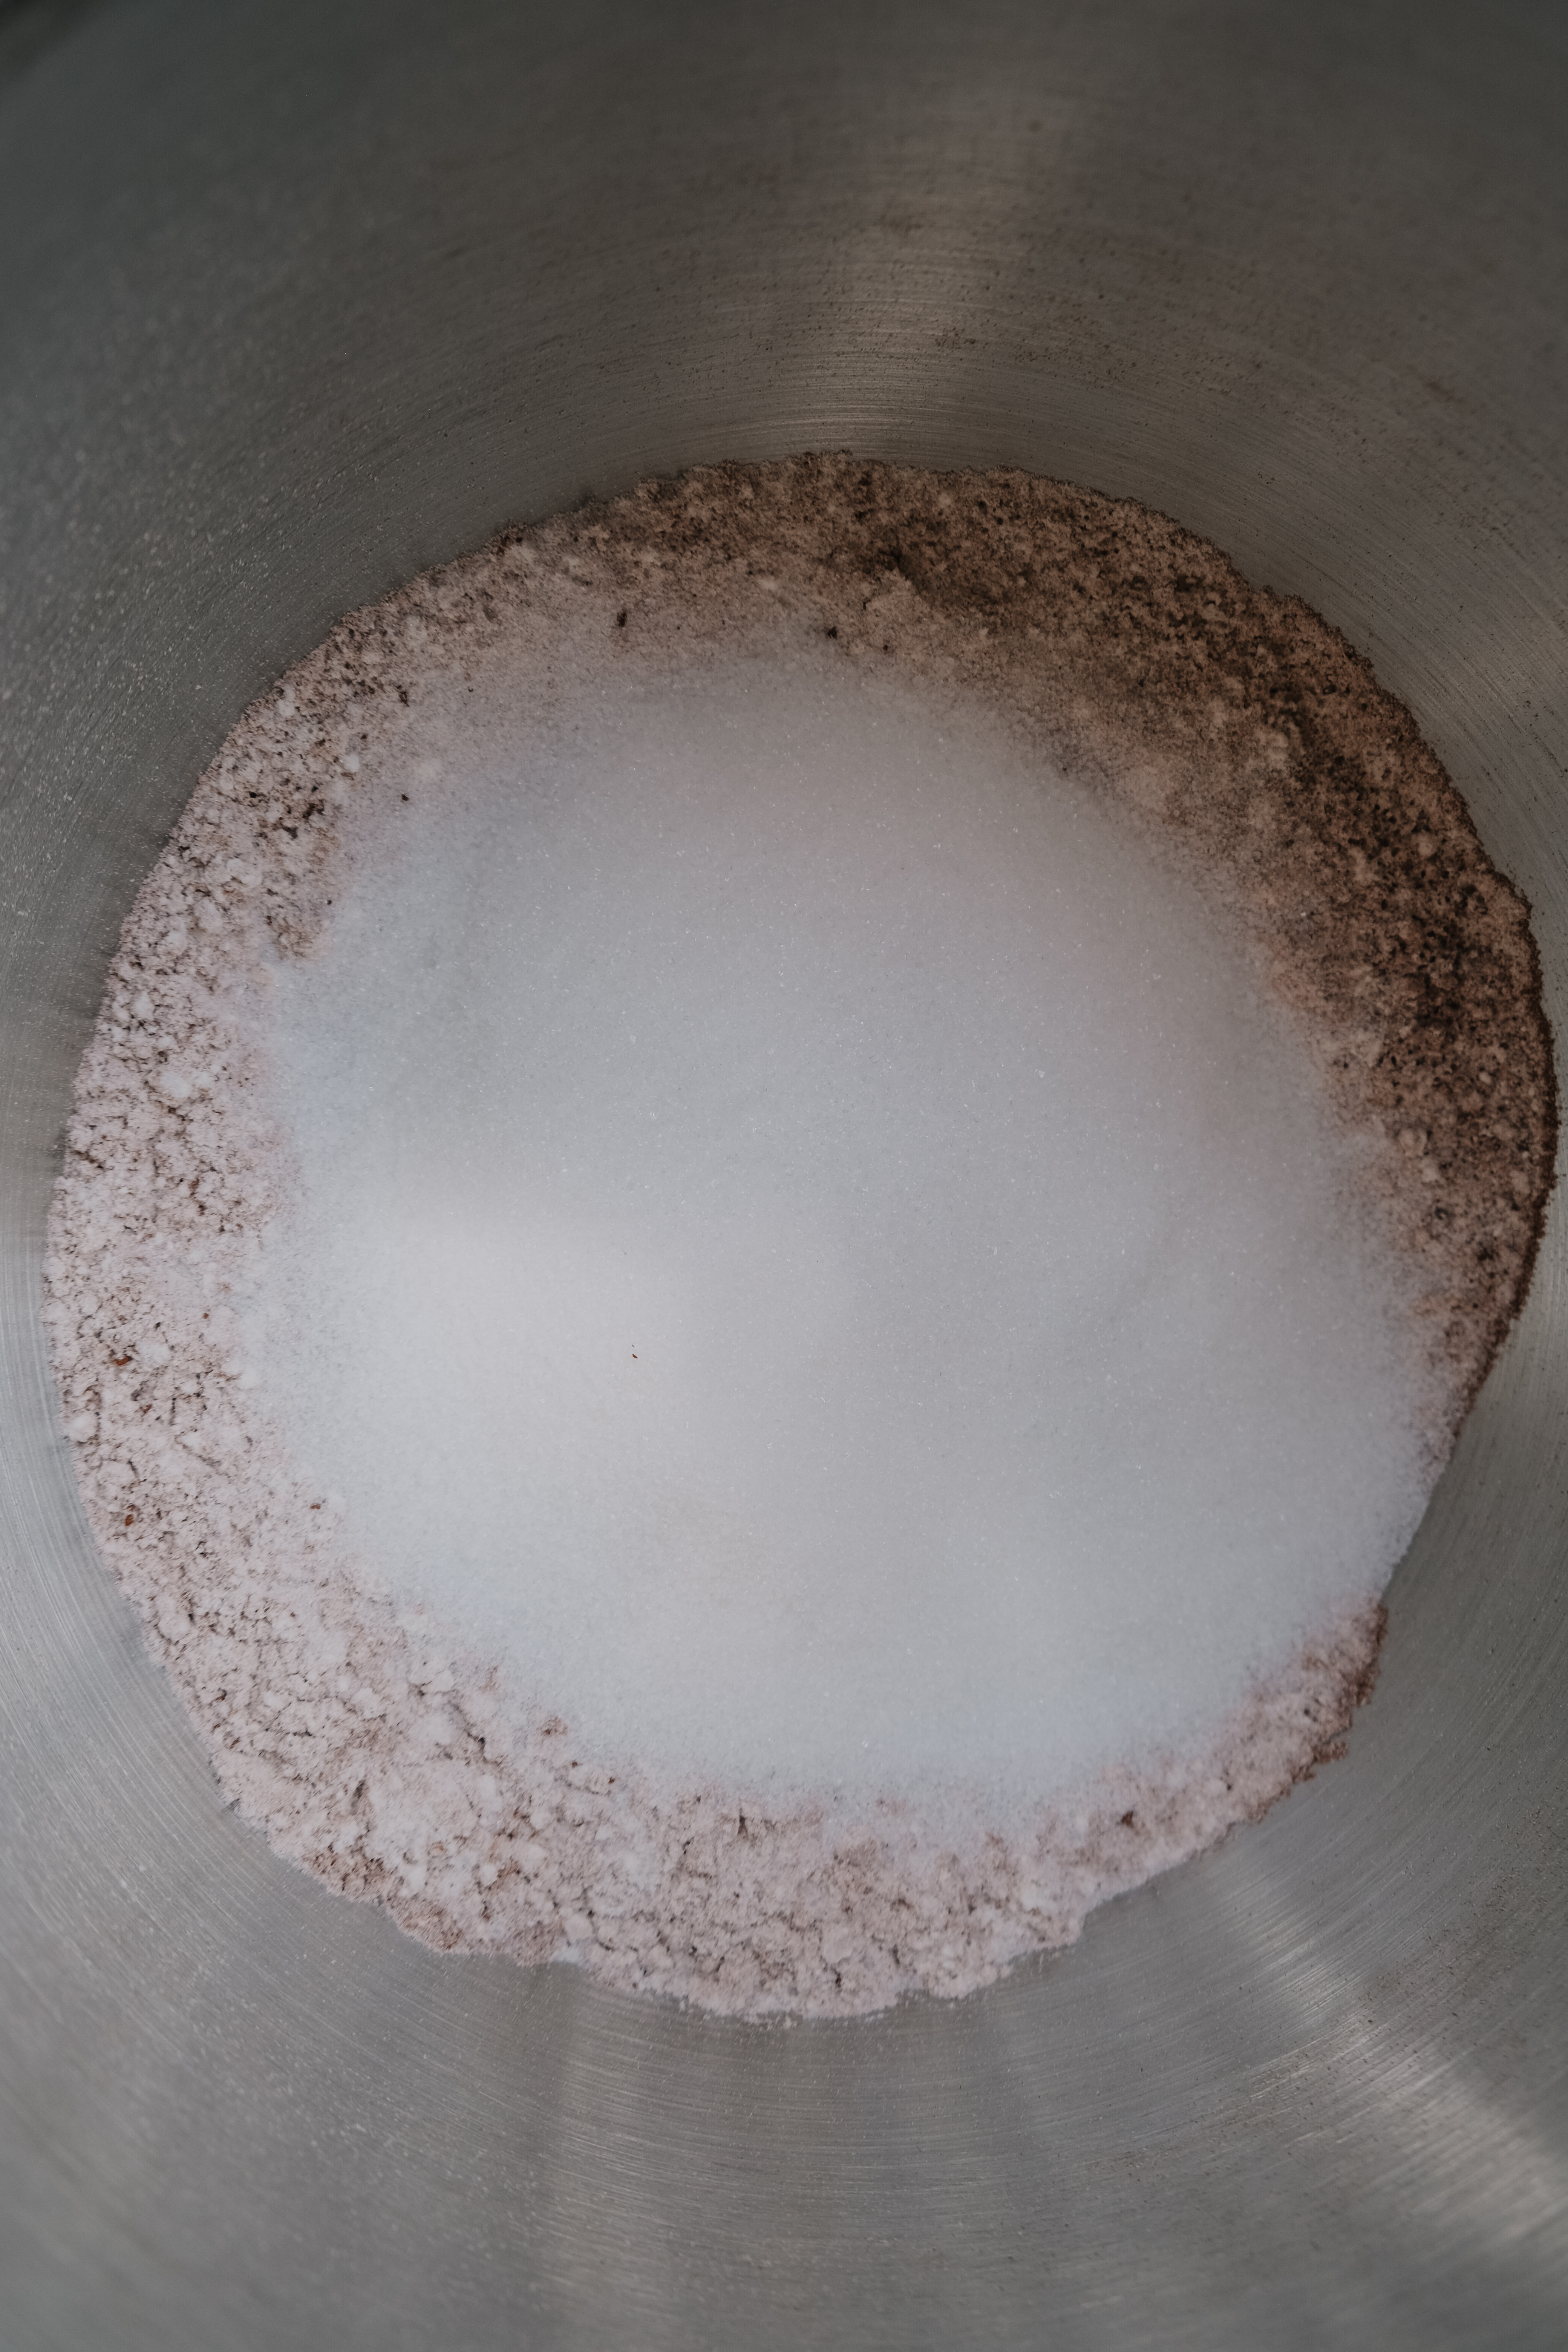
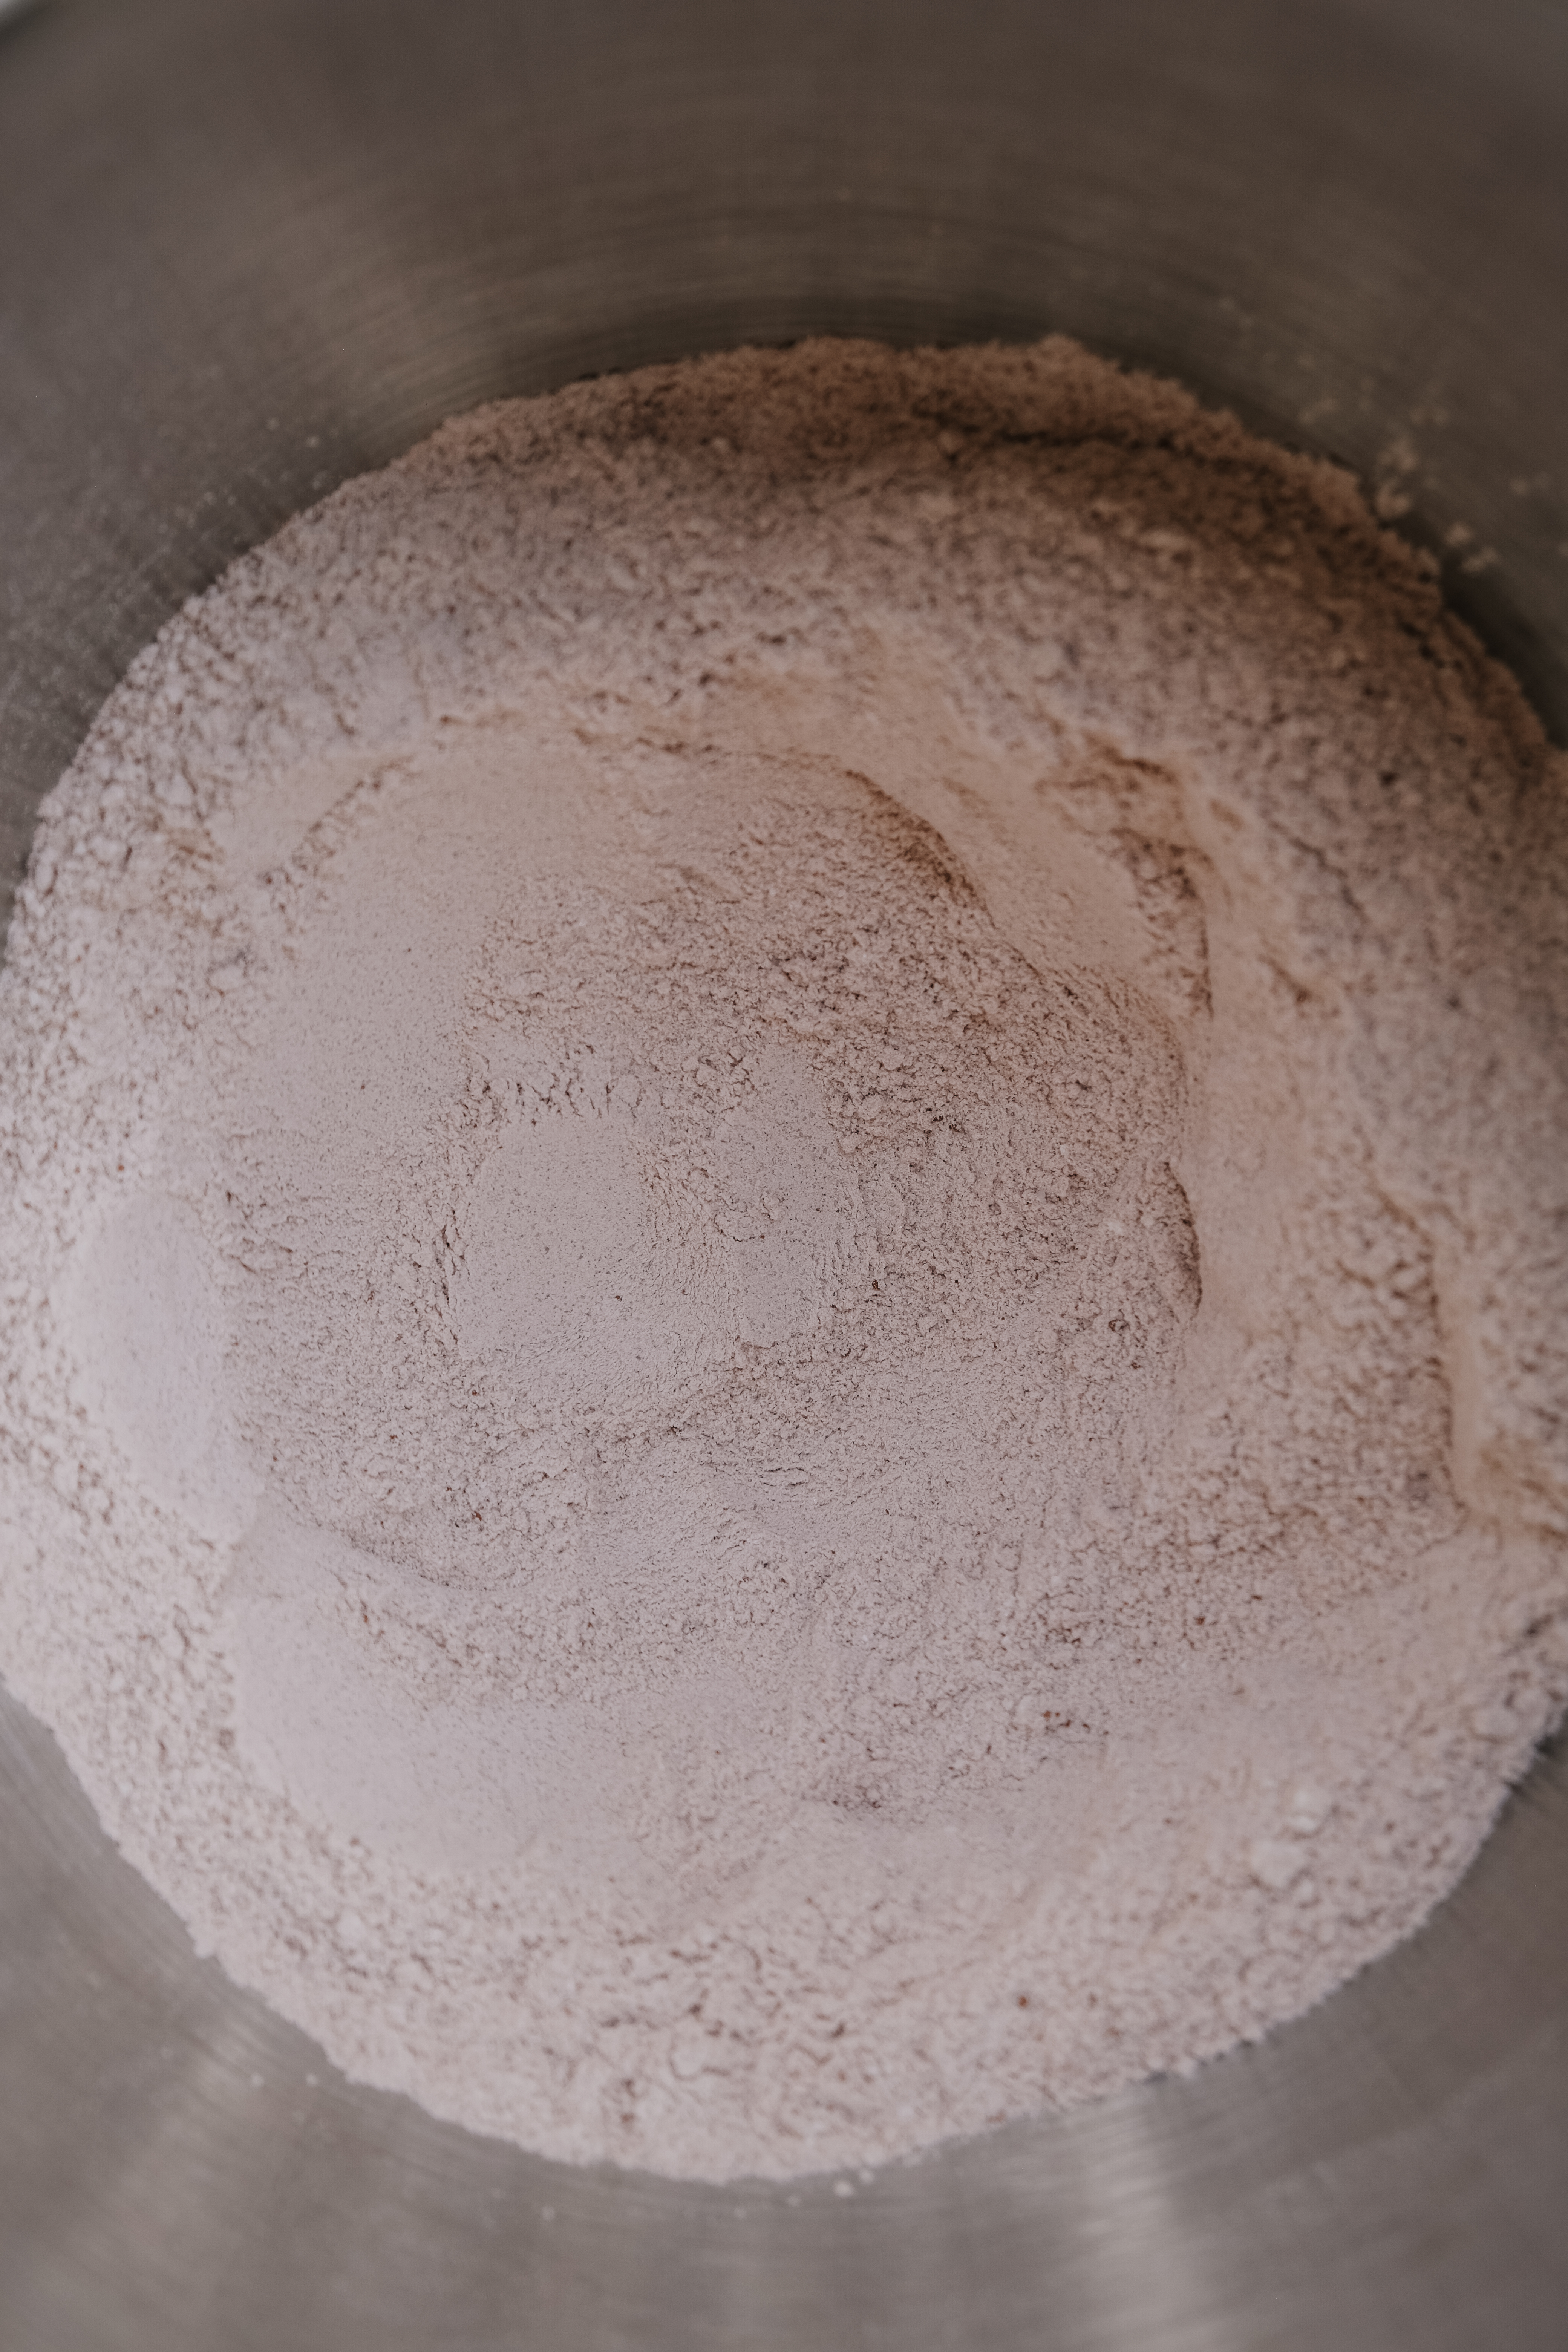
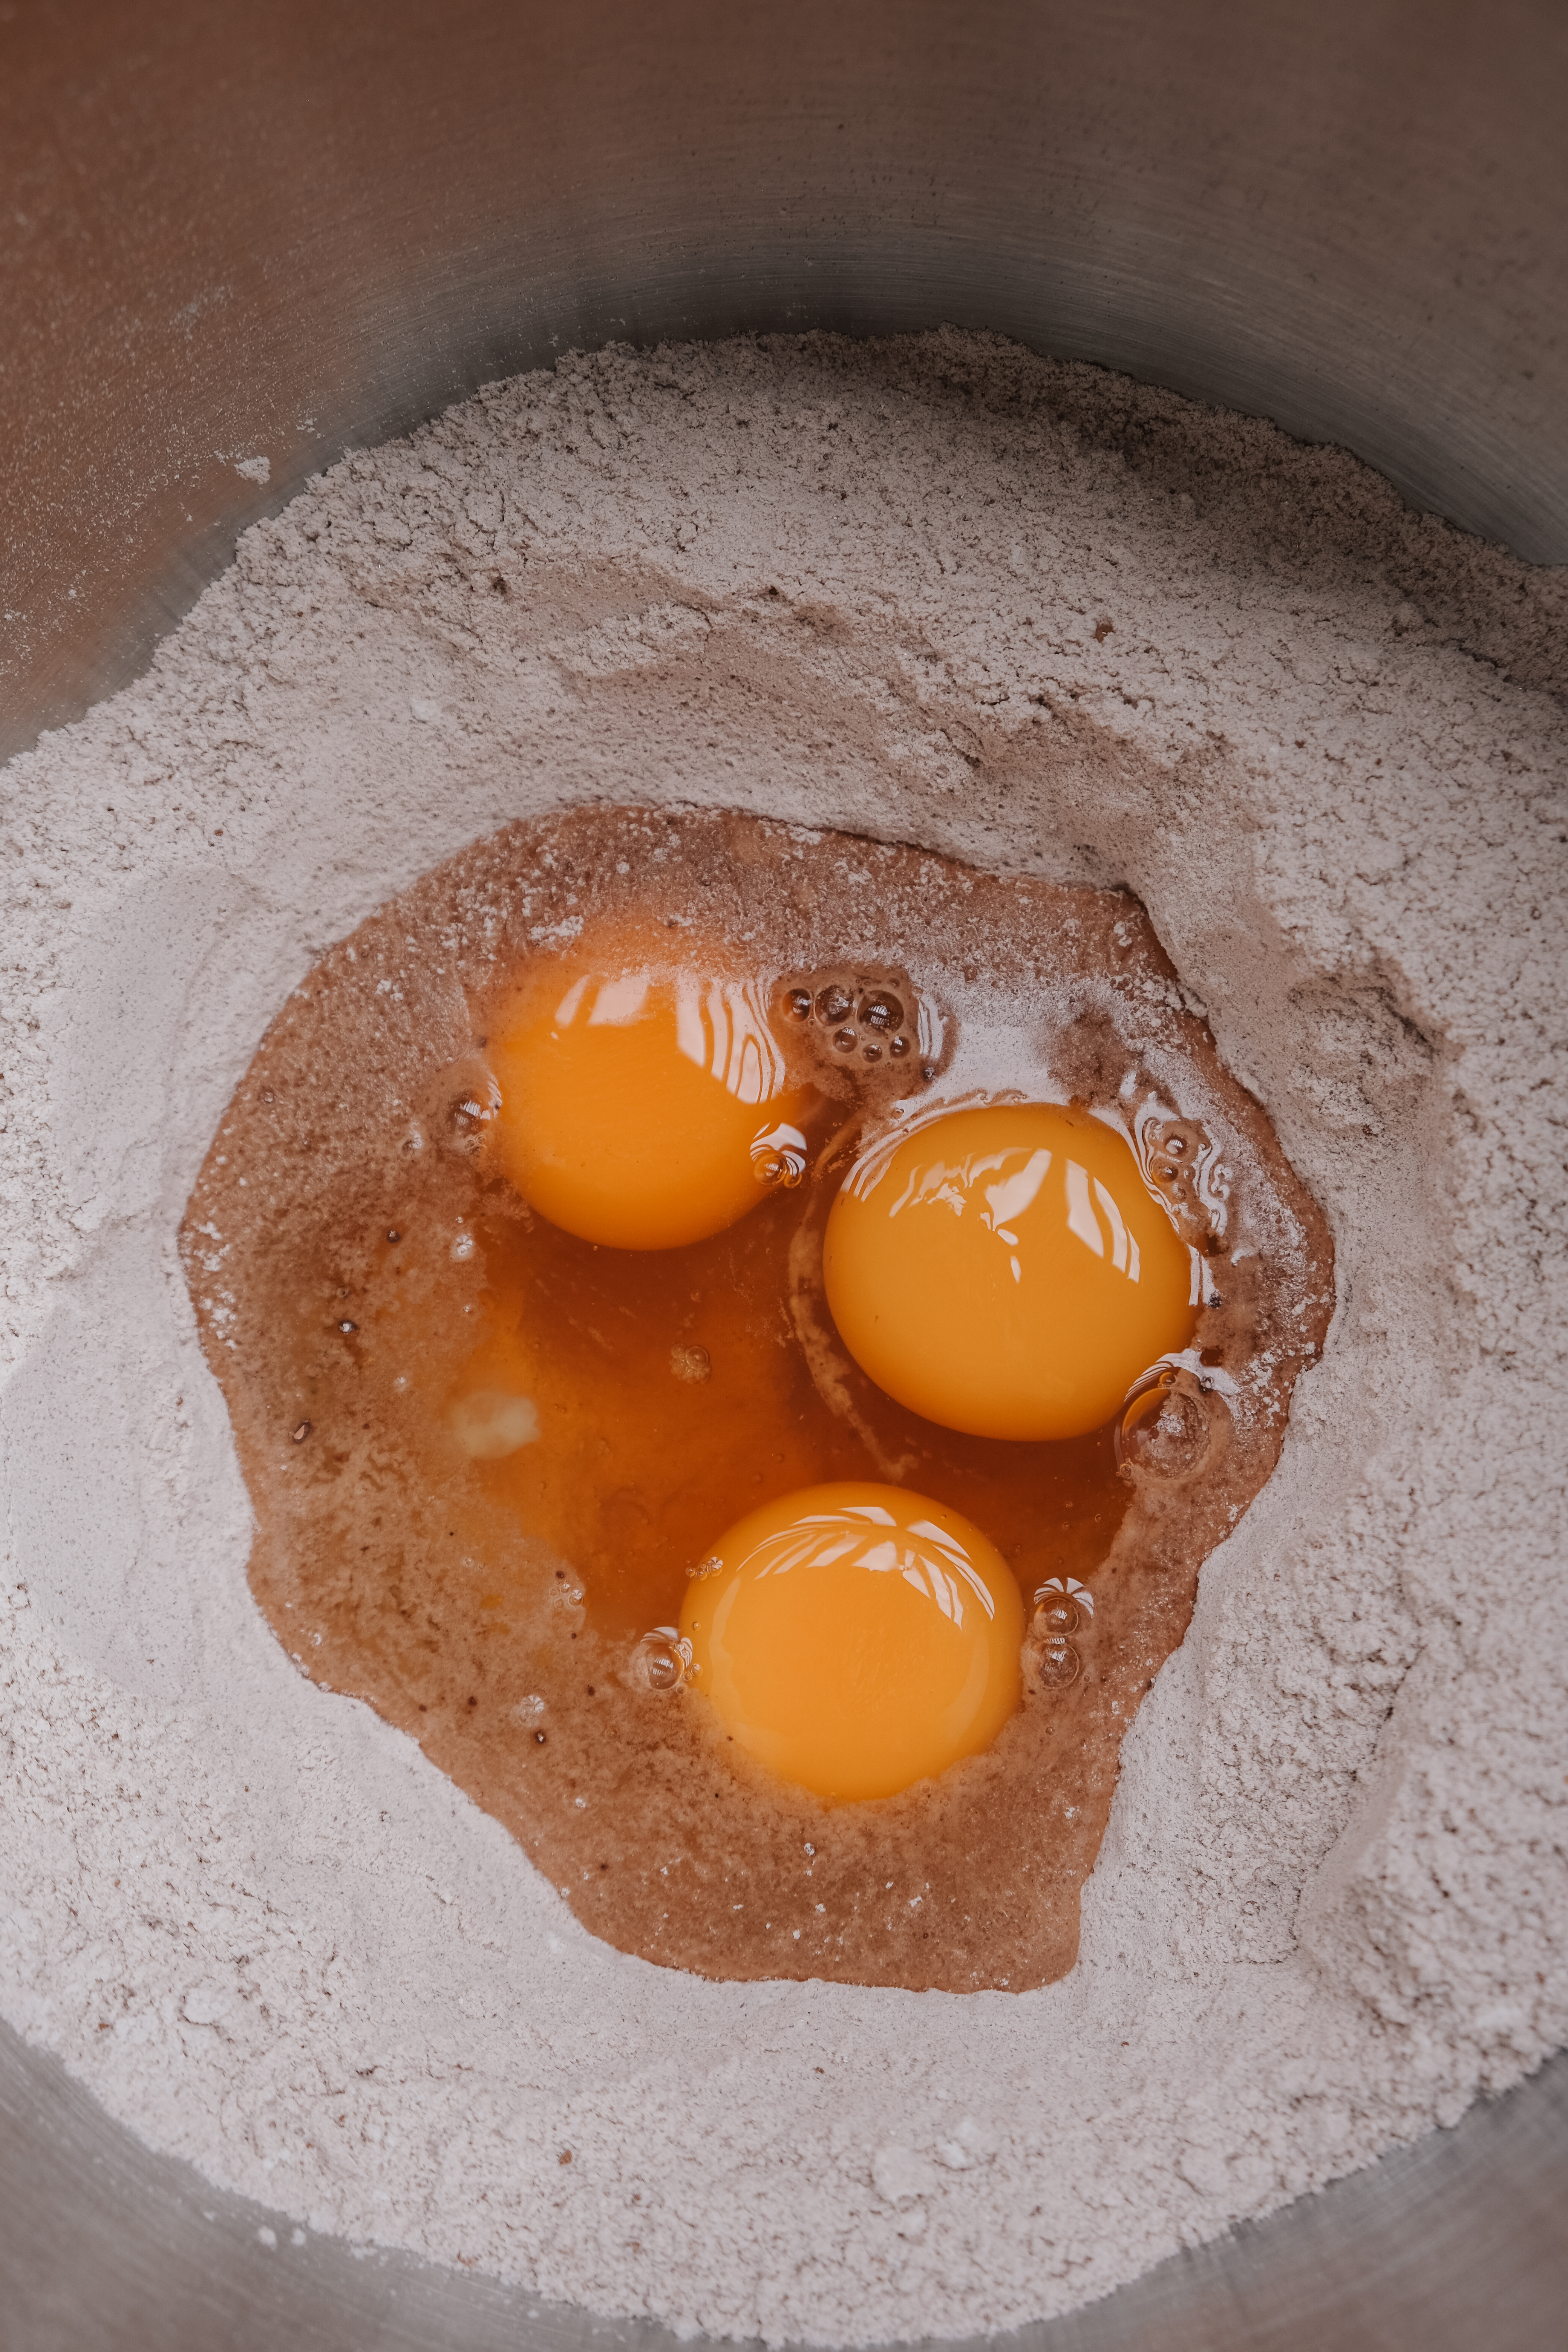
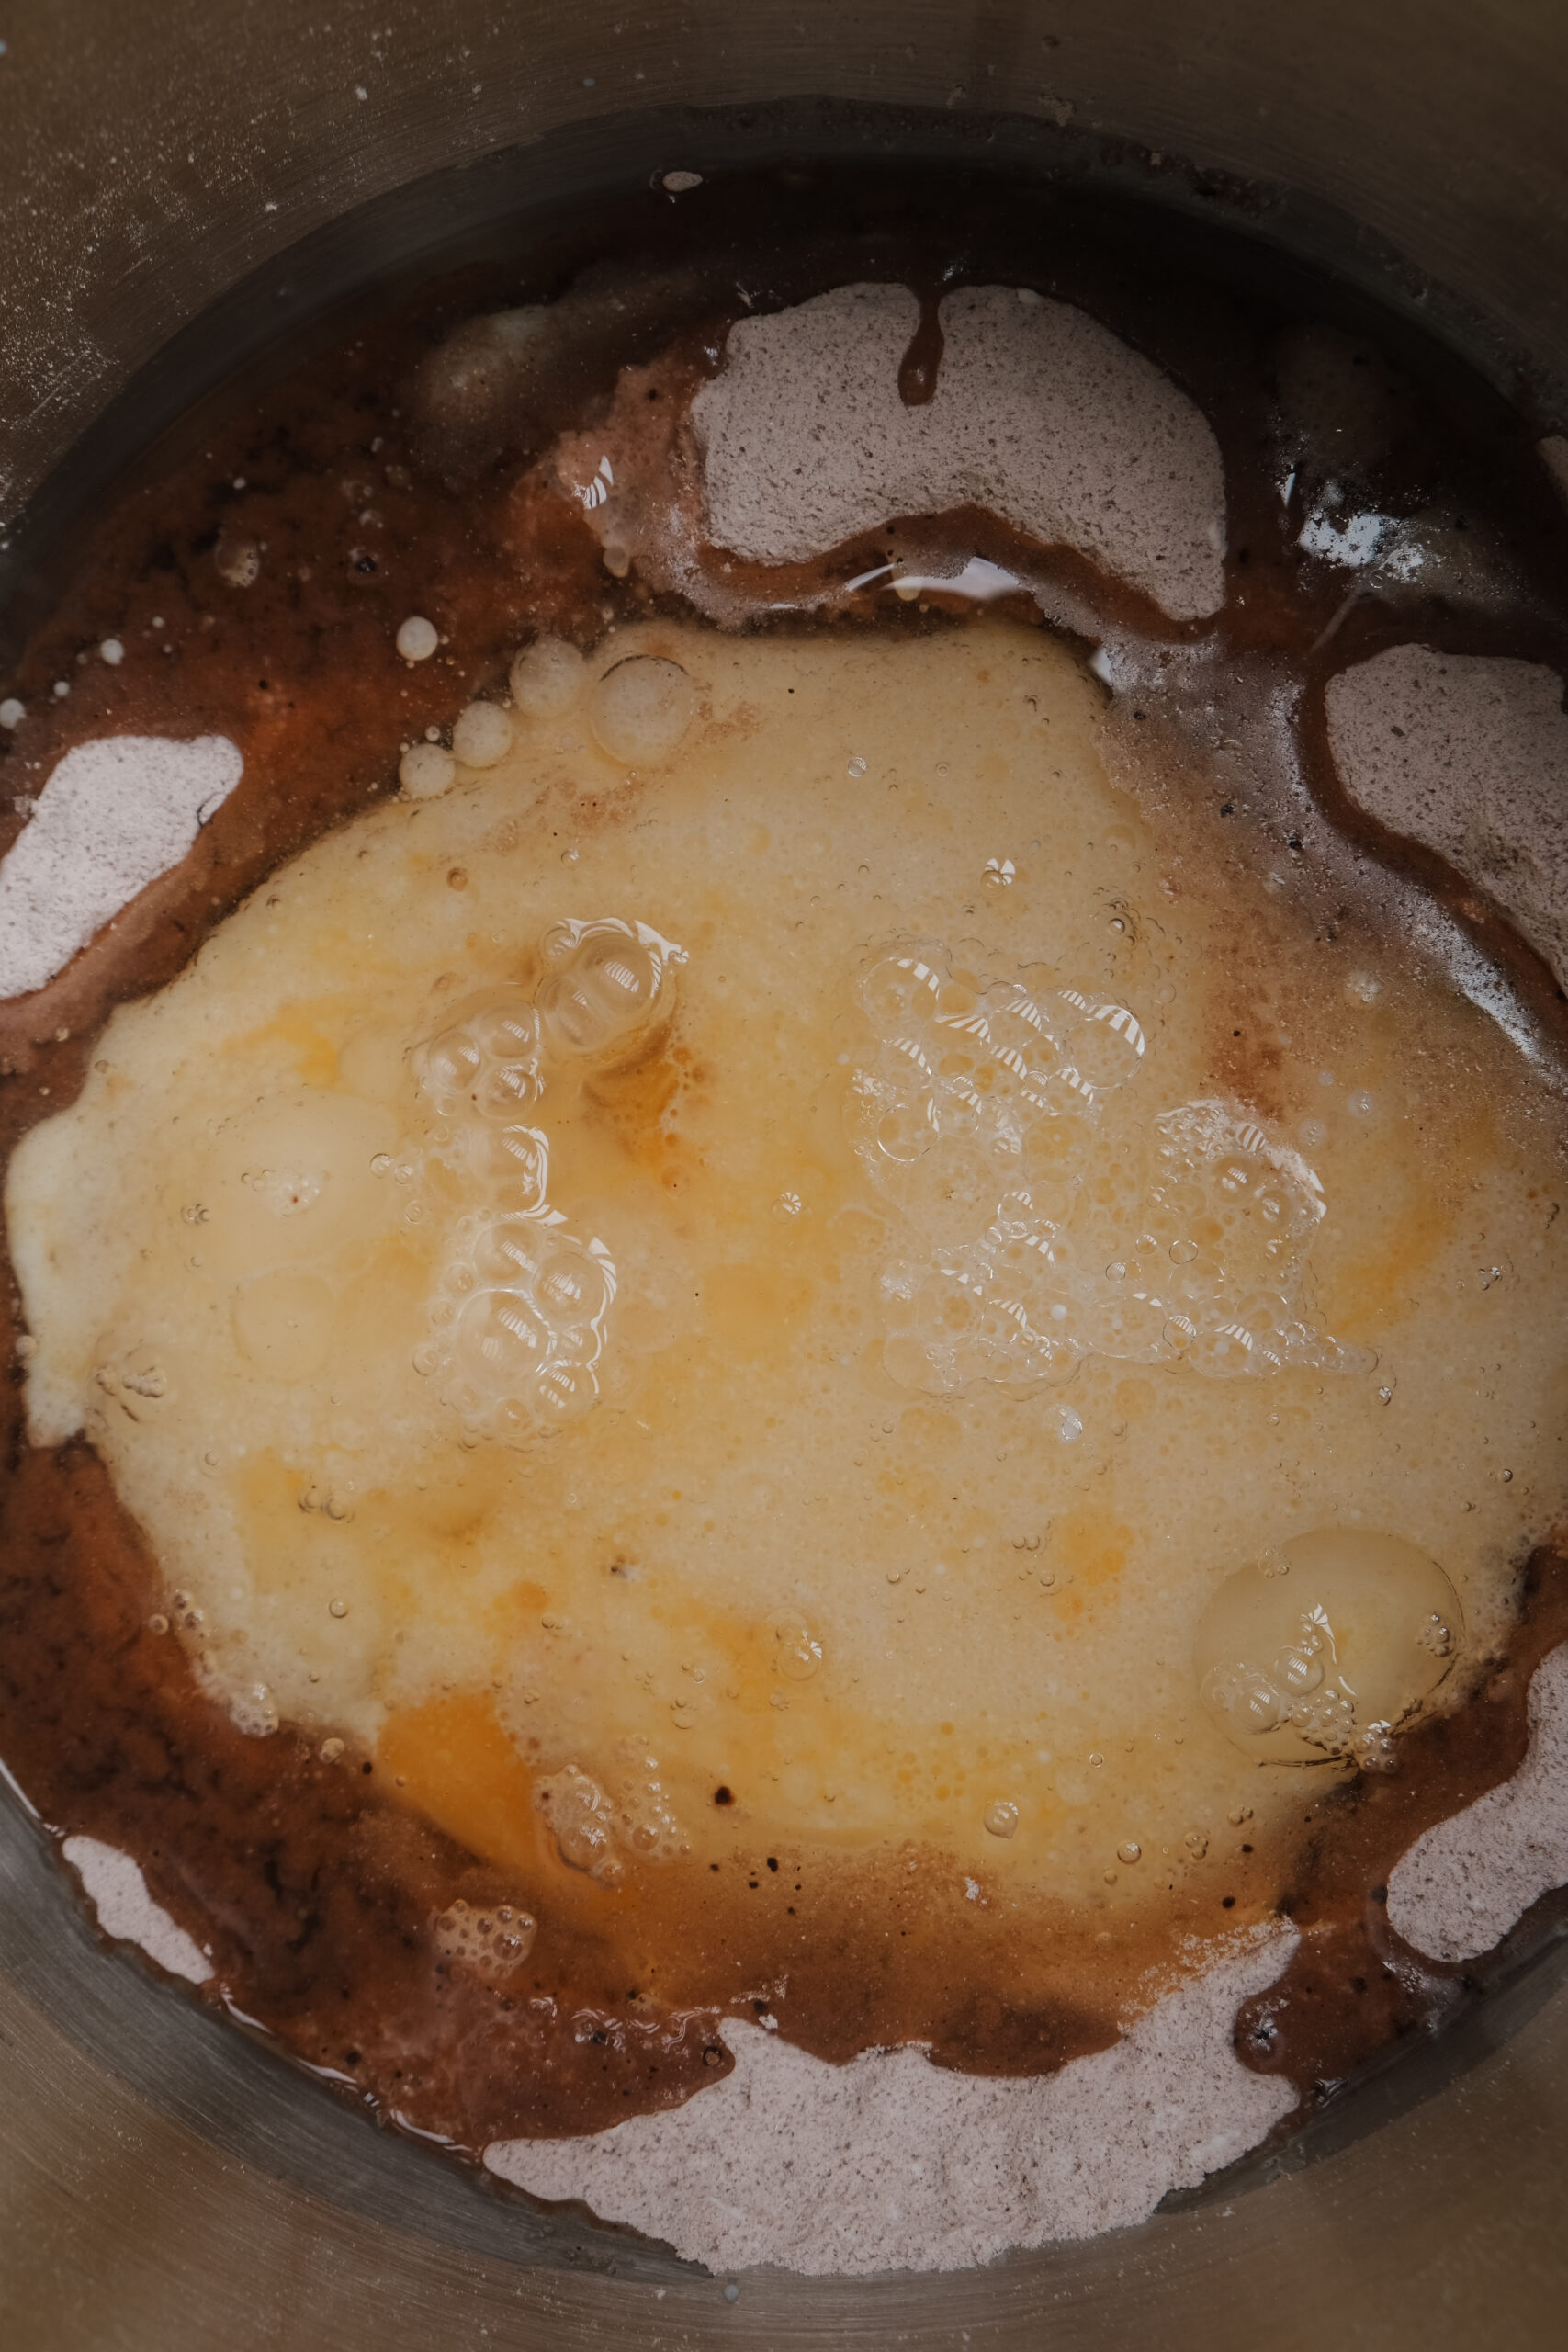
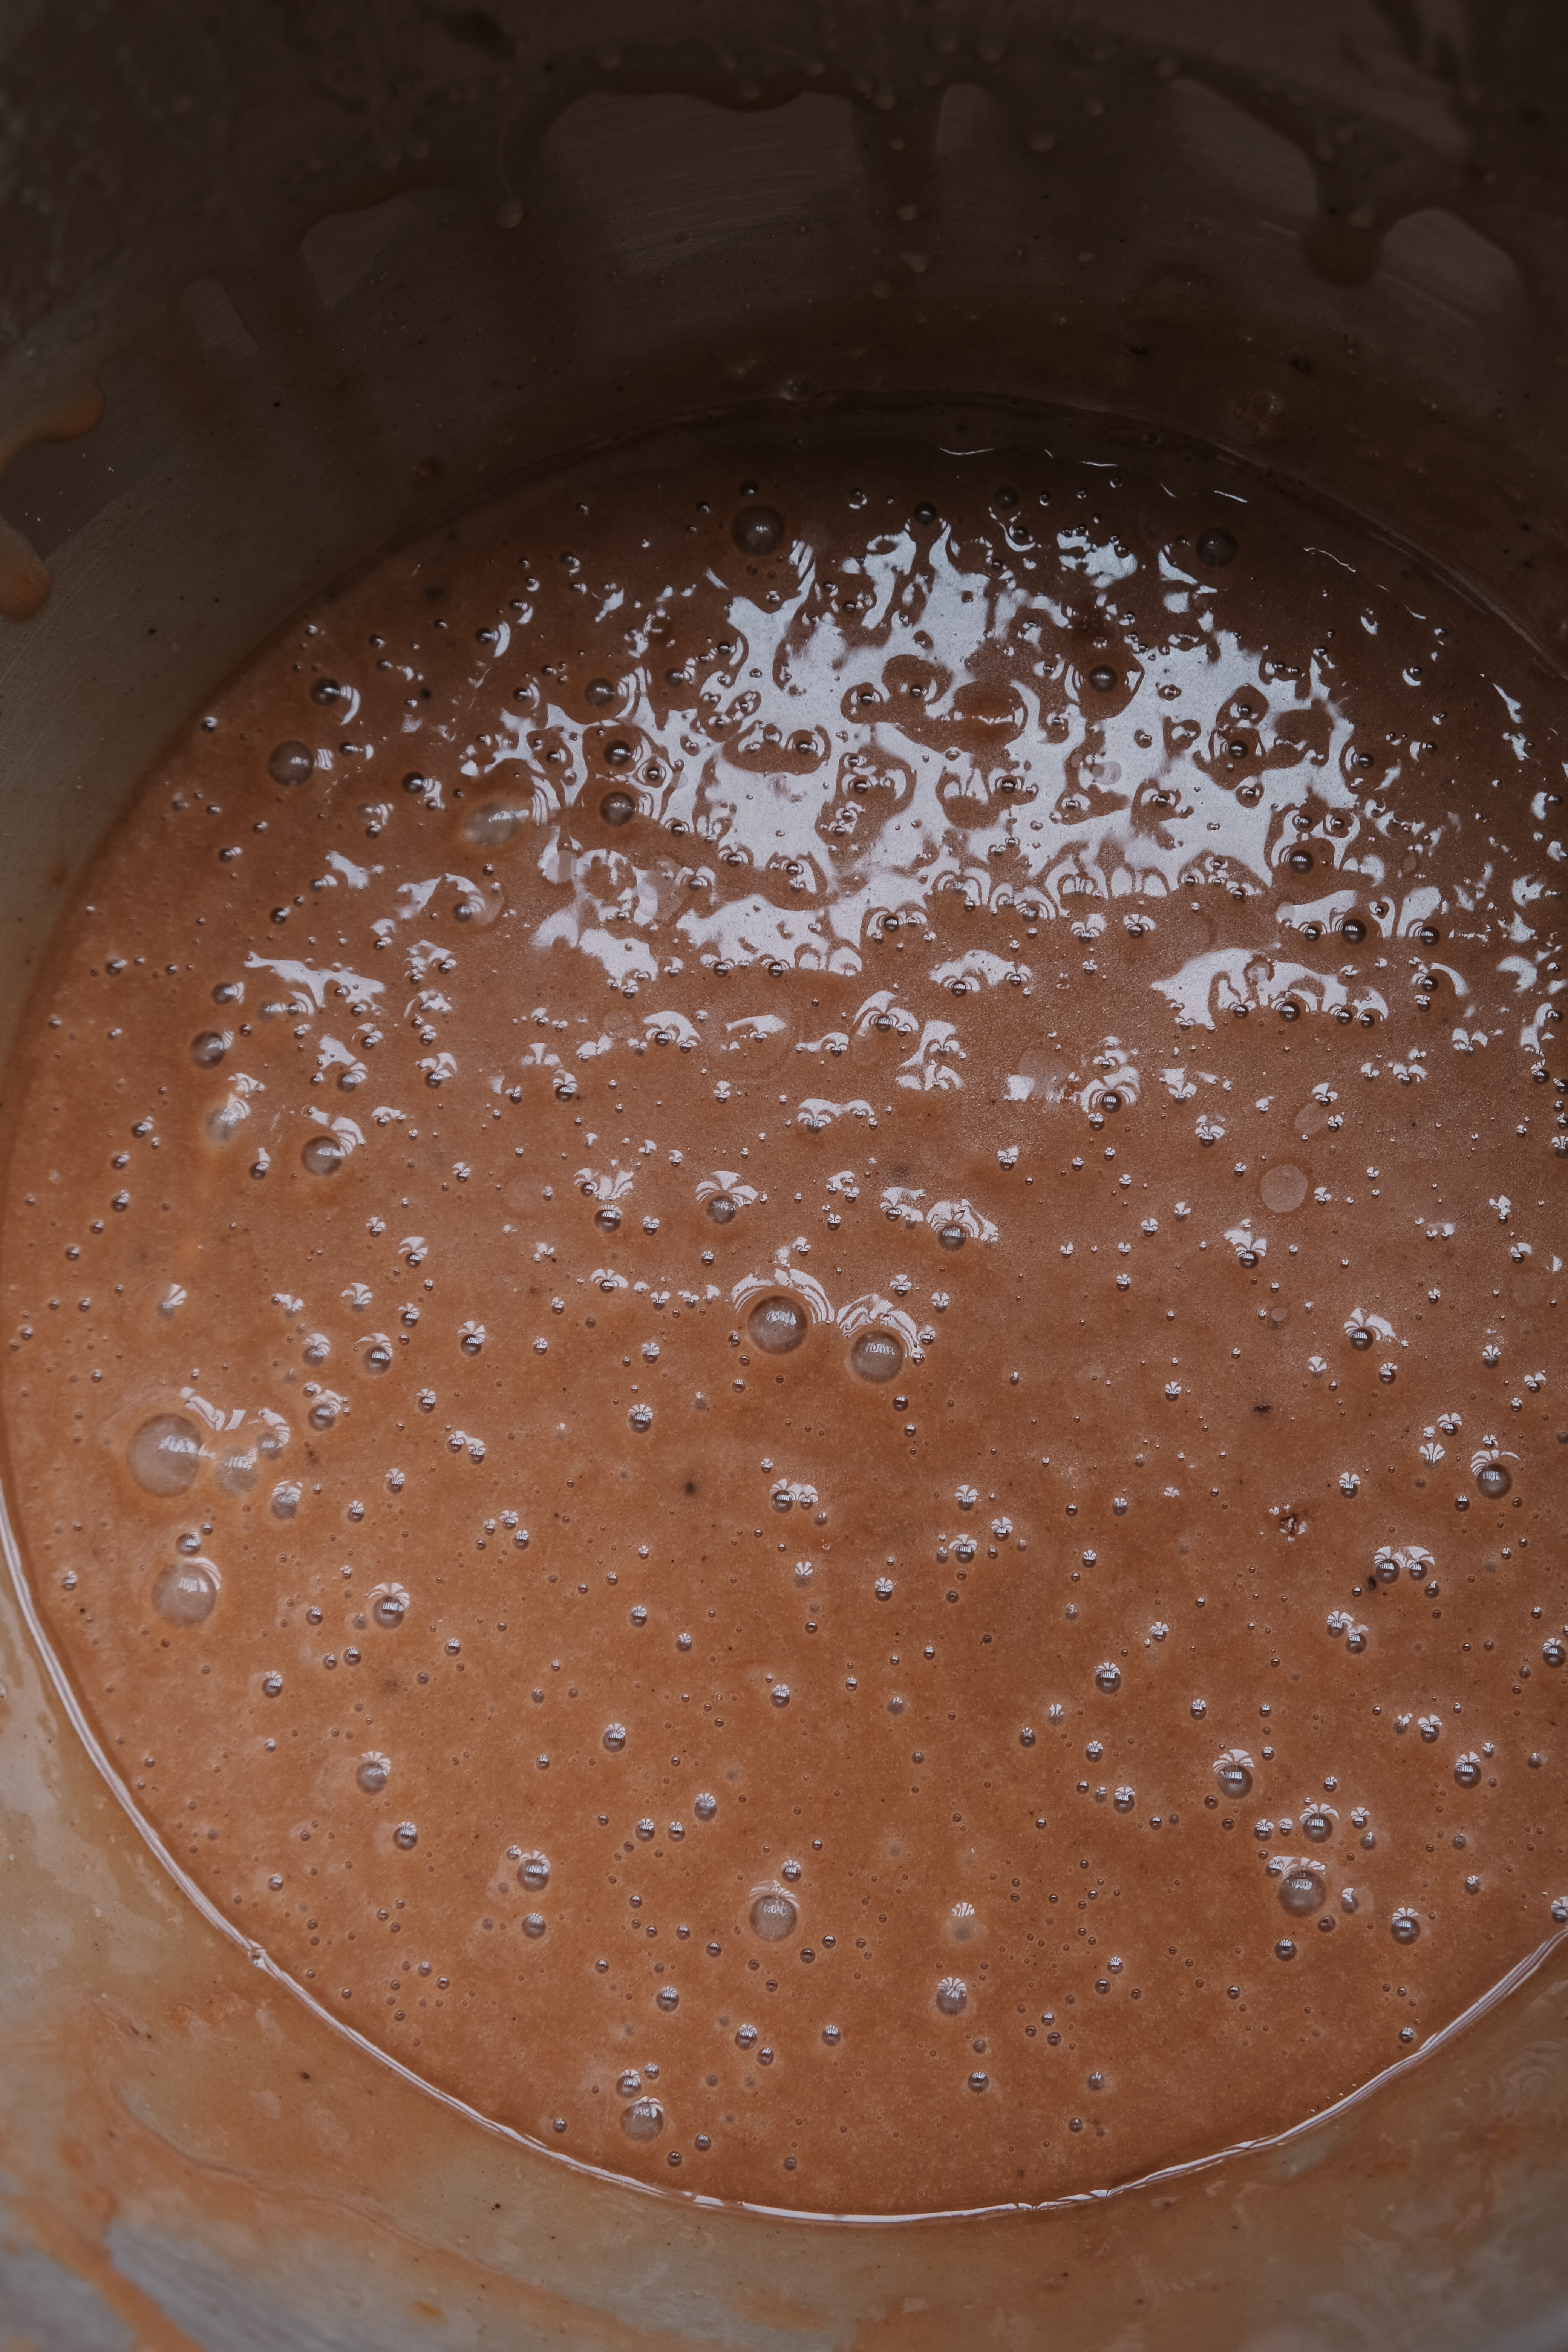
- Sift the flour, cocoa powder, bicarbonate of soda, and baking powder into a large bowl. Add the sugar and mix well. Make a well in the centre of the dry ingredients and add the golden syrup, eggs, sunflower oil, and milk. Beat with an electric whisk until smooth and then pour into the prepared tin.
- Bake for around 45 minutes and have a peek in the oven window. The cake should have a crust on top – if it’s catching, quickly open the oven and cover it in a bit of tin foil. Bake for a further 20 minutes or until a skewer inserted comes out clean. Allow to stand for about 10 minutes before removing from the tin and cooling completely on a wire rack.
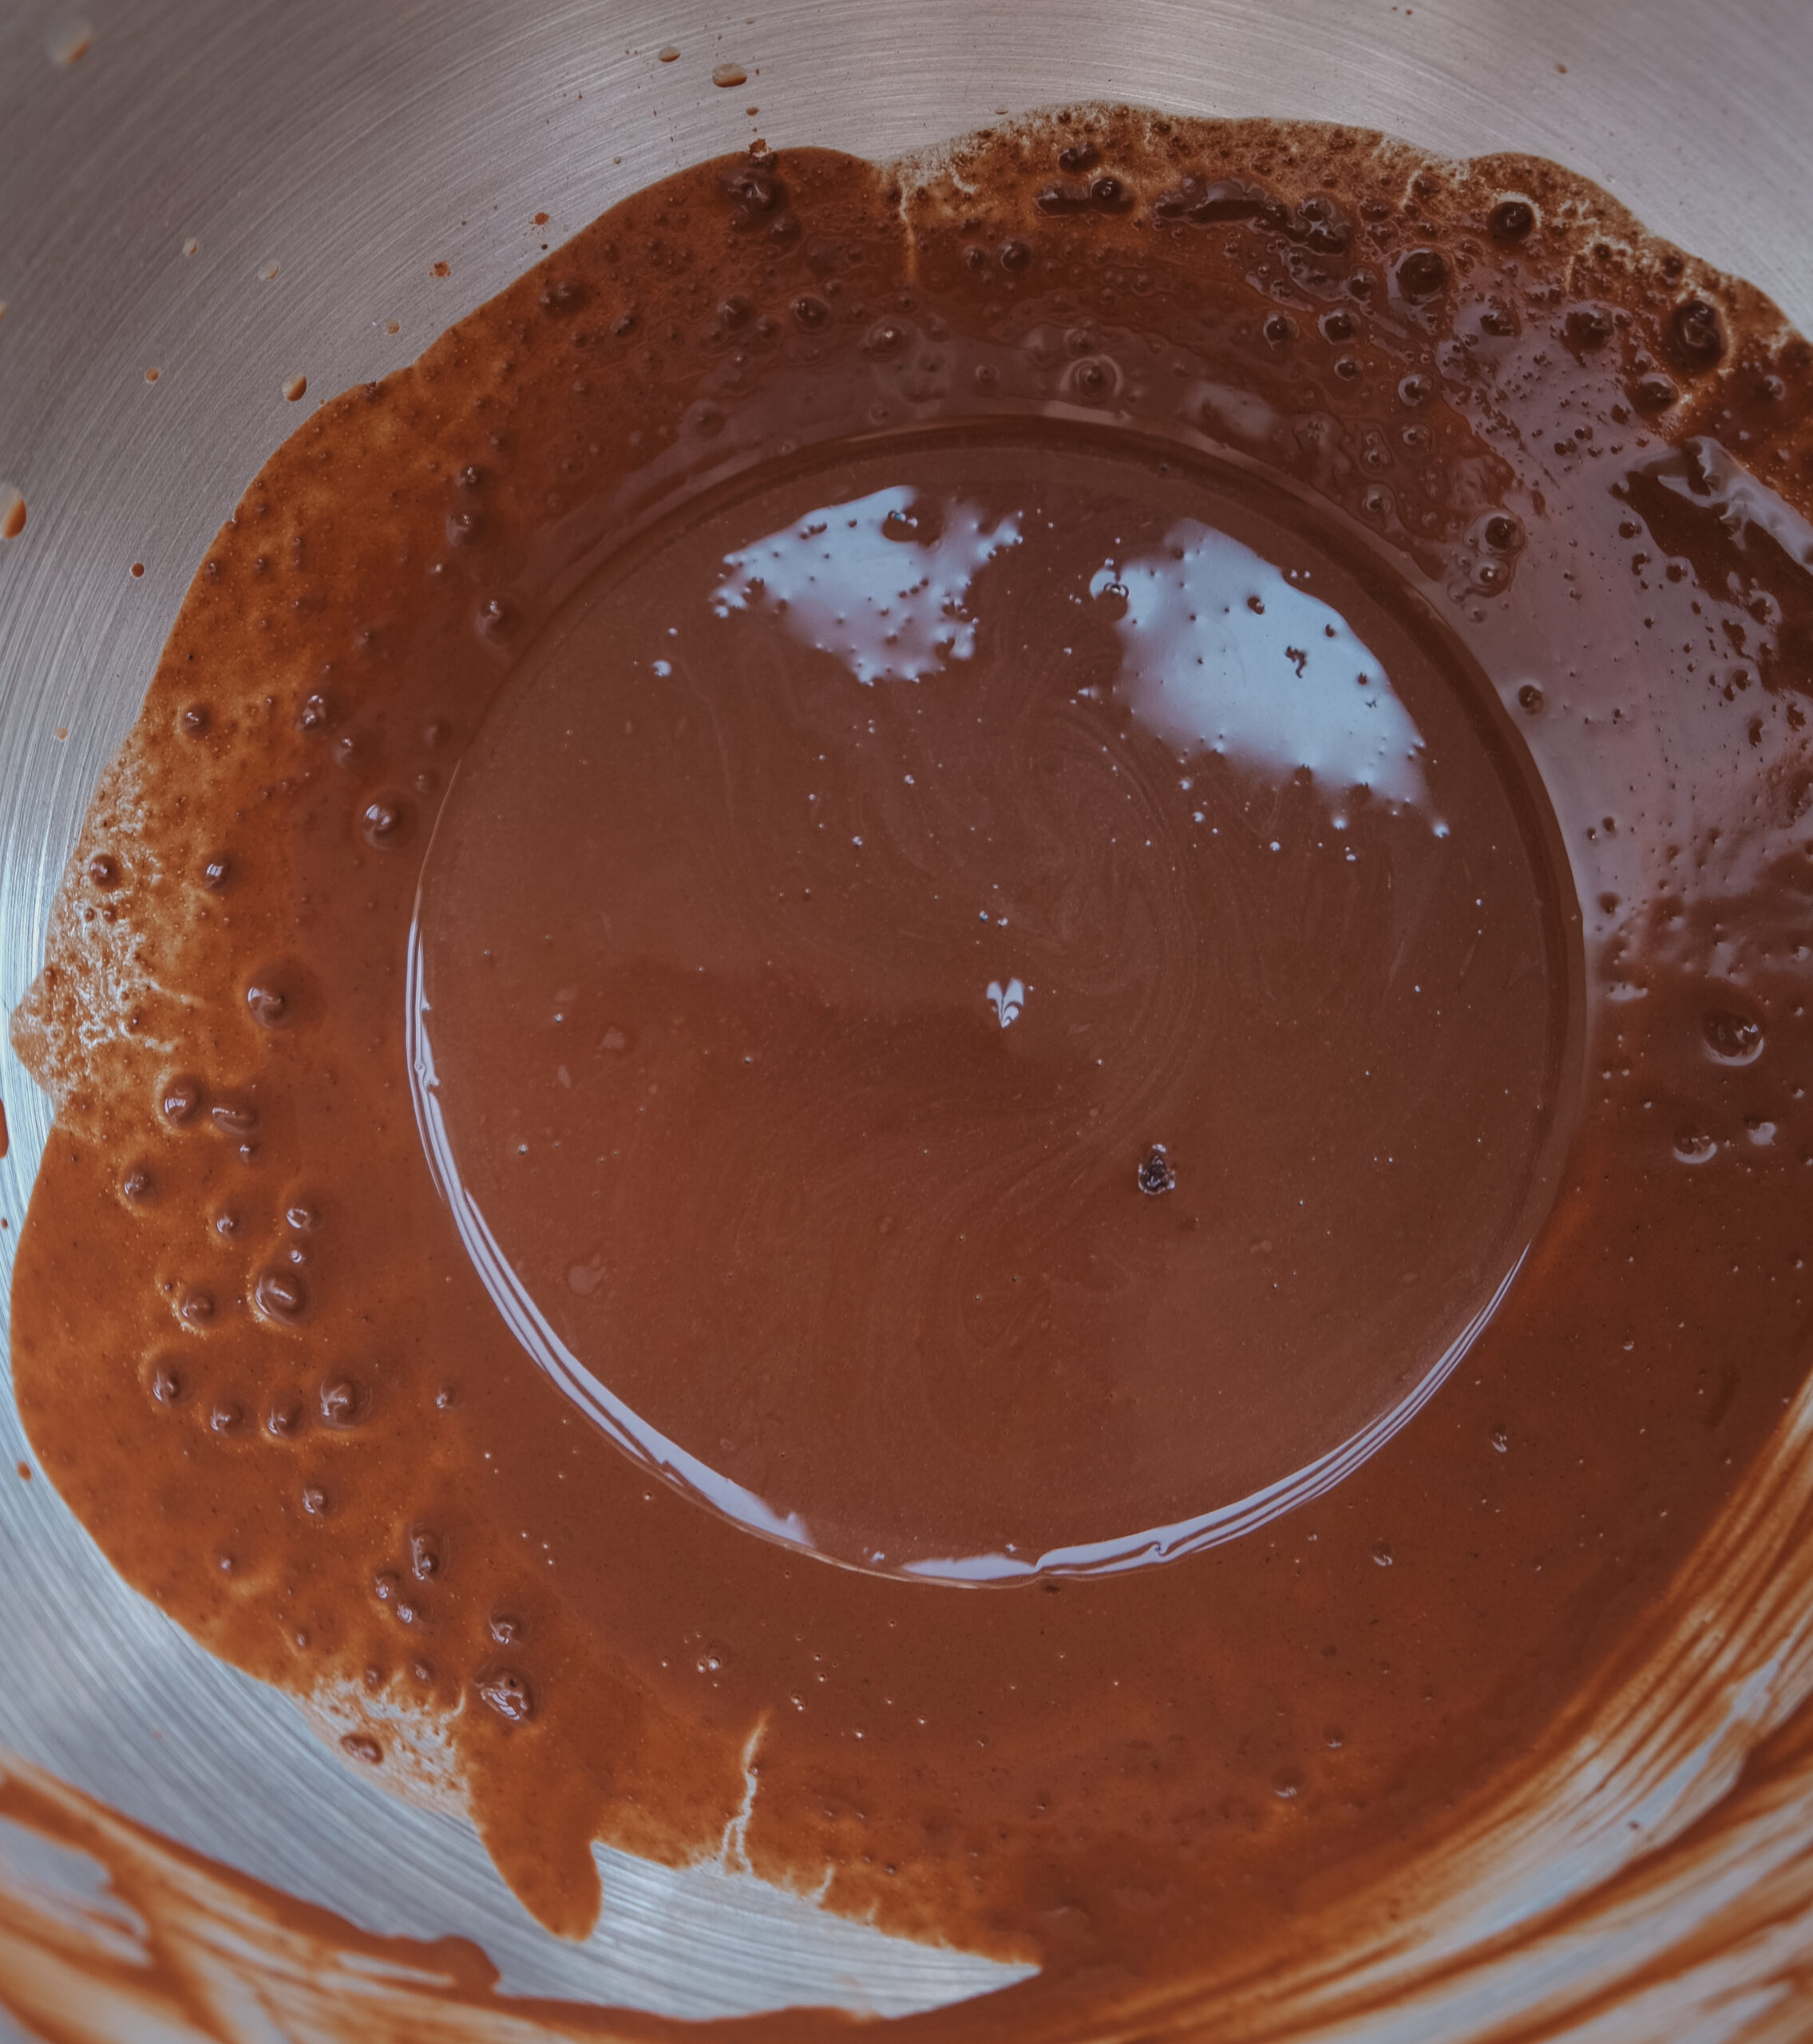
- To make the buttercream, mix together the cocoa powder with 4 tablespoons of hot water. Allow to cool slightly before adding the butter and whisking for a few minutes to combine.
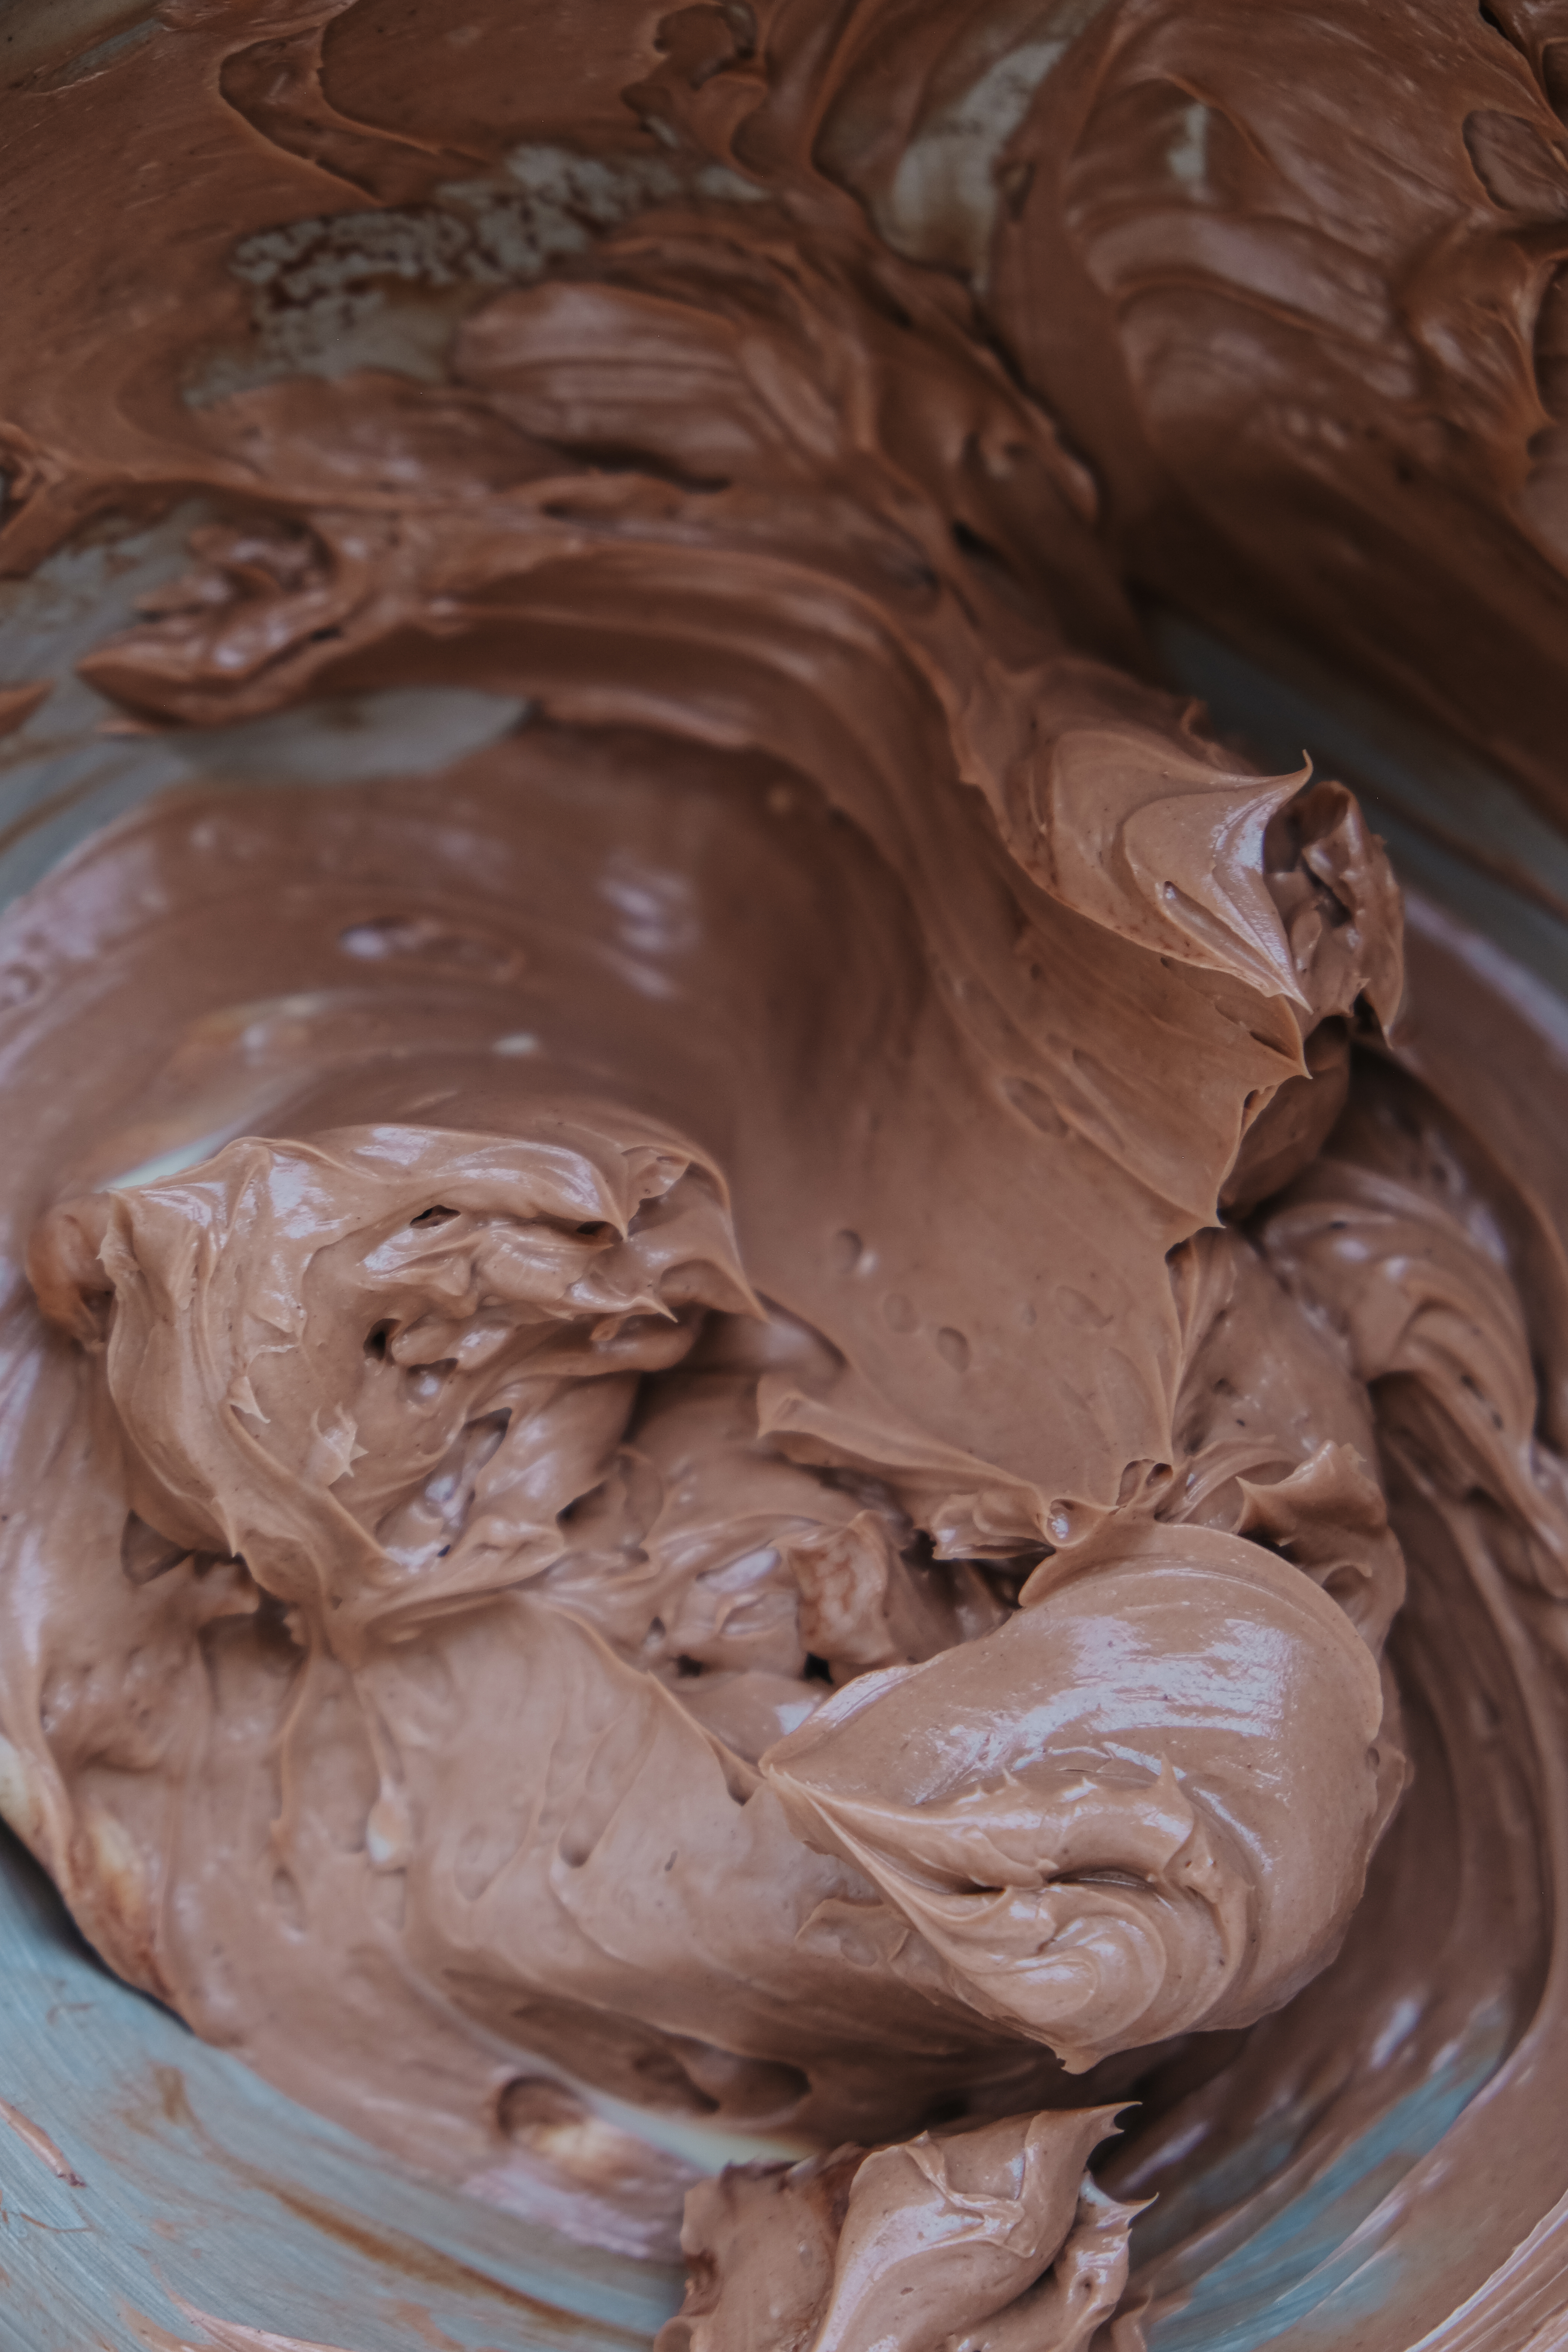
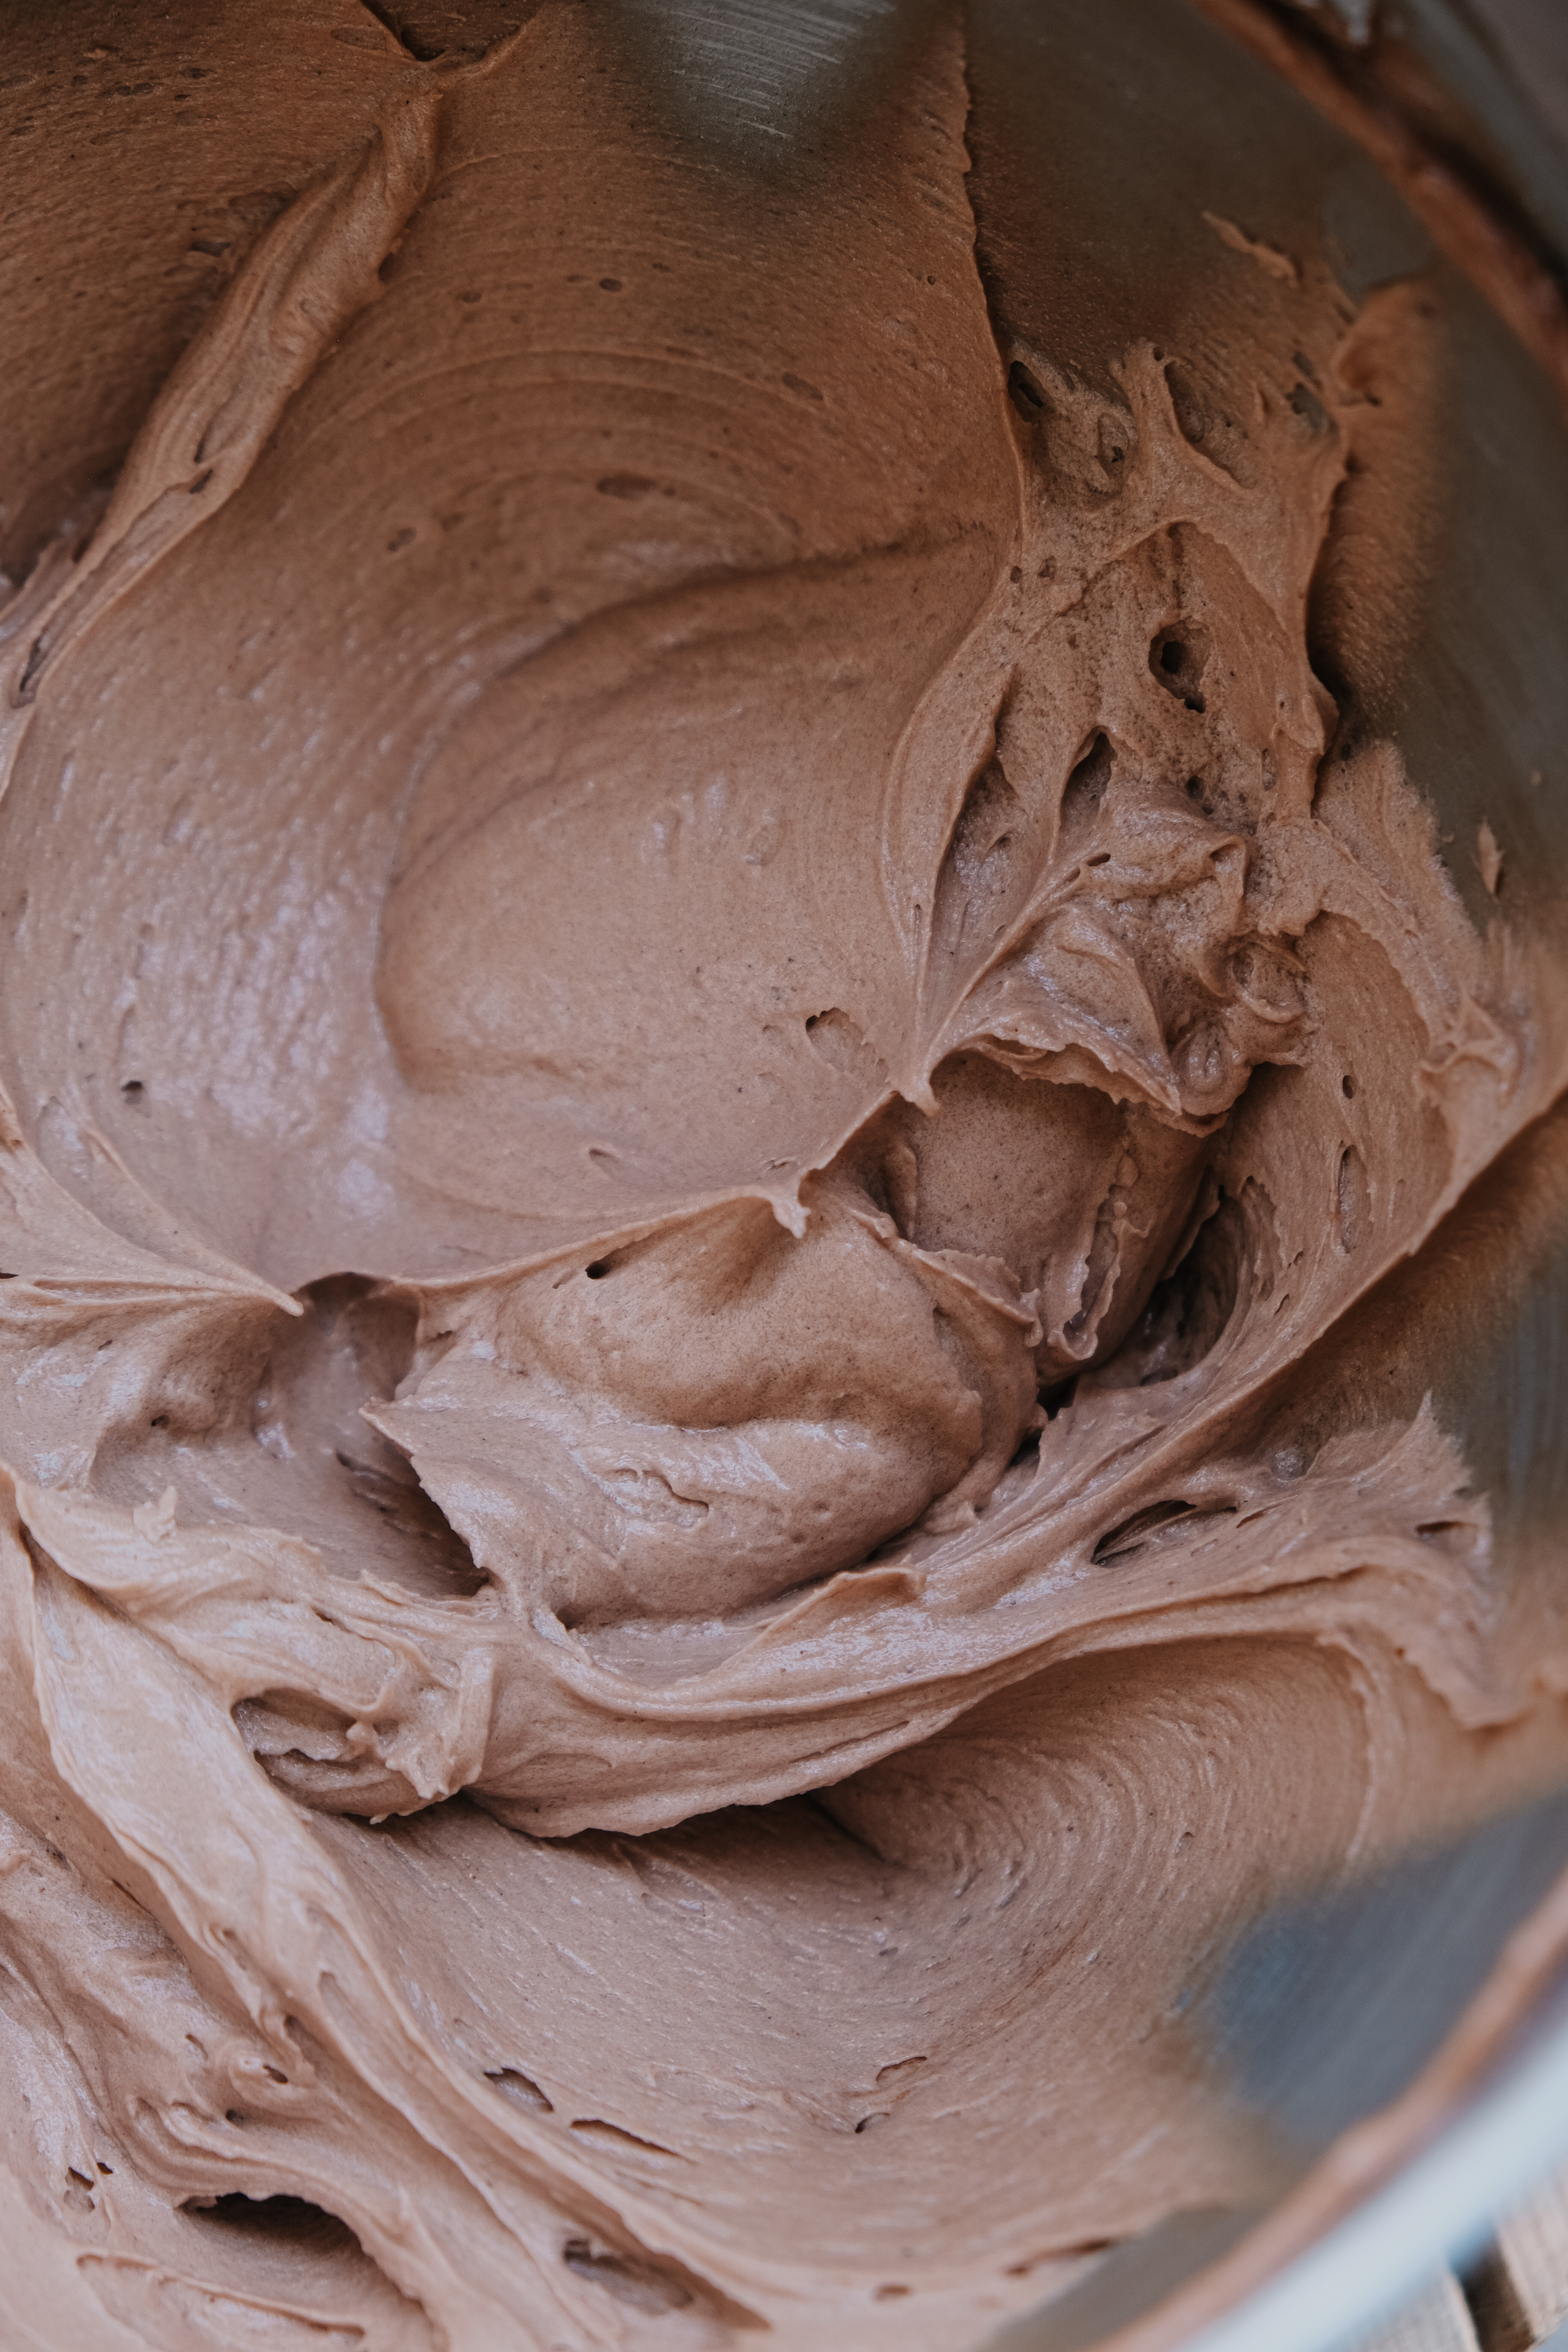
- Gradually add the icing sugar, beating until fully combined. Continue to beat on a medium speed for 5 to 10 minutes. You should see it become paler and fluffier, and when you taste it, it should be much smoother and less grainy.
- Cut the cake into two even layers using a serrated knife. Spread under a third of the butter cream onto the bottom layer and place the top layer on top. Spread a thin layer over the cake to seal the crumbs and set in the fridge for an hour or in the freezer for thirty minutes until dry to the touch.
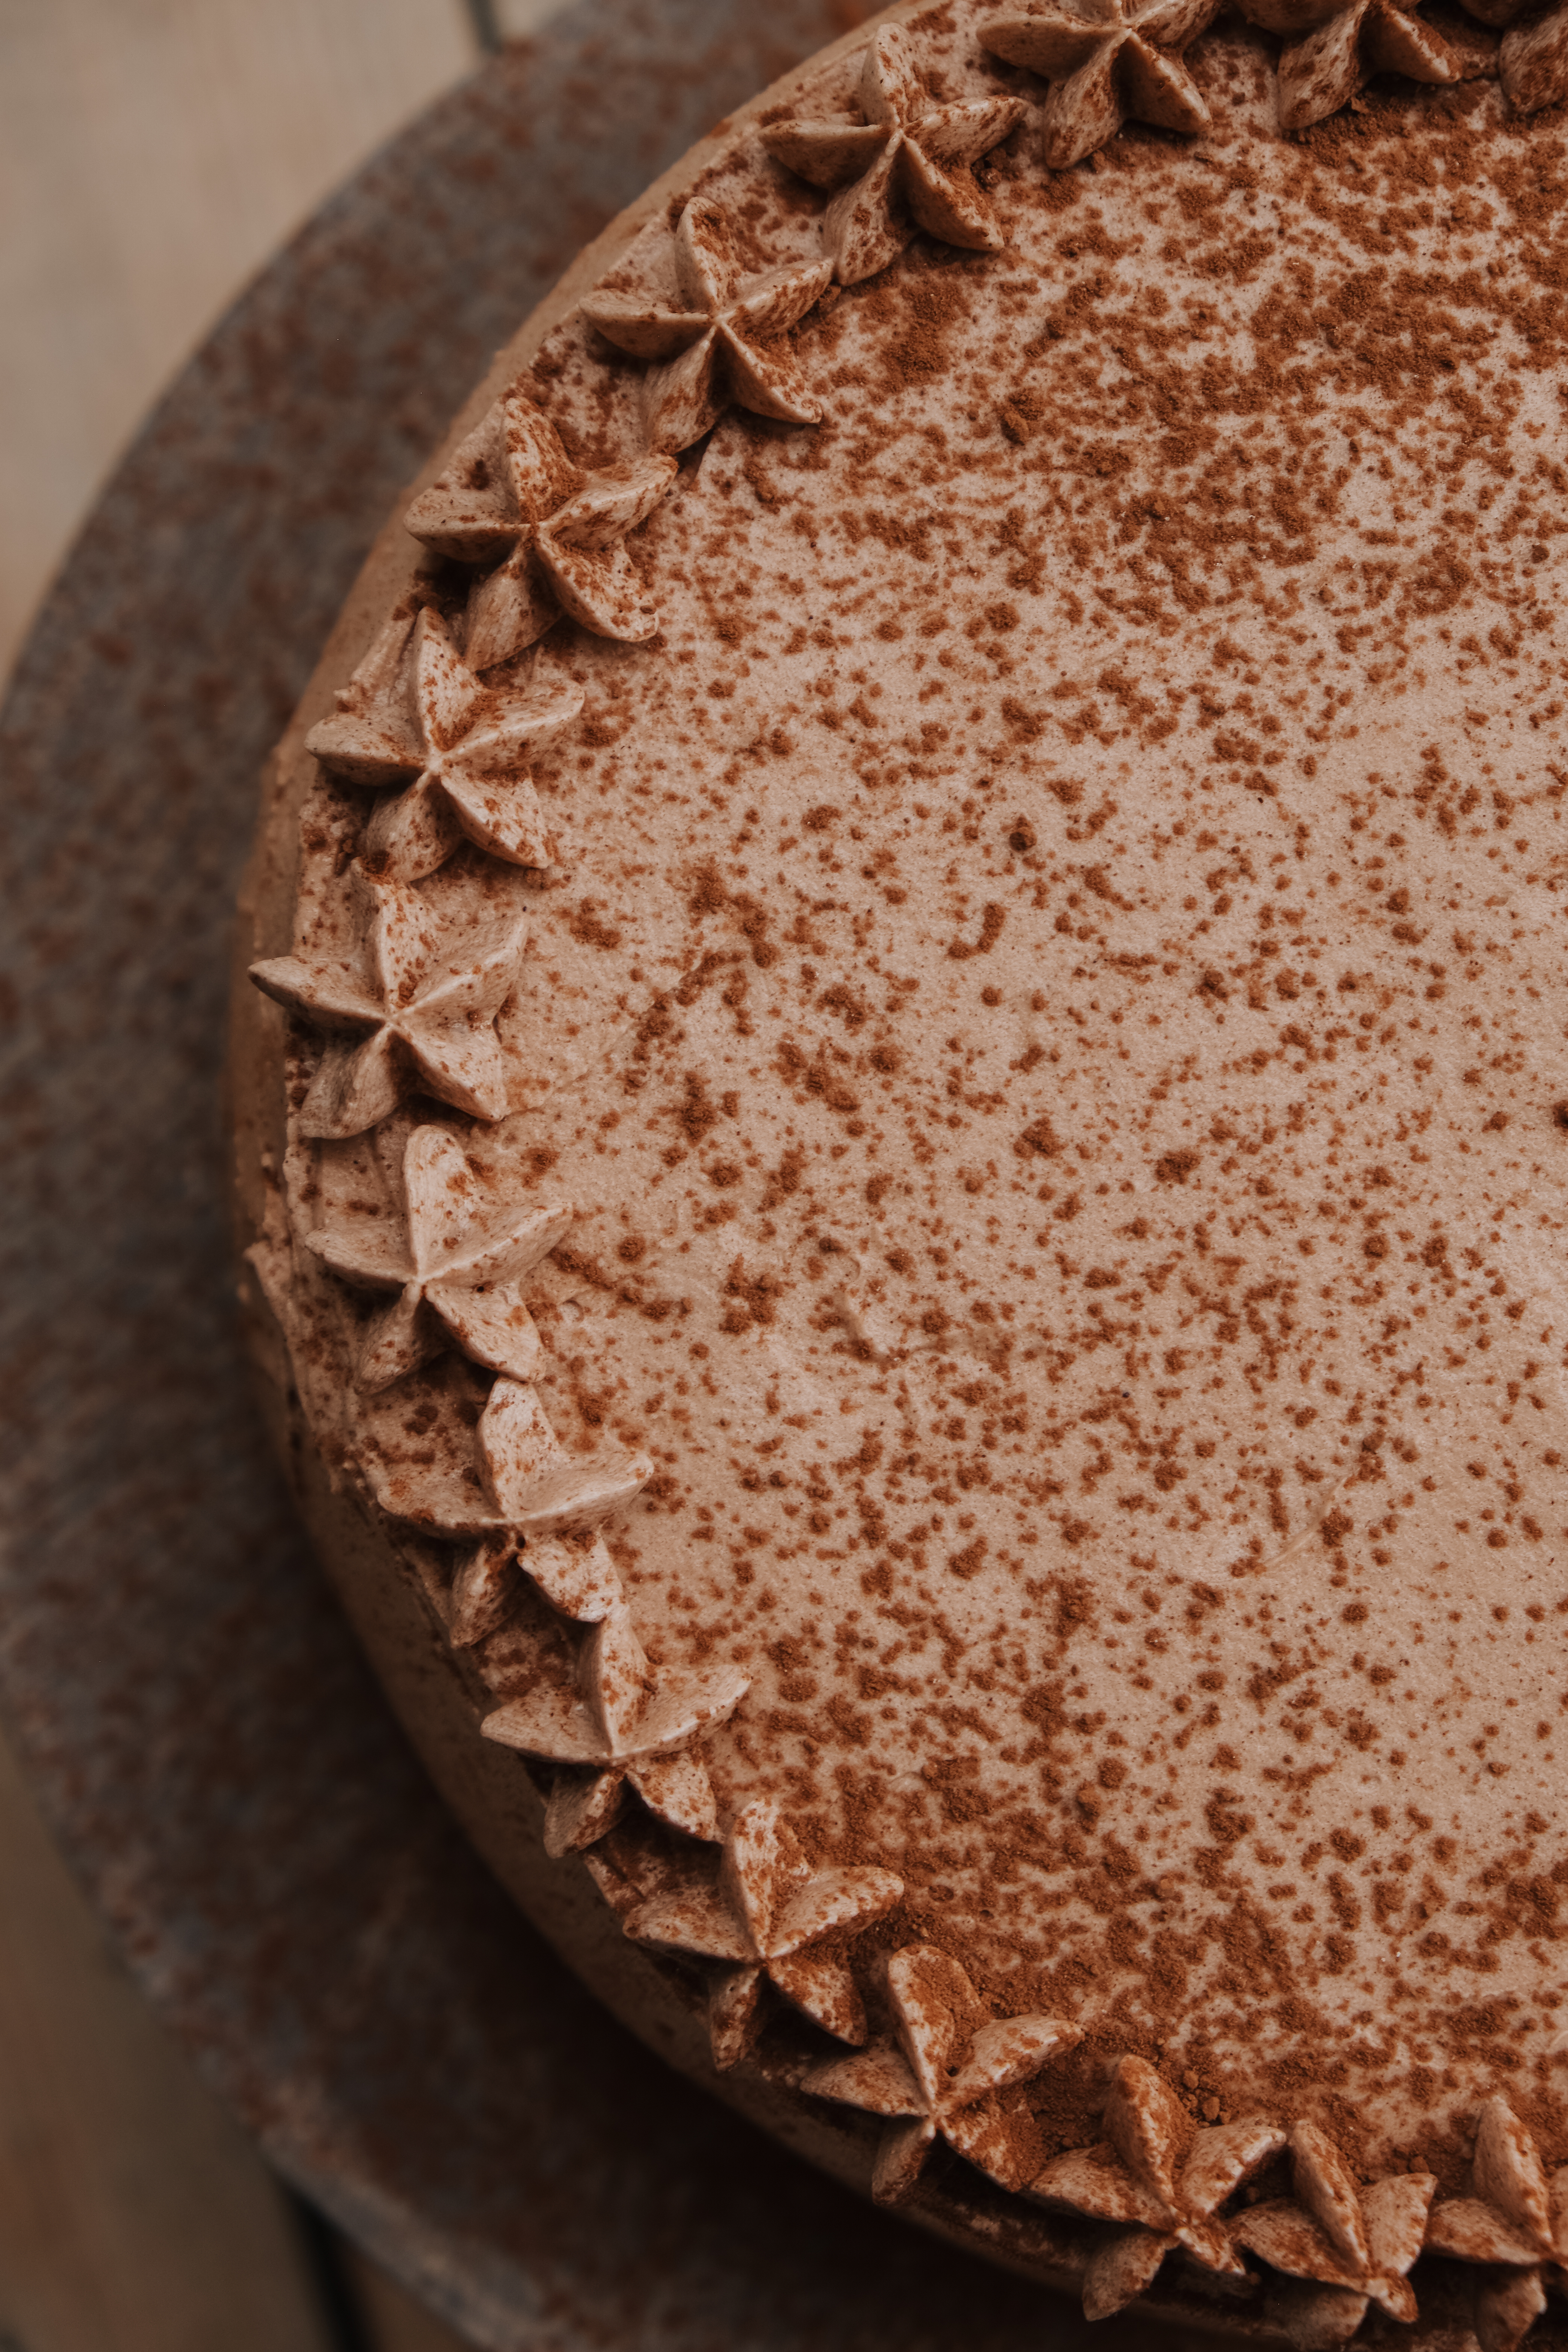
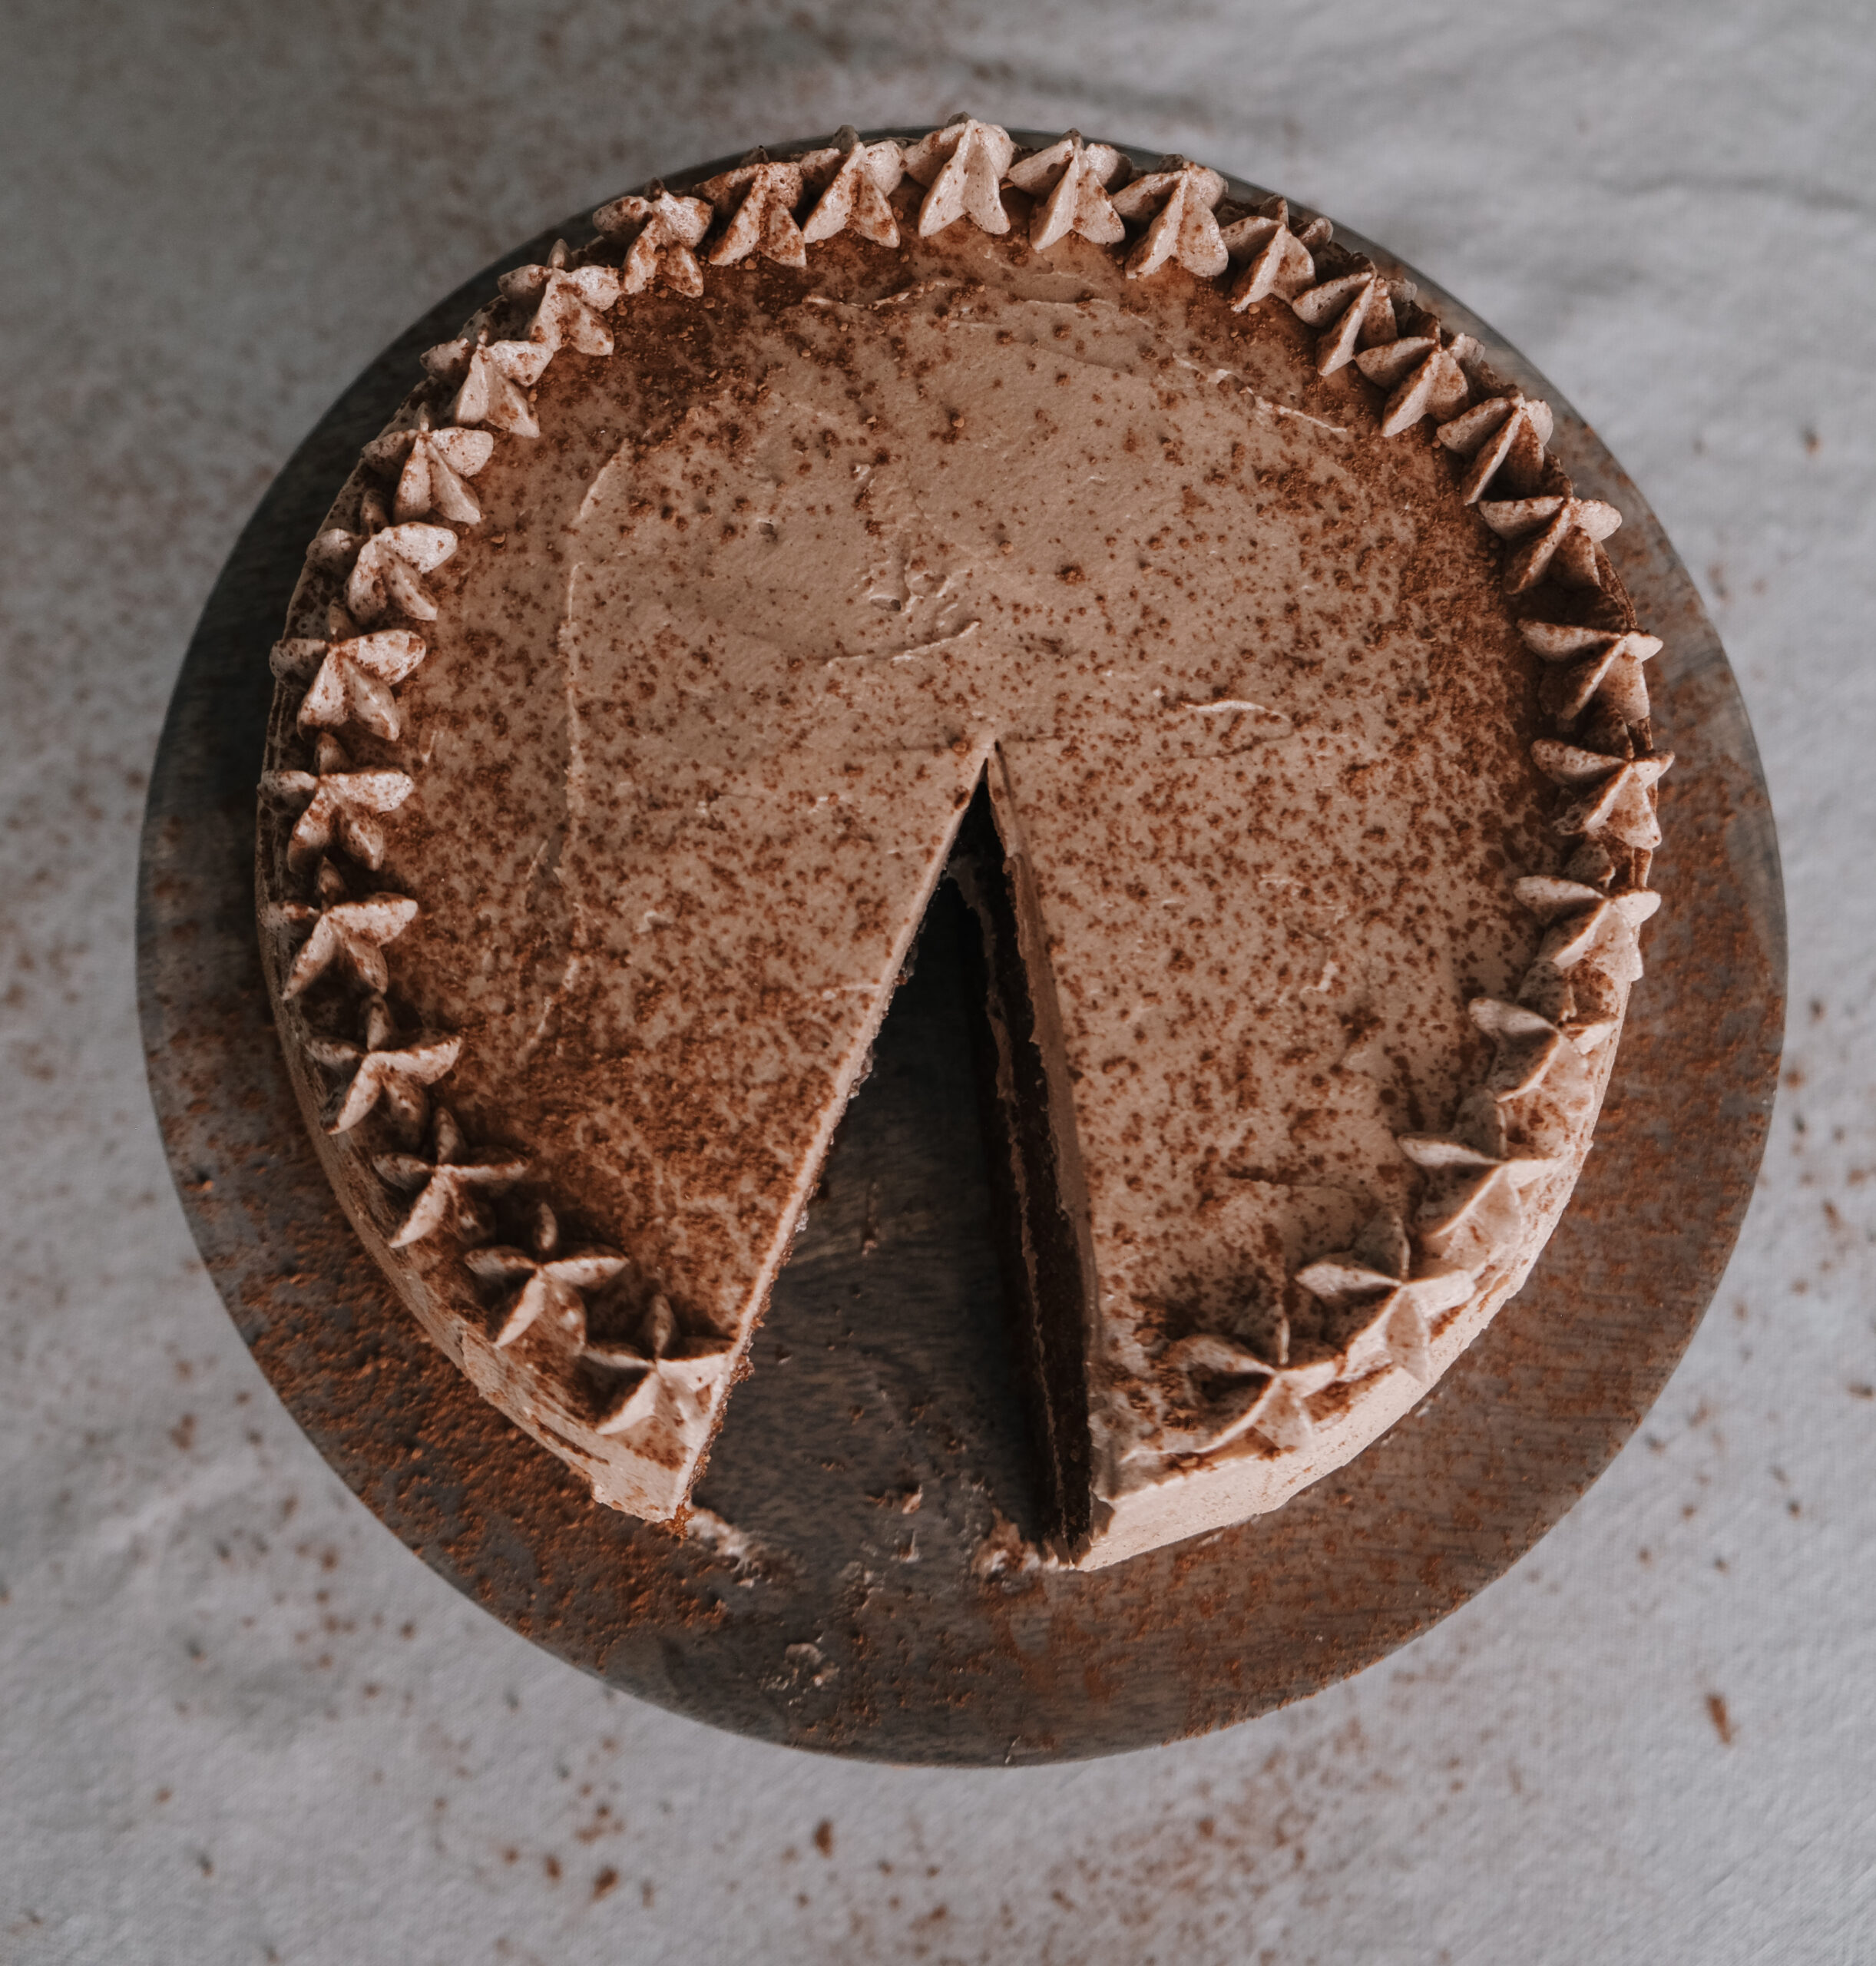
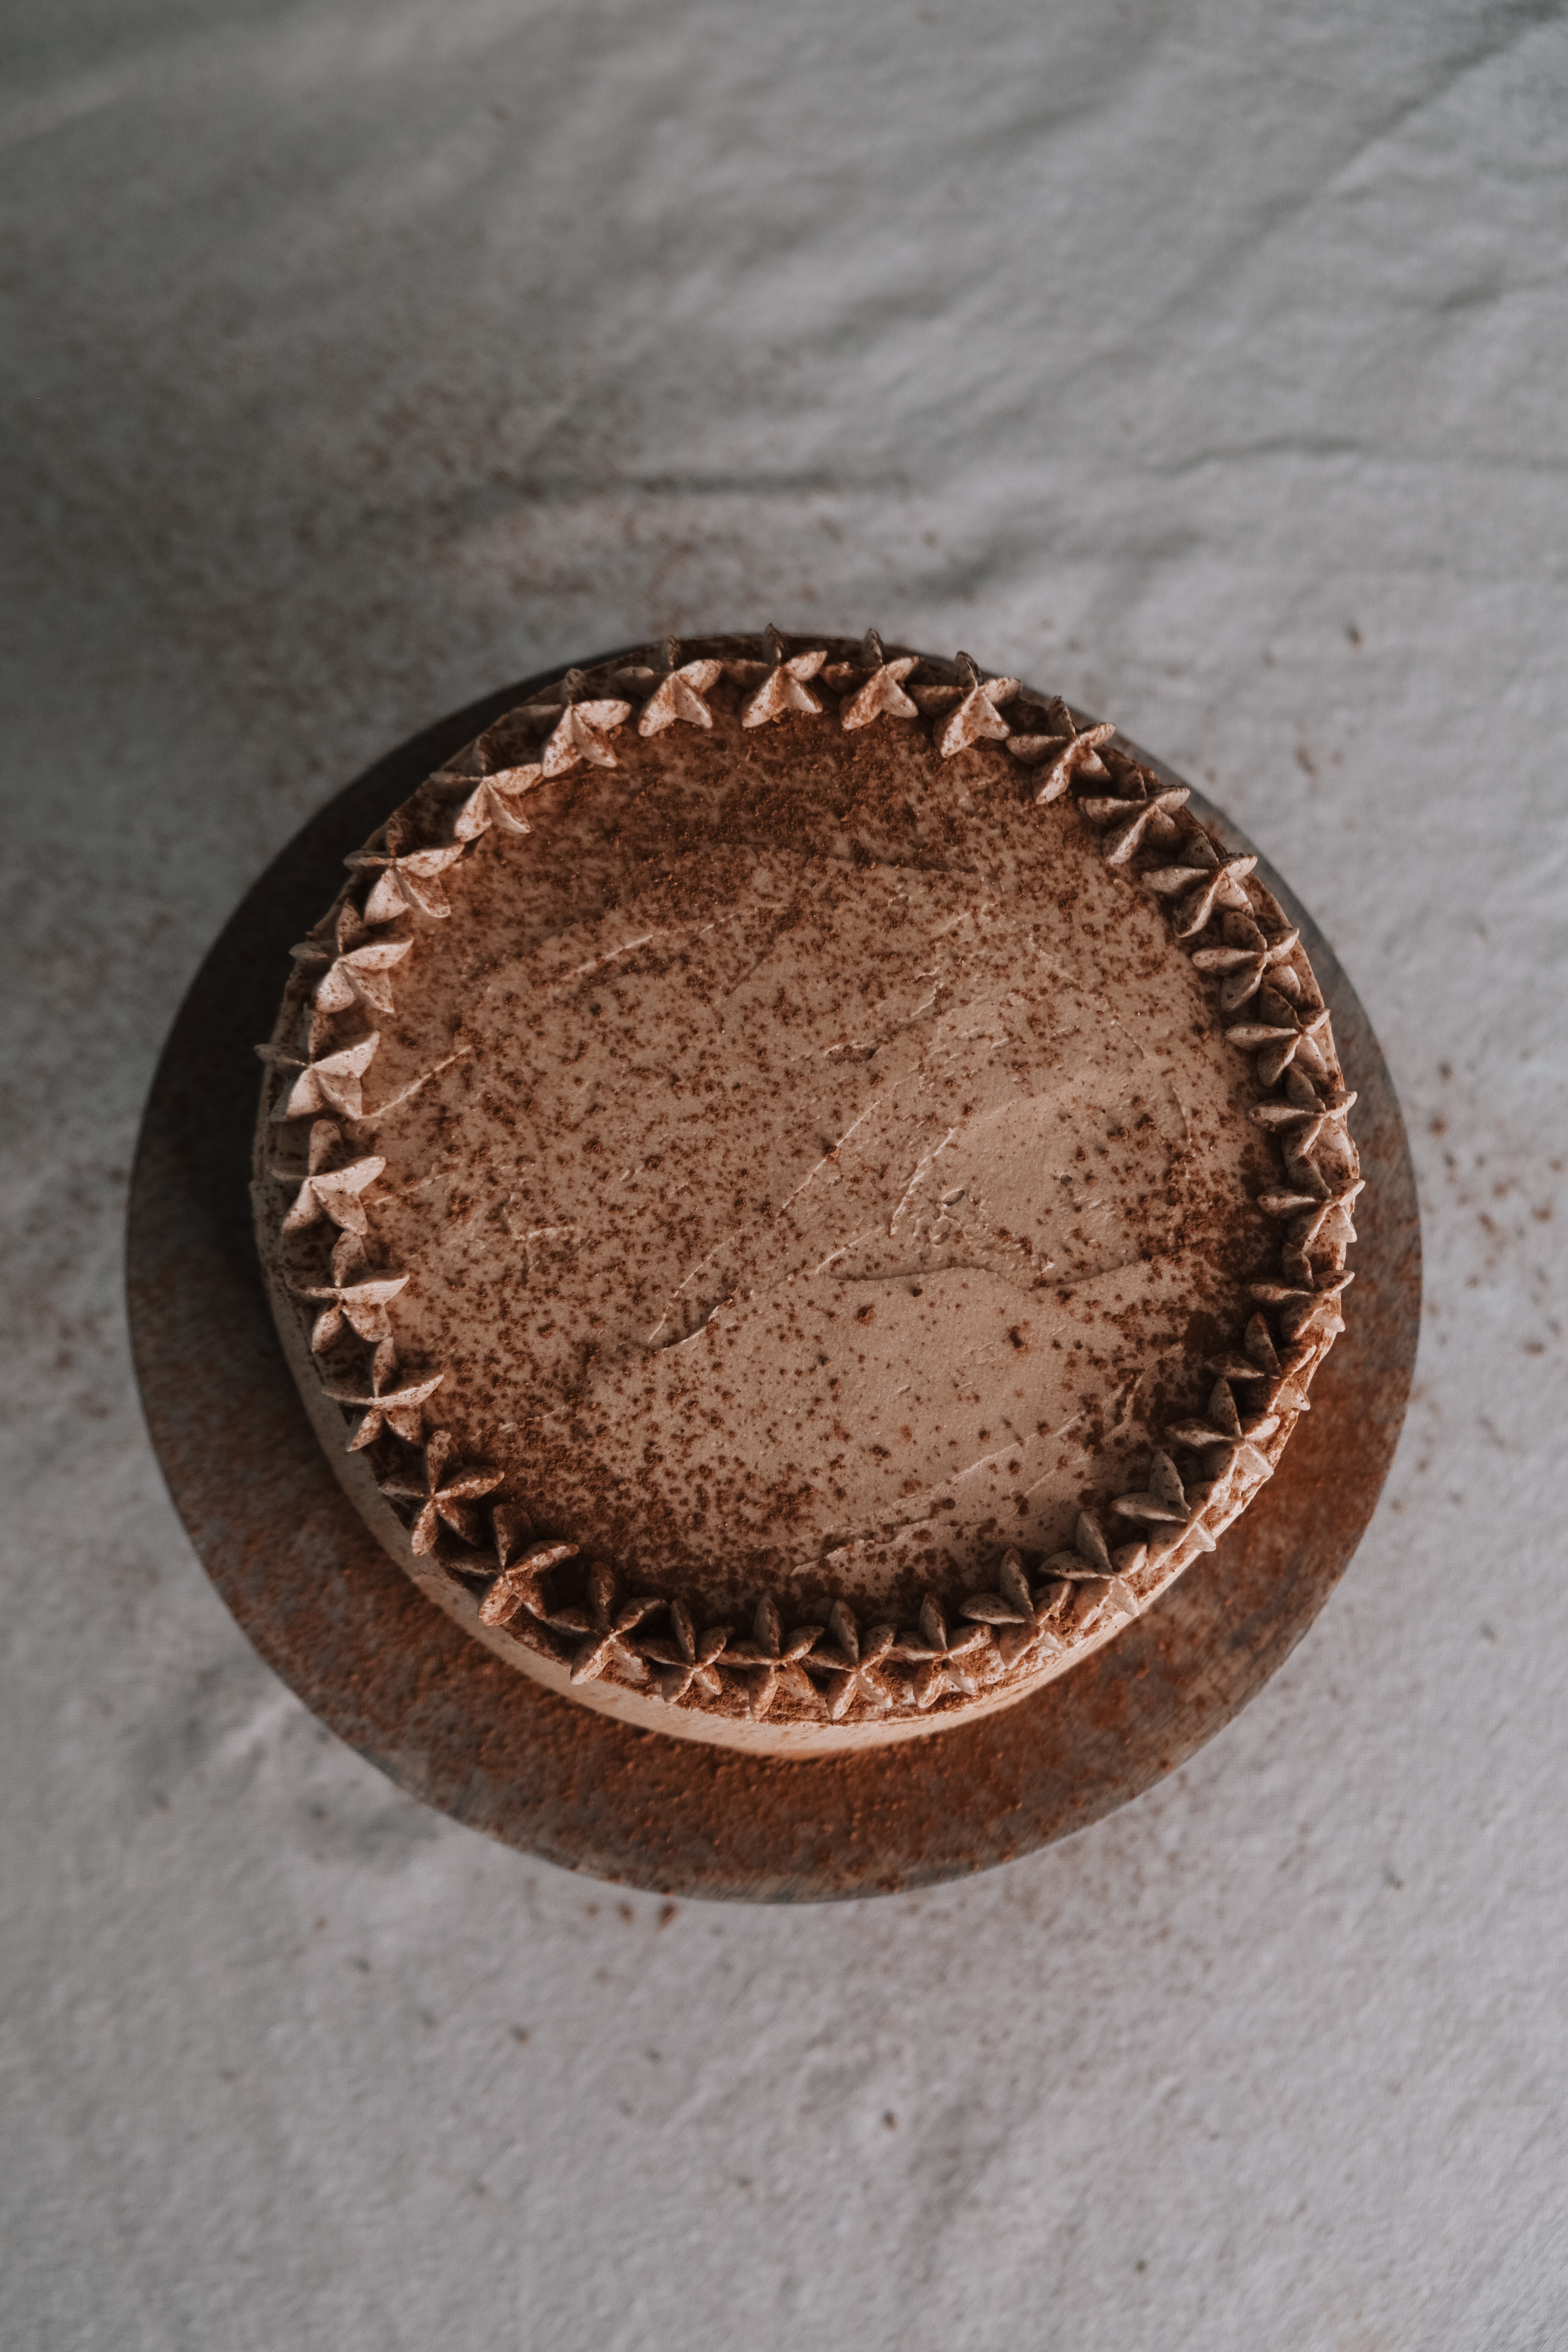
- Spread another thick layer all over the cake and smooth – you might want to reserve a few tablespoons of icing for piping a decoration around the edge. Alternatively, you can decorate with chopped chocolate or a dusting of cocoa powder – get creative!
- Serve with a cup of tea or a coffee and enjoy all of your hard work! The cake will last about half a week as it’s a very moist sponge.
Notes
This syrup has such a distinct taste that I can’t imagine substituting with any other alternative. If you can’t find it, I’m sure honey or molasses would also work, but it is the golden syrup which truly elevates the taste. Ironically, I’m not a golden syrup lover, but love the addition of it in this cake. How long should I bake the cake?
Mary advises you to cook the cake in two tins, but I’ve found that the cake tends to dry out quicker. I have, therefore, always baked the cake in one deep, 20cm tin, but it takes longer to cook and requires a watchful eye. Bake for around 45 minutes and check. The cake should have a crust on top – if it’s catching, quickly cover it in a bit of tin foil. Bake for a further 20 minutes or until a skewer inserted comes out clean. It’s best to look through the oven window to gauge the timing – opening the oven too regularly will disrupt the rise. Do I have to sift the icing sugar?
It might sound like a faff, but trust me, you’ll notice a huge difference. I never used to and was always bothered by the tiny lumps of icing sugar which weren’t caught by the beater. As messy as icing sugar is, sifting it is worth the extra cloud of dust. Icing sugar has a habit of hardening over time and sometimes does not incorporate properly, leaving the buttercream lumpy and grainy. What is a crumb coating?
If you are pushed for time, or you prefer a more rustic finish, you can skip this step, but a crumb coating ensures a smooth finish by trapping in the cake crumbs. By coating the cake in a thick layer, just enough to trap in the crumbs, and setting it – in the fridge for an hour, or the freezer for half an hour – you will have a smooth, crumb free second layer. Which decorative tools are worth the investment?
Again, this depends what kind of finish you would like. You might just want to coat the cake with a spoon and butter knife, decorate with chopped chocolate or cocoa, and call it a day. Invest in a good quality nozzle, rather than plastic, as I’ve found that they can chip and break over time. A small baking spatula is also great to achieve a really smooth finish. How long does the cake last?
This is a very rich sponge, light and moist thanks to the addition of sunflower oil, milk, and golden syrup. I’ve made this cake countless times and it can last at least four days at room temperature, depending on the climate.


