

Marshmallow Recipe – Learn How to Make These Sweet Clouds of Joy
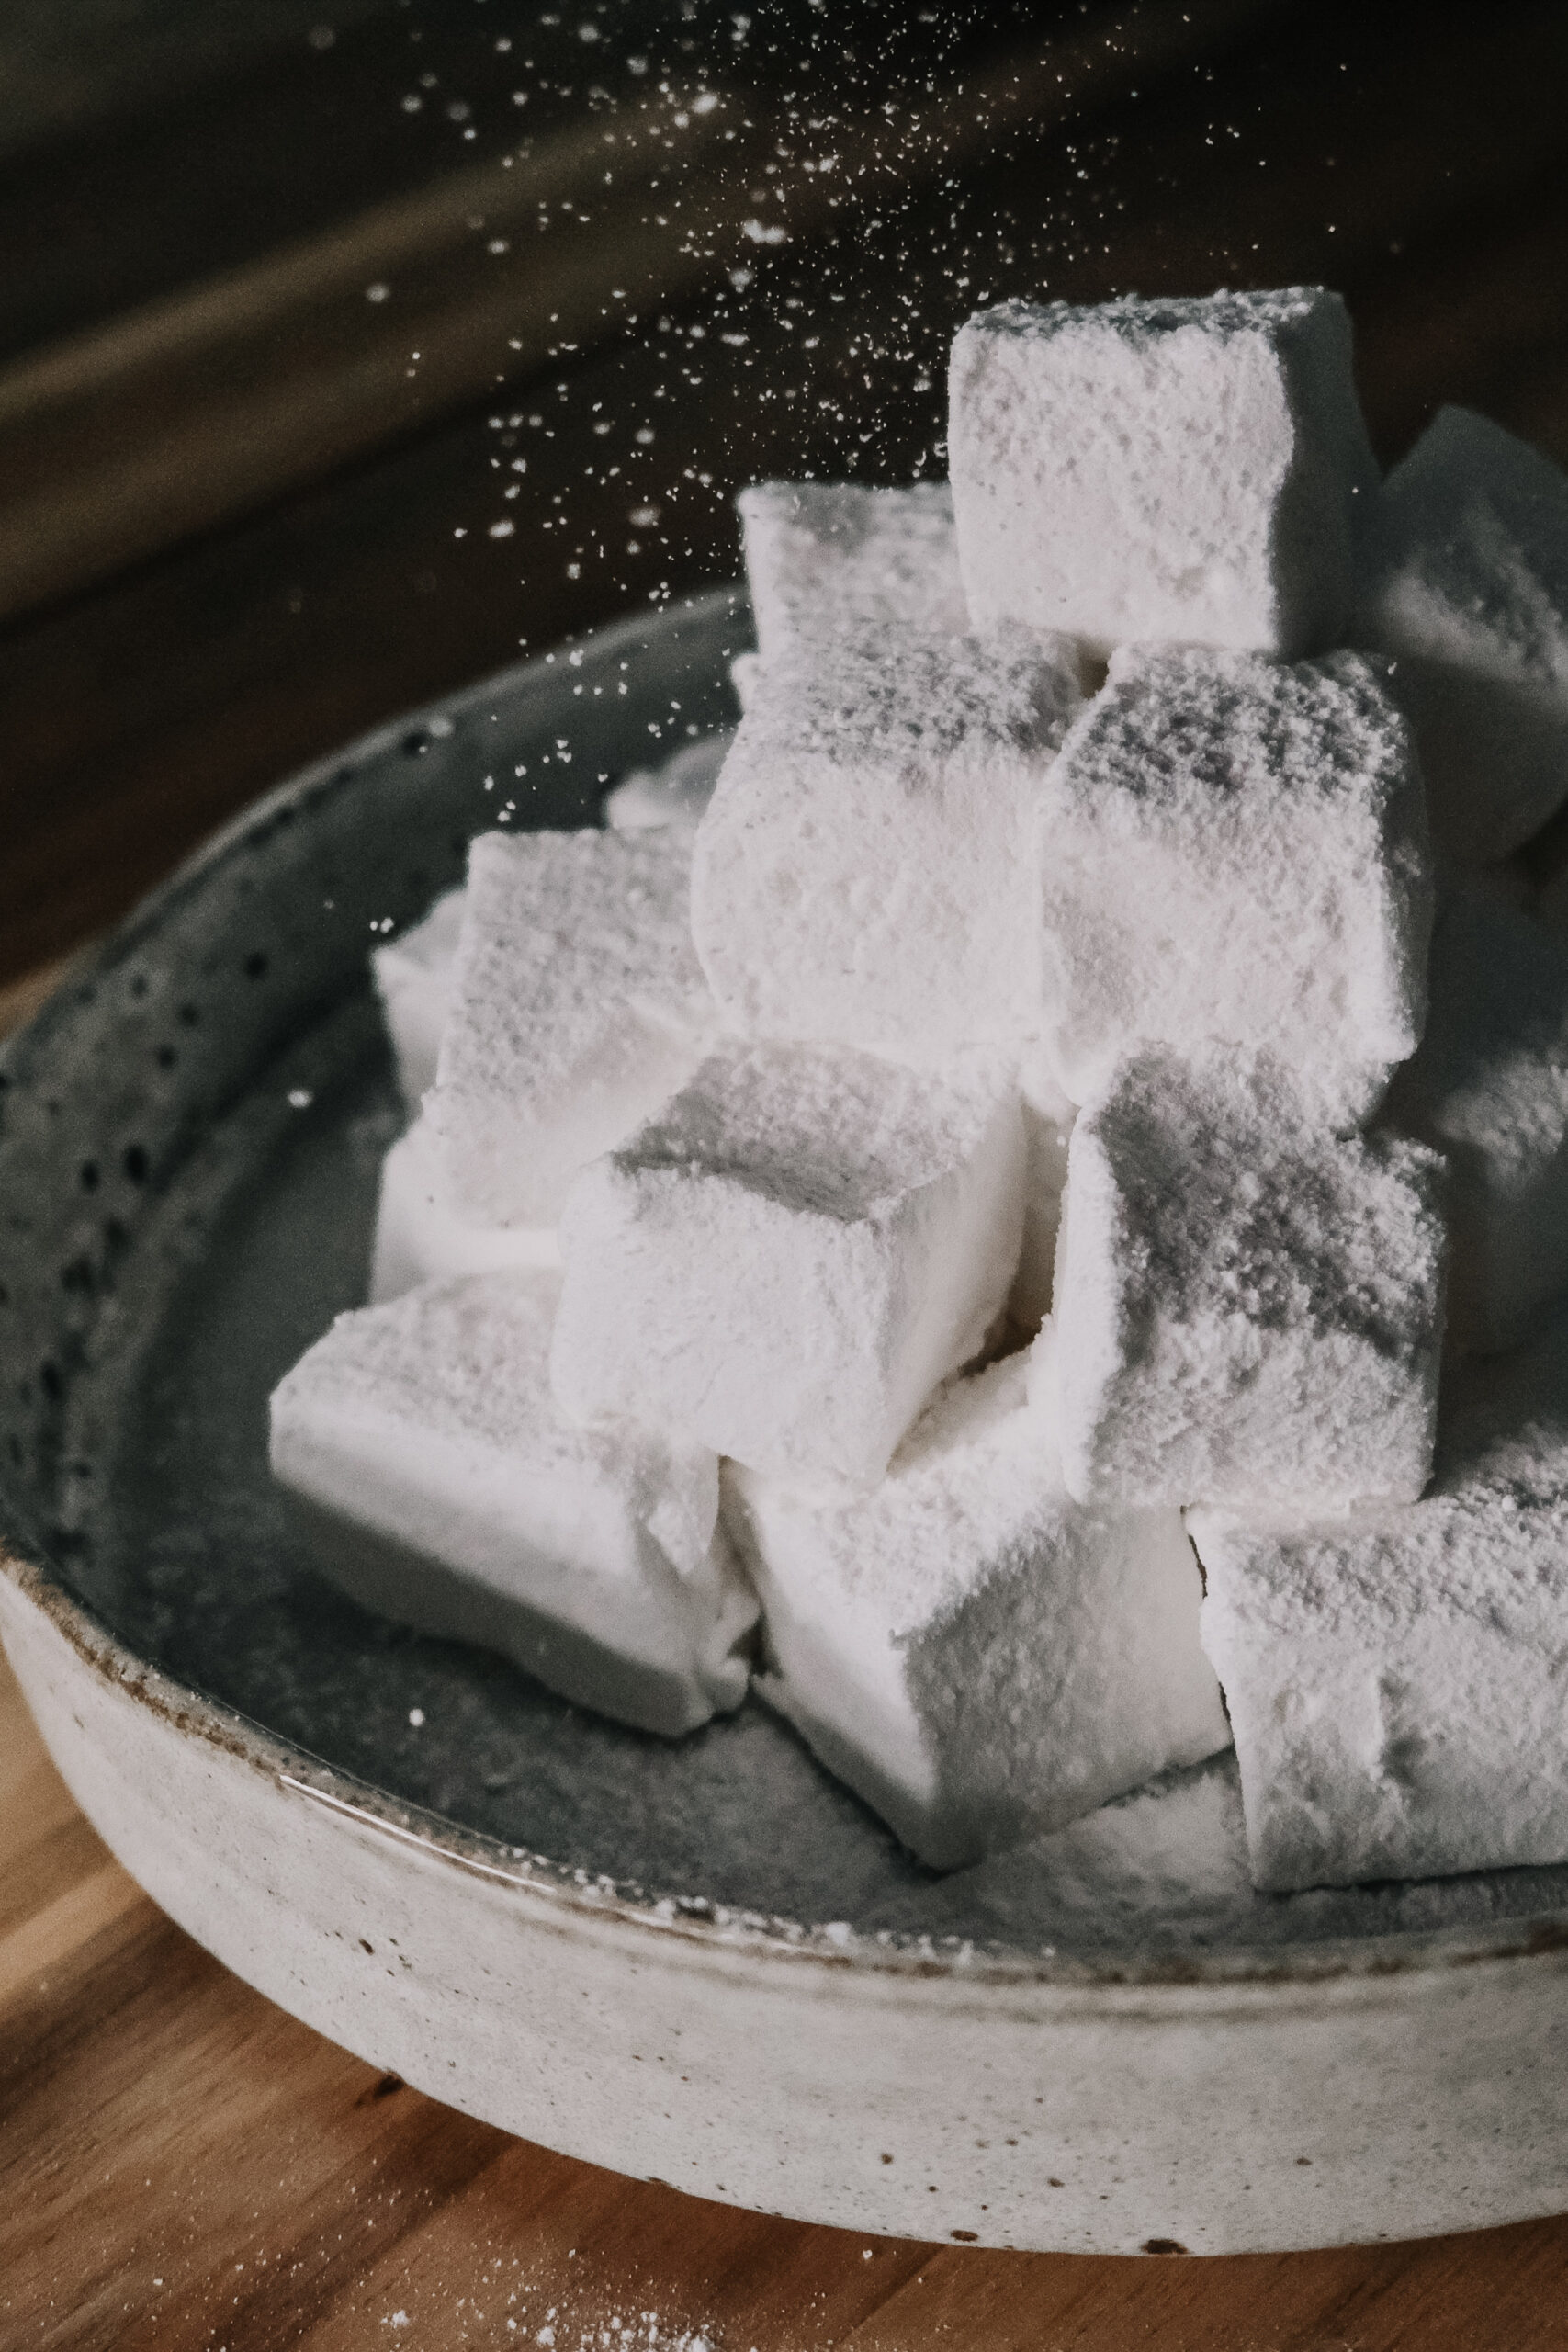
Marshmallow: the name itself sounds fluffy and delightful, rolling off the tongue just as easily as it is to bite into one of these sweet clouds of joy.
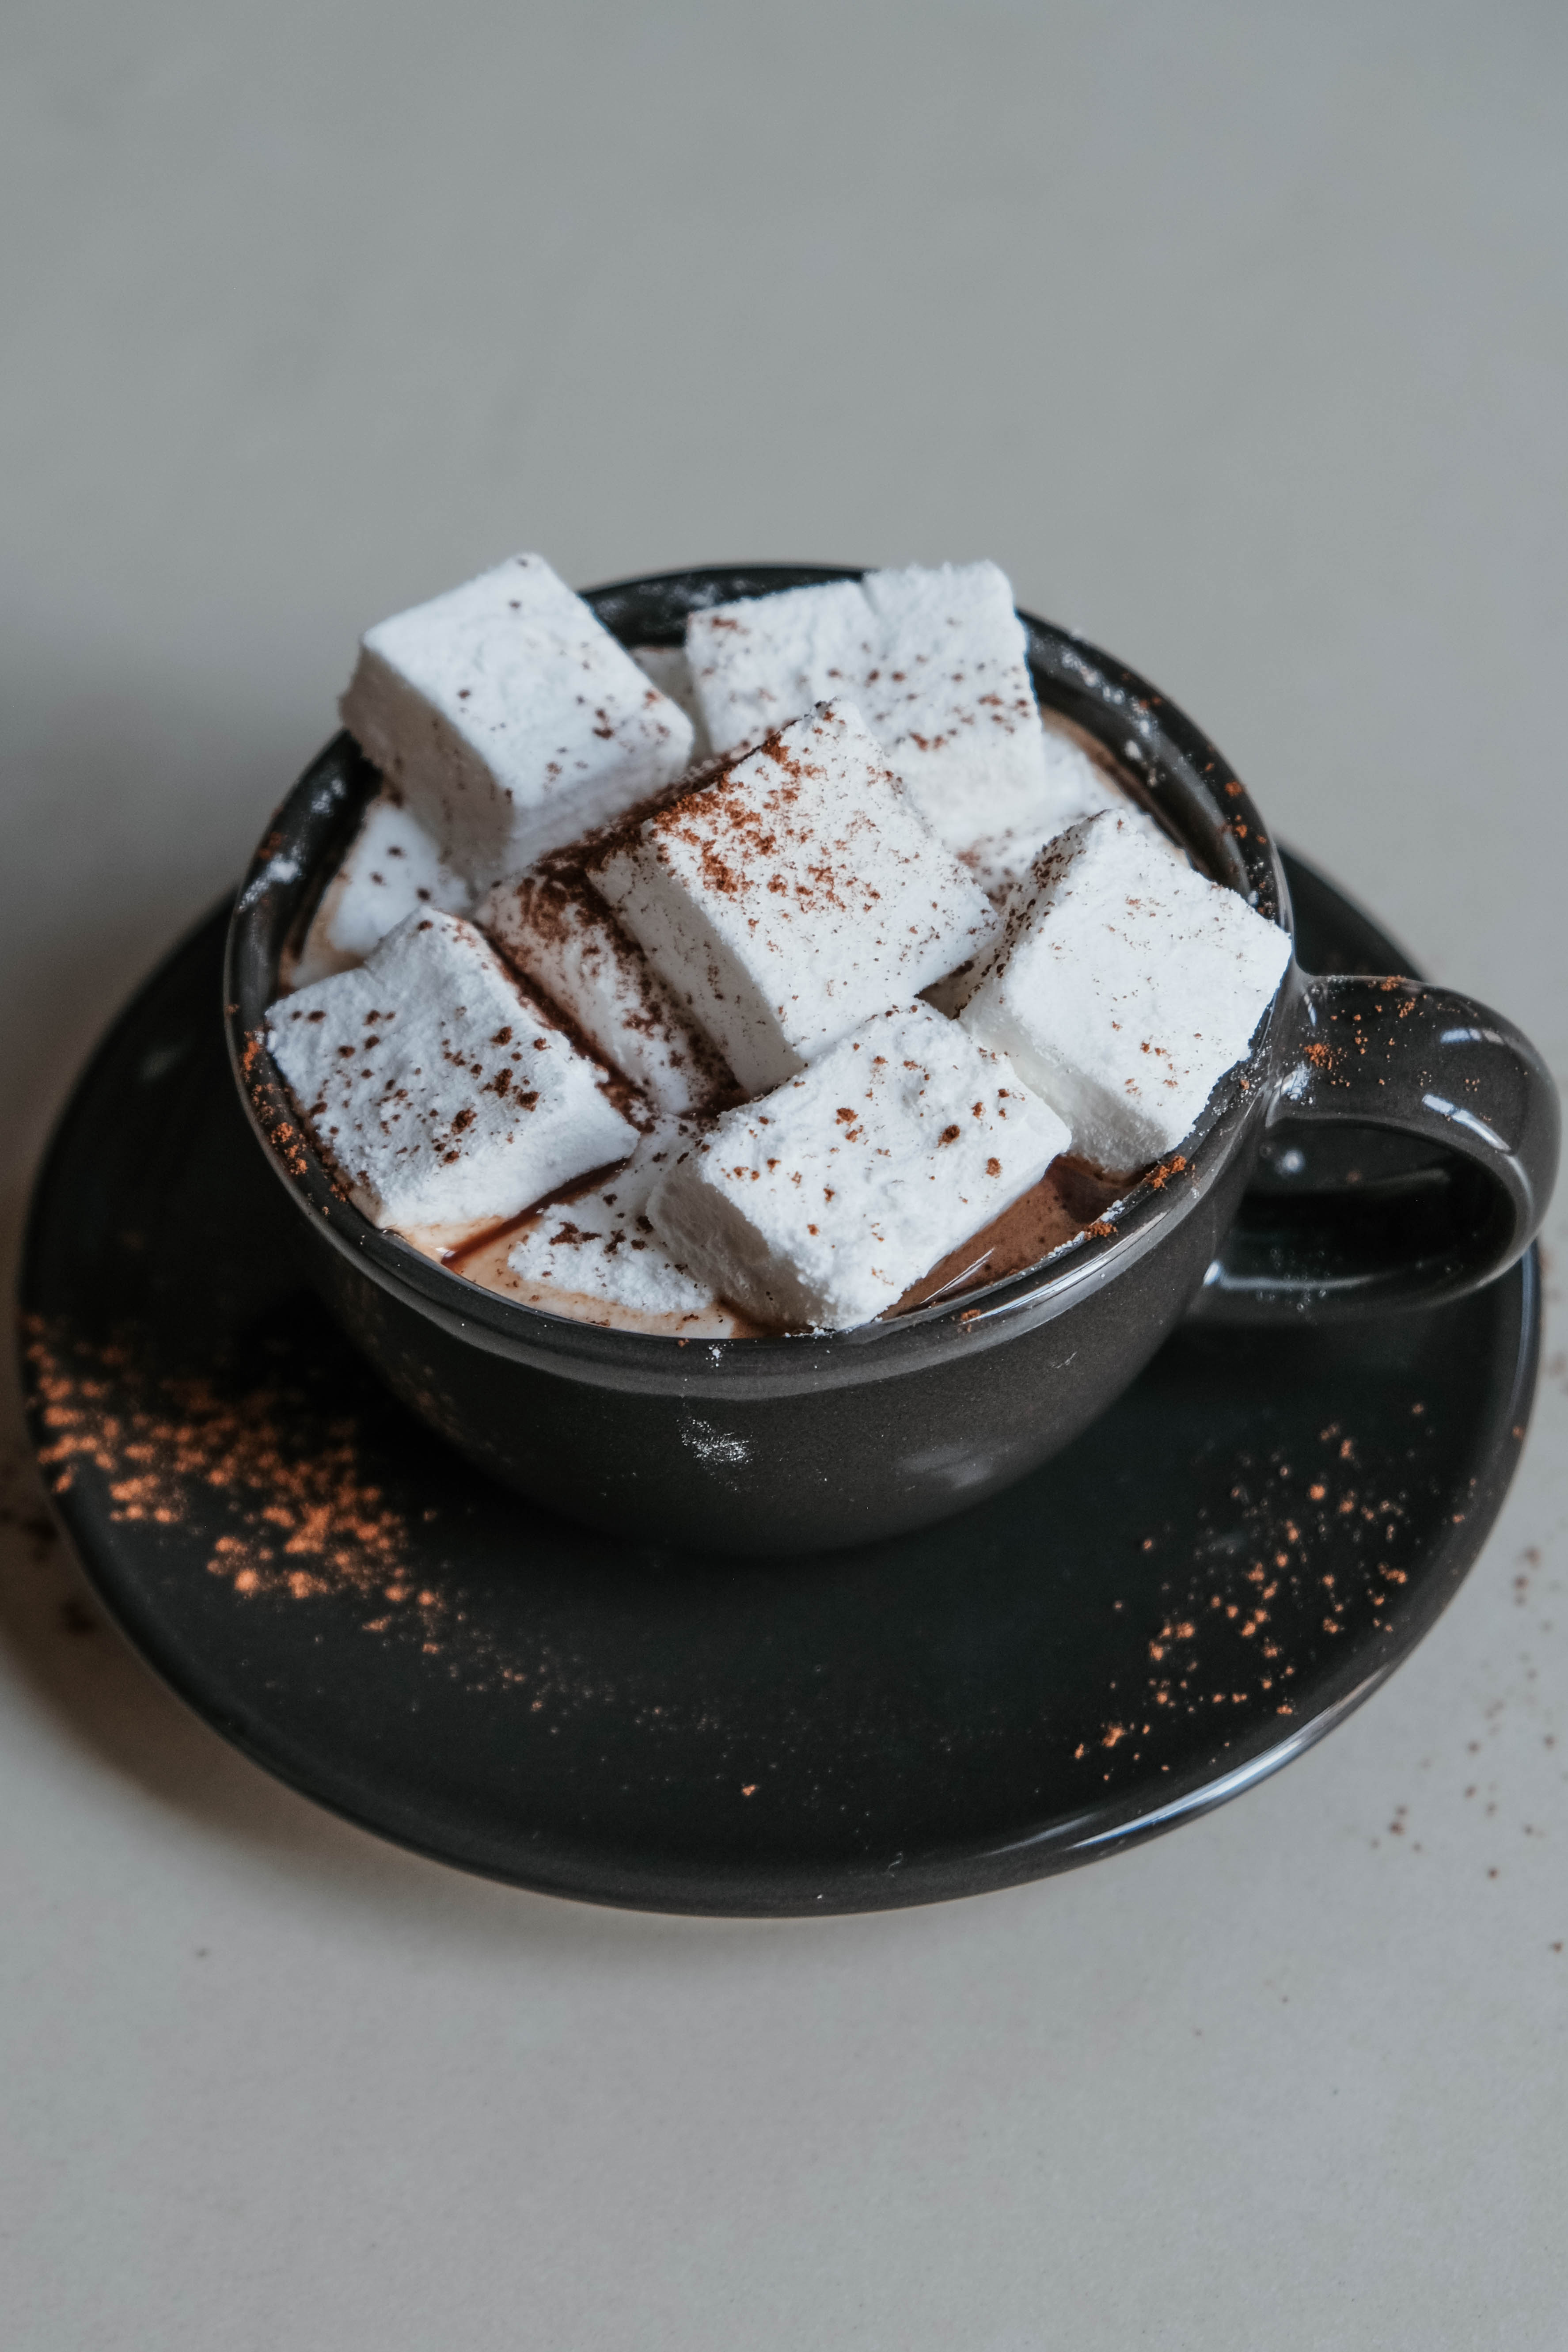
It is no wonder, then, that this heavenly confection was once reserved only for Gods and royalty, enjoyed by the Ancient Egyptians as far back as 2000 BC. Over 4,000 years later, the marshmallow has survived the test of time, continuing to bring us pleasure in the form of wild shapes and colours, sandwiched between chocolate and biscuits to create the classic American S’more, sprinkled on top a rich hot chocolate to melt into a thick, white fluff, or simply toasted over an open fire.
I don’t toast my marshmallows, rather, I burn them to a crisp, biting into the crunchy, smoky texture and unearthing the oozy goodness beneath. When I was little, I was obsessed with toasting marshmallows, and would singe them over a candle, since I didn’t have an open fire or blowtorch available to hand – and it’s a good thing I didn’t.

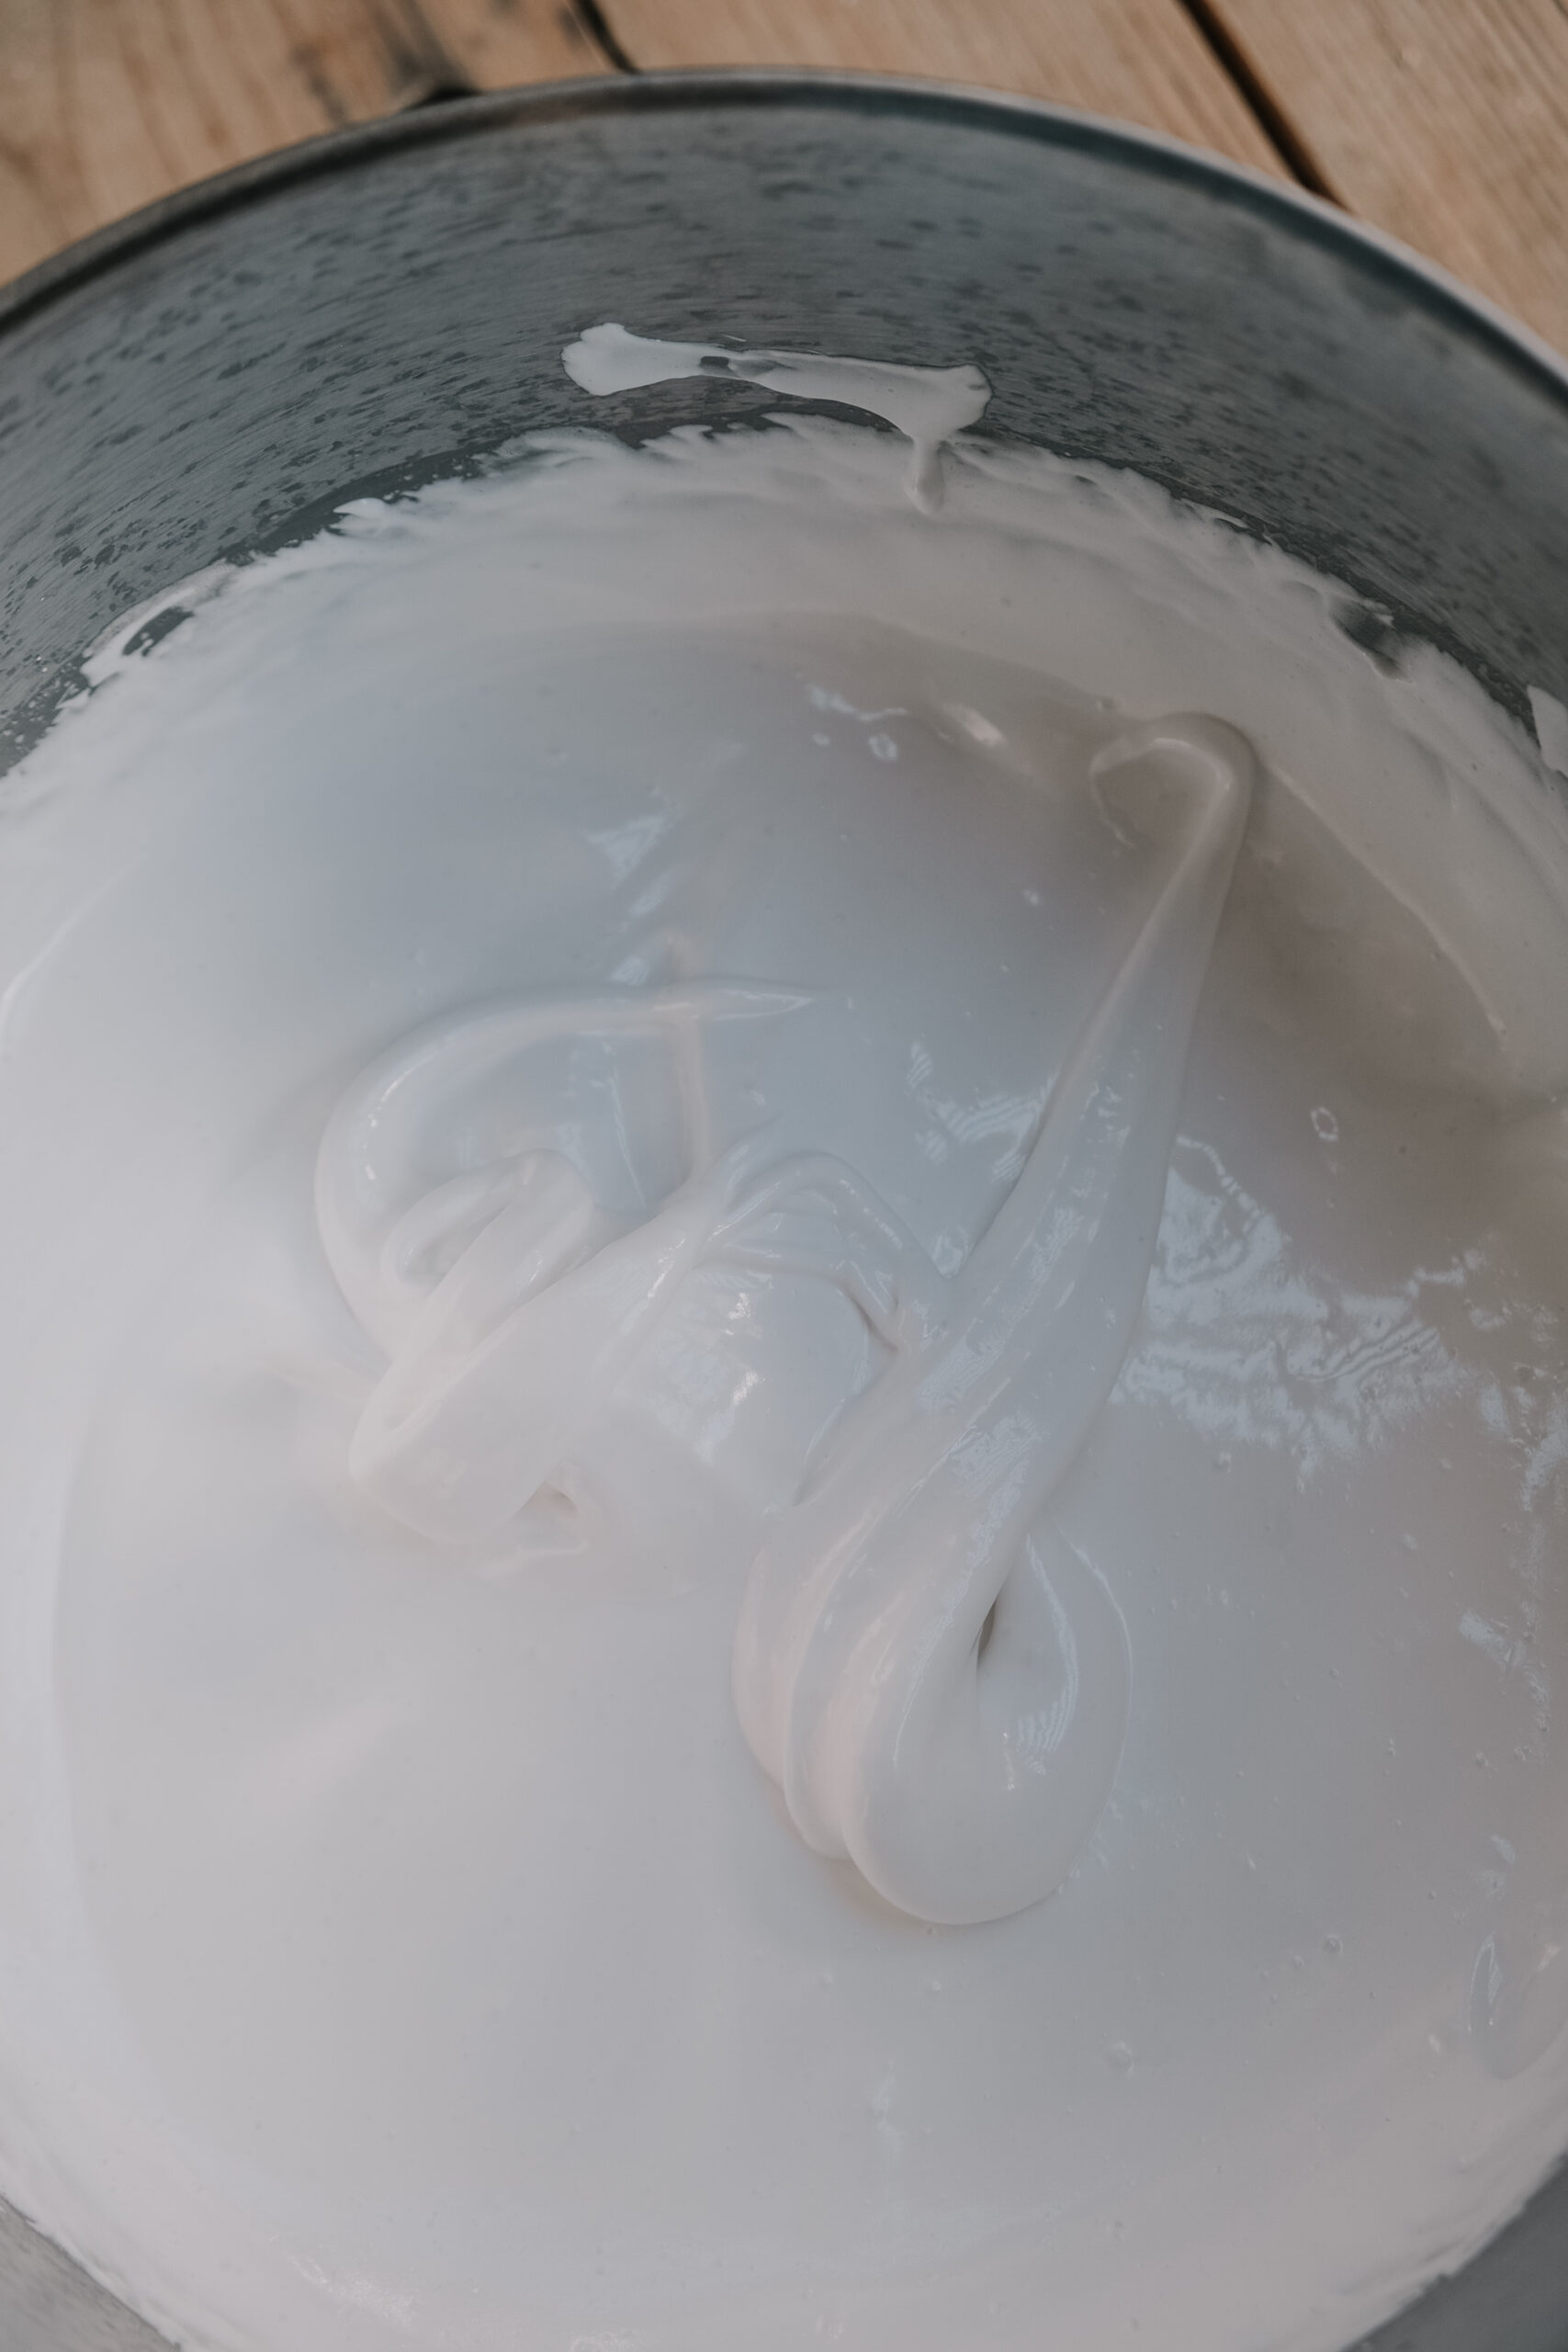
Marshmallows have therefore always held an excitement for me, and so has making them, watching the transformation from a thin, watery mix to a thick, meringue-like texture in mere minutes.
This Donna Hay recipe is my favourite: I’ve tried many different recipes using ingredients such as egg whites and golden syrup, but have never found them to work as well as the simple combination of gelatine, water, corn syrup, and sugar. I hope you’ll also fall in love with this process, but if I’m still to convince you, here is some additional fluff – no pun intended – you might like to read:
Is it really worth the effort?
Absolutely. Shop bought marshmallows tend to be overly sweet and synthetic in taste, dry, and sometimes quite stiff in texture – the homemade version is fluffy subtly sweet.
Do I have to use a sugar thermometer?
The sugar syrup needs to reach the soft ball stage, which is possible to judge by eye, but some might find this quite intimidating – I still do. For peace of mind, I would recommend investing in a thermometer as they can easily be found online and are very easy to use – make sure to buy one that clips to the pan so your hand isn’t stuck holding it up, in danger of being hit with boiling hot sugar syrup!
Which gelatine should I use?
I’m yet to experiment with vegan or vegetarian options, but any animal gelatine will work. I do, however, advocate for beef over pork gelatine. The result is the same, but beef gelatine tends to have a less invasive flavour and smell – pork gelatine can be unappetising, which is sometimes why some aren’t so fond – another reason you should try the homemade version!
Flavours, Colours, Shapes, Textures
I’ve always loved the endless possibilities of homemade marshmallows; you can just about add any flavouring or colouring you like. I’ve shared my classic vanilla recipe here, as its simplicity is universally loved, but once you’ve tried it – and hopefully love it – you should have some fun experimenting.
How long do they last?
Kept in an airtight tub or container, they last at least a month, if not longer. It’s pretty much impossible for them to go off; they are pure sugar after all. They will likely dry or harden over time, but if you’re toasting them, it won’t make much difference!
Visual Steps
Whether you’re a marshmallow fan or not, I invite you to follow this recipe and leave me a review down below:
Marshmallows
Equipment
- Sugar thermometer
- Large saucepan
- Spatula
- Deep baking tin (30 x 20cm)
- Baking Paper
- Stand mixer An electric whisk will also work but I recommend a stand mixer for ease.
- Pizza Cutter
- Sieve
Ingredients
- sunflower oil to grease
For the Mallow:
- 125 ml warm water
- 2 level tablespoons gelatine powder
- 125ml water
- 330 g caster sugar
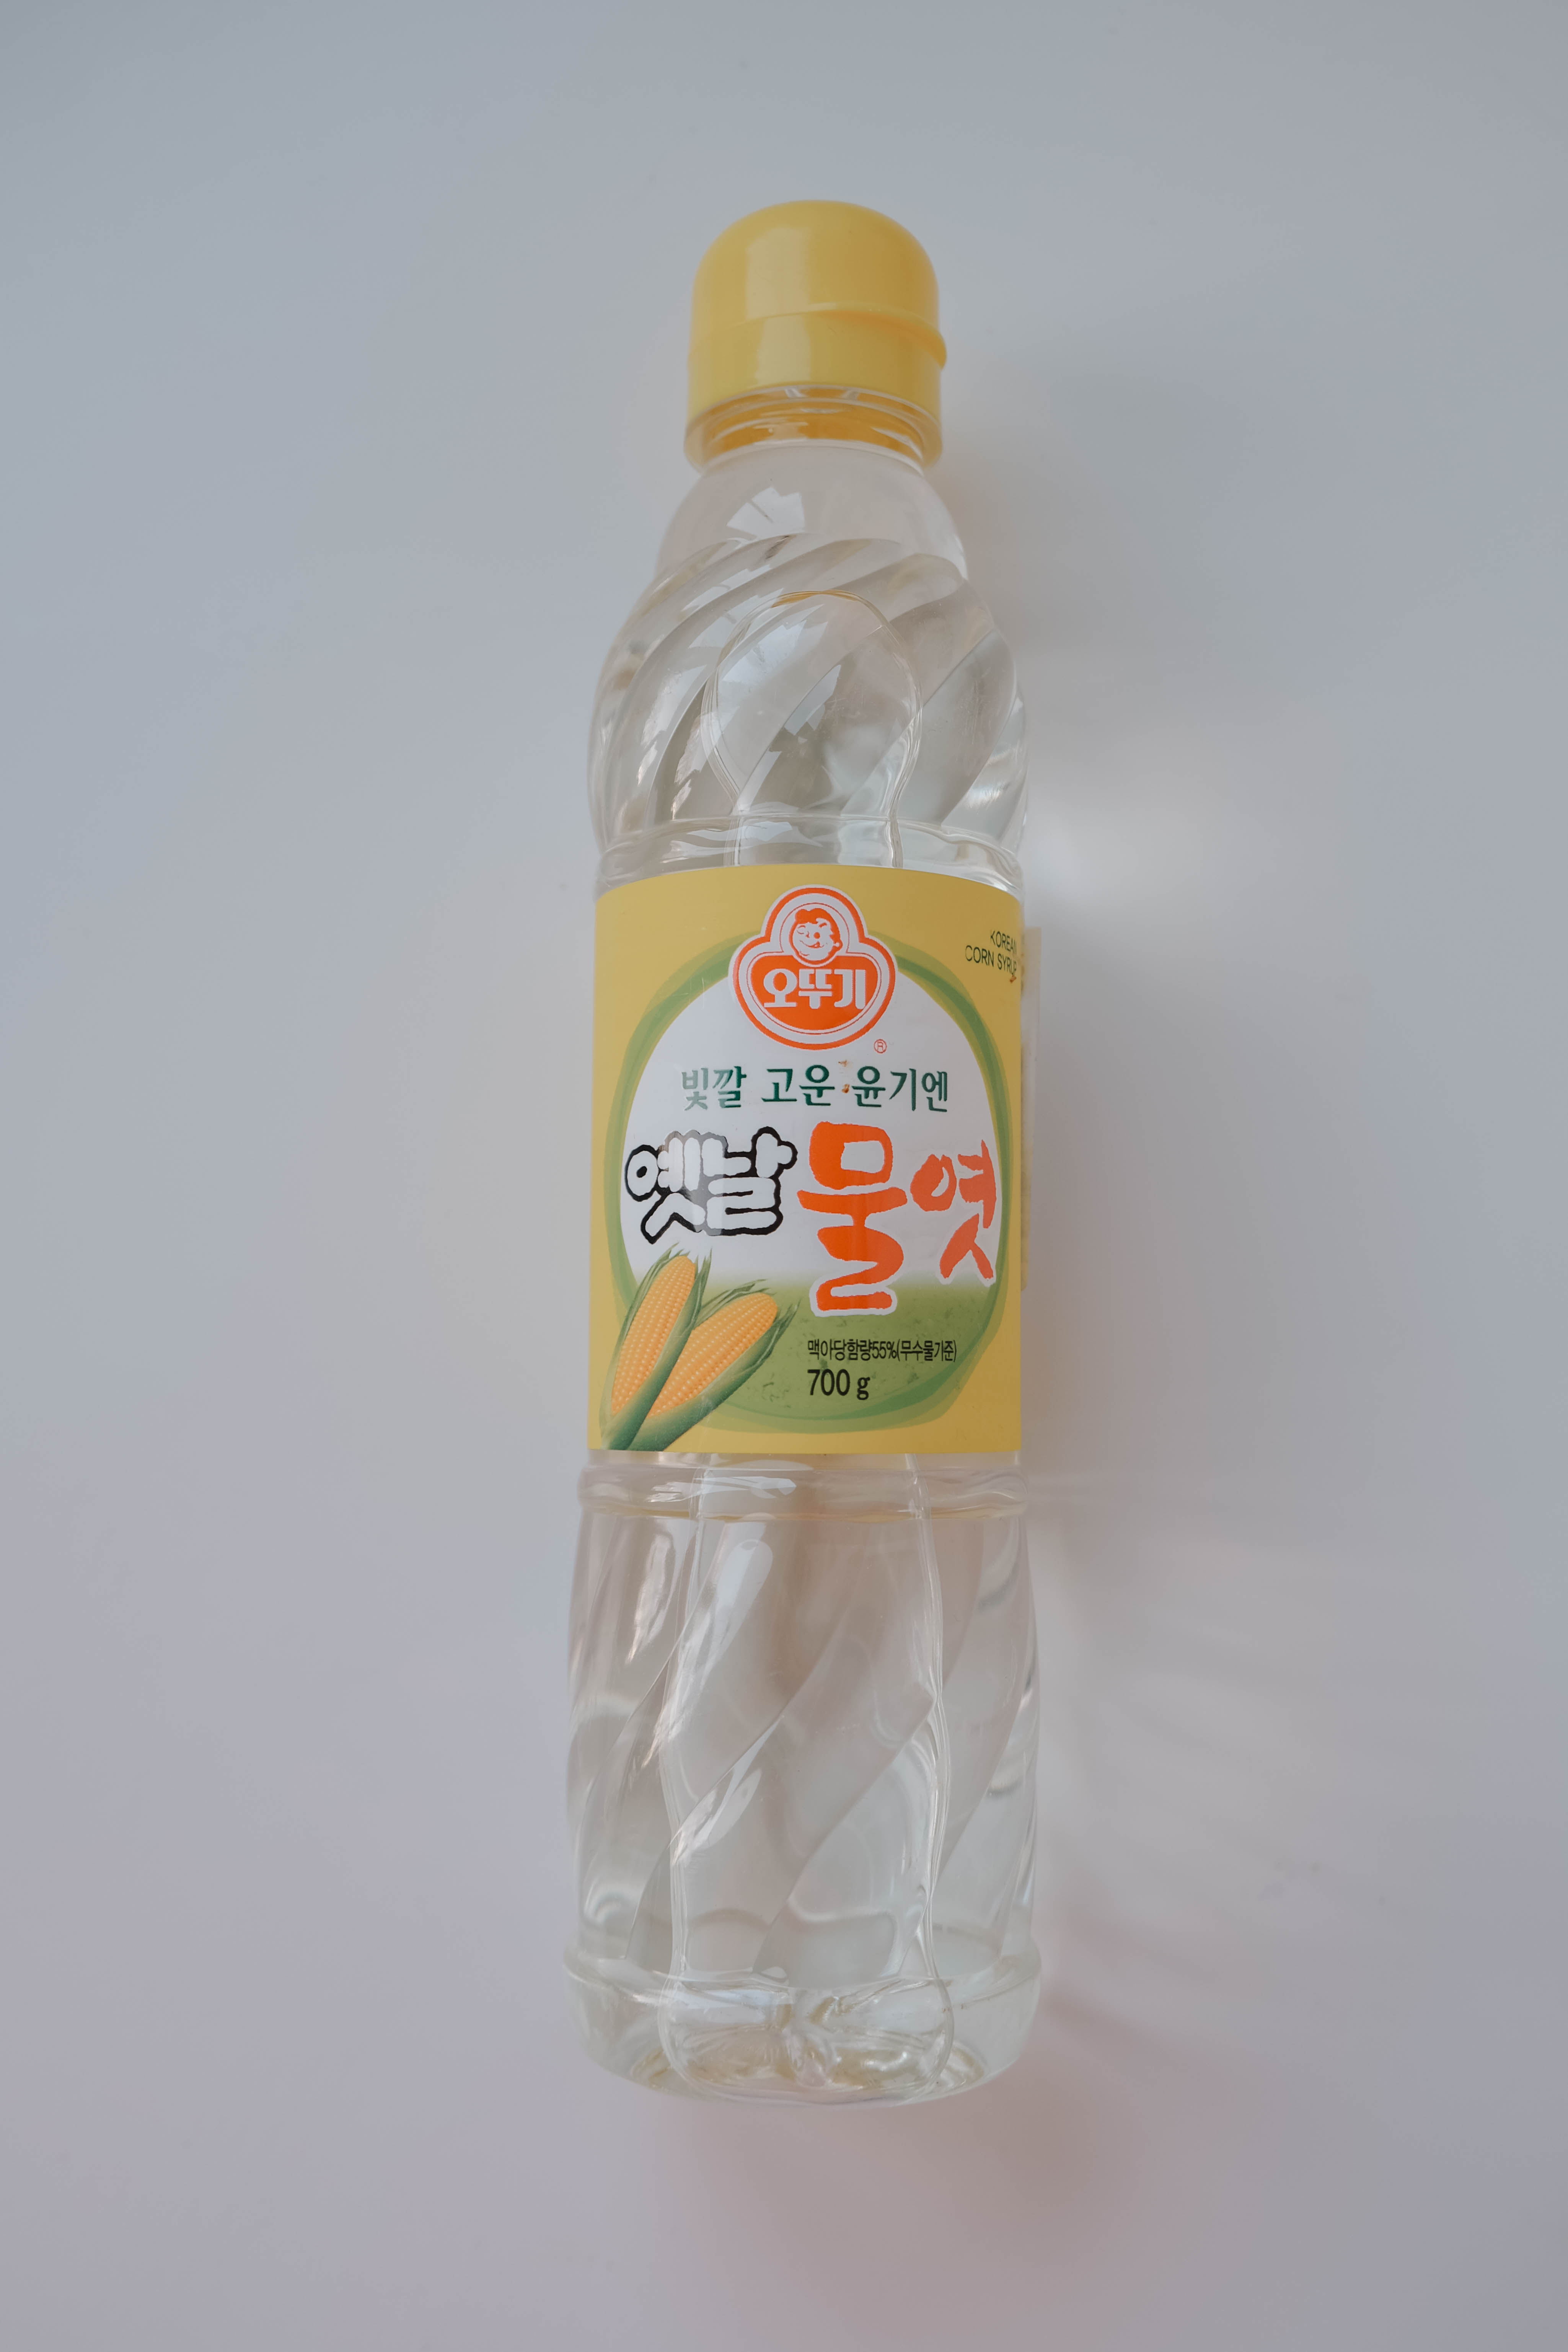
- 230 g liquid glucose or corn syrup both work excellently
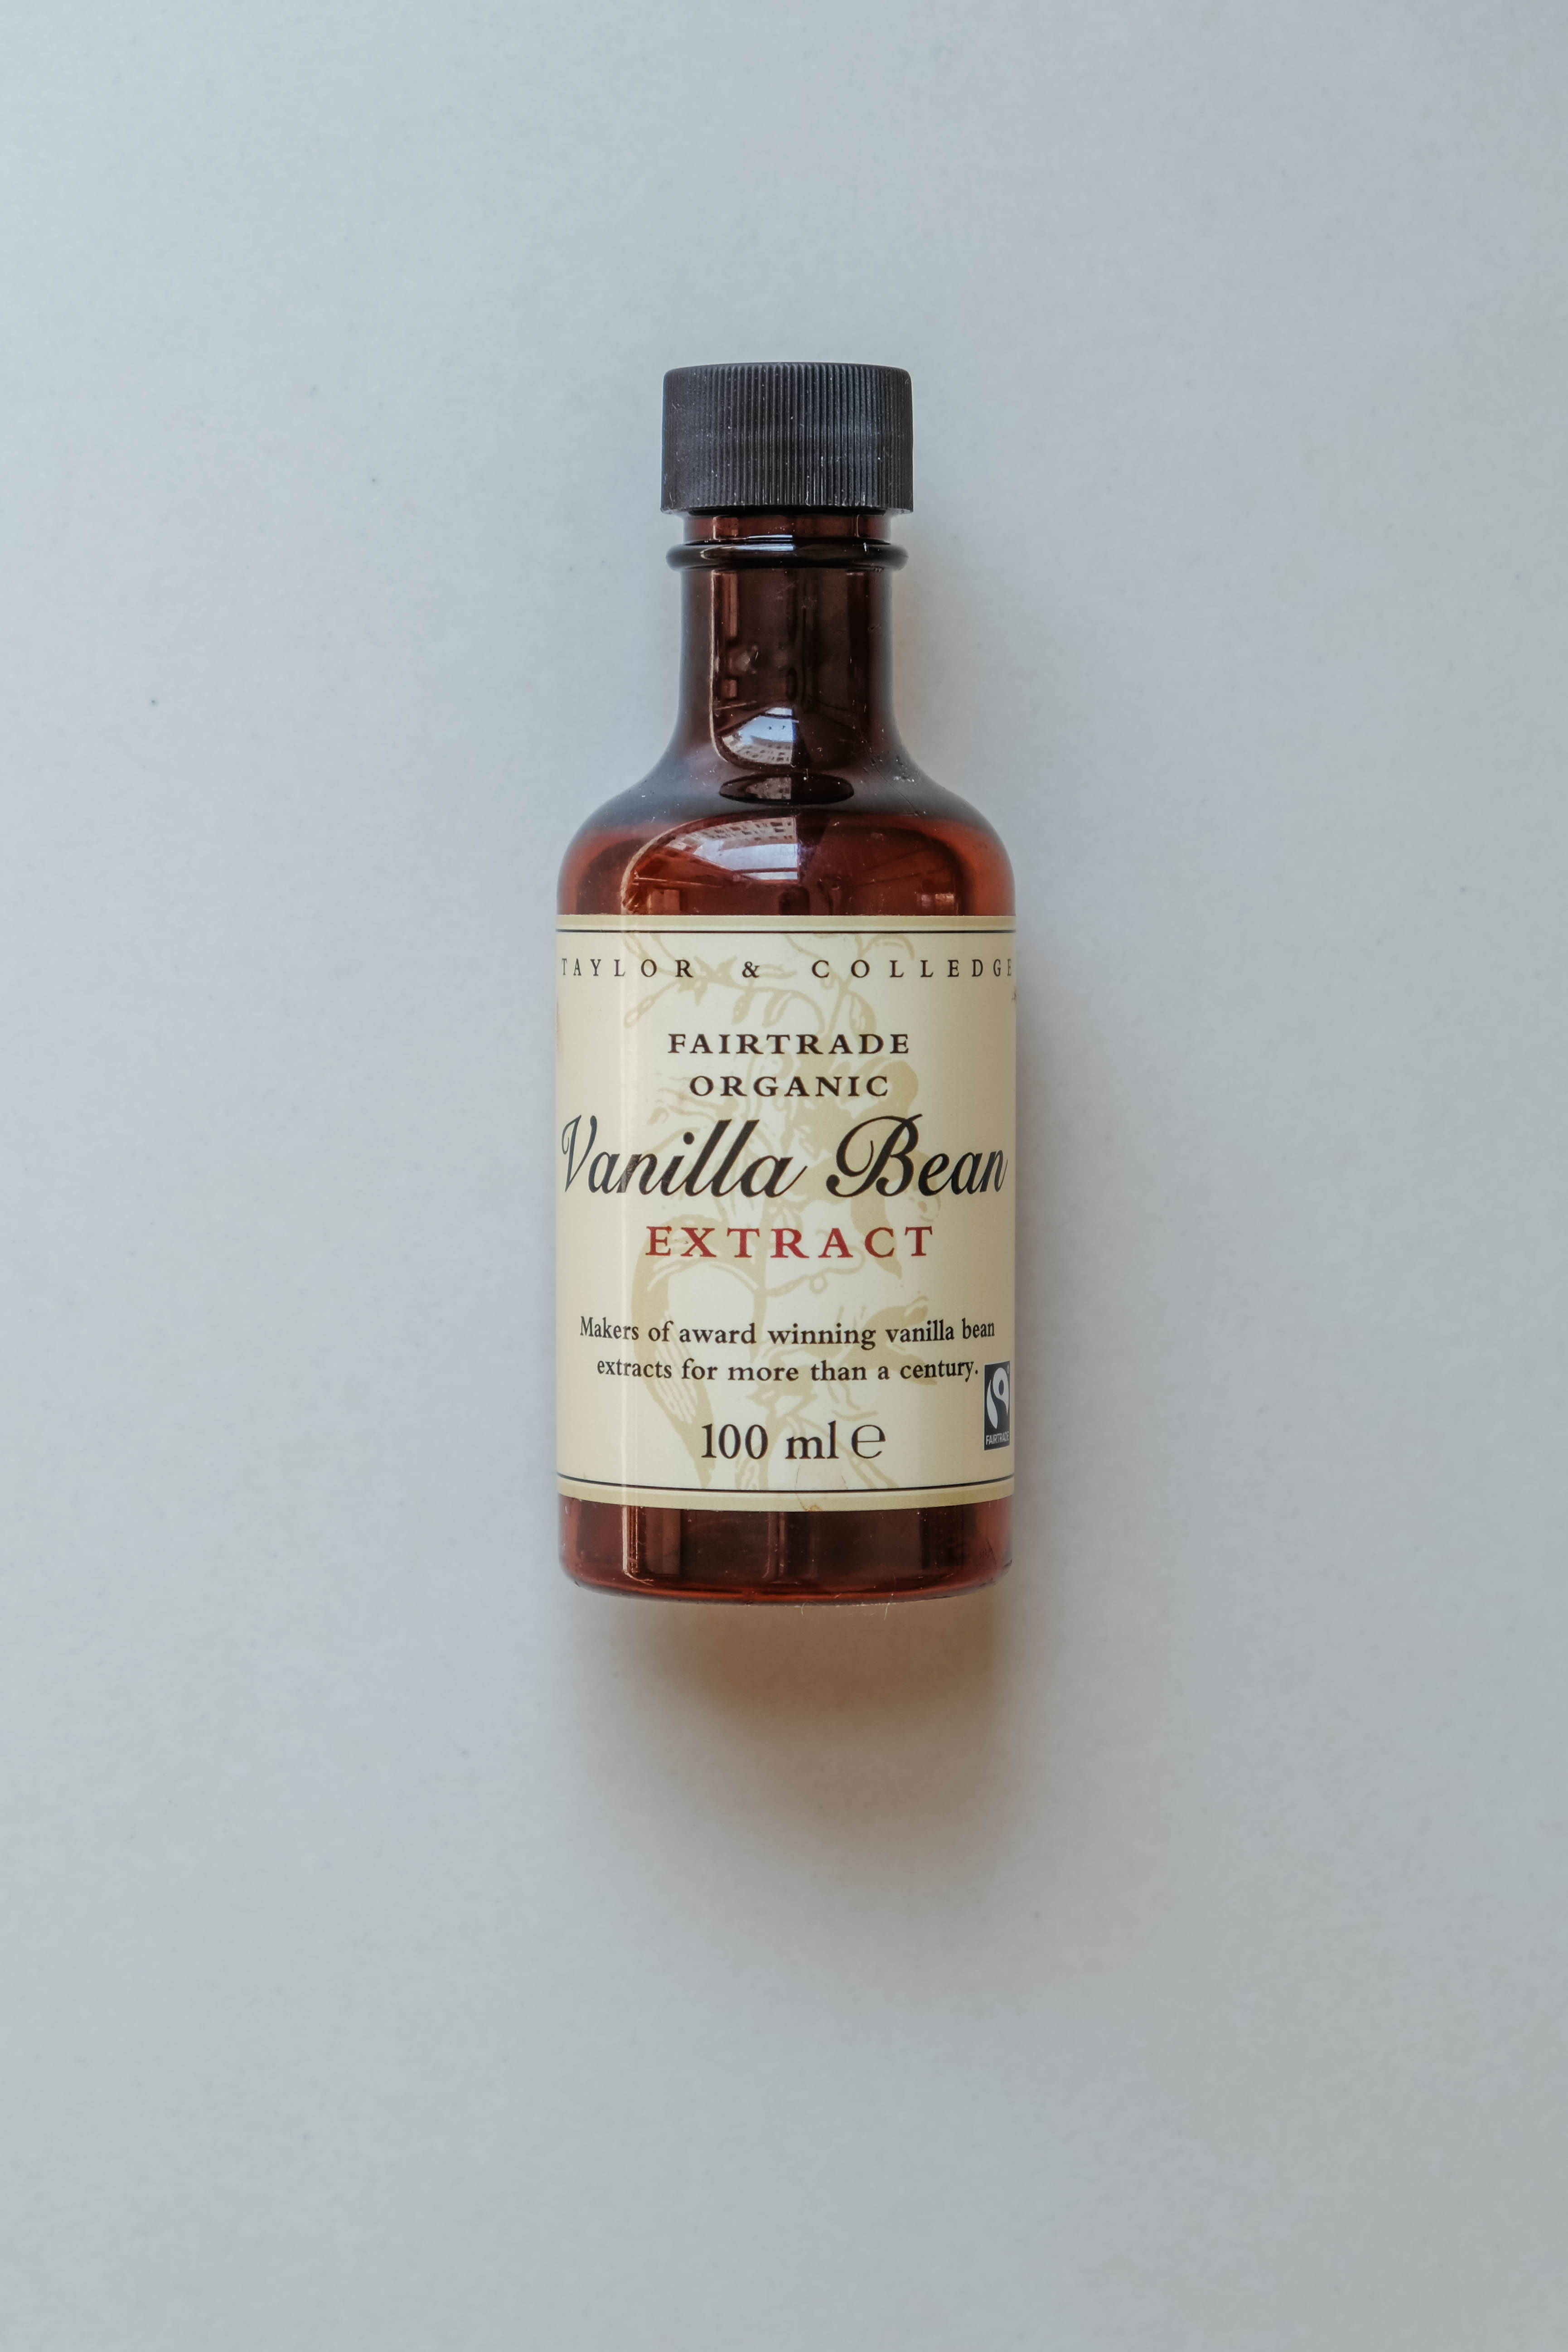
- ½ teaspoon bourbon vanilla extract
For the Coating:
- 150 g icing sugar sifted
- 25 g cornflour sifted
Instructions
- Grease a 20cm x 30cm deep rectangular baking tin lightly with the sunflower oil. Line with greaseproof paper and grease the paper too with a light coating of sunflower oil. The marshmallow mix is incredibly sticky, so greasing twice will allow a smooth release from the tin.
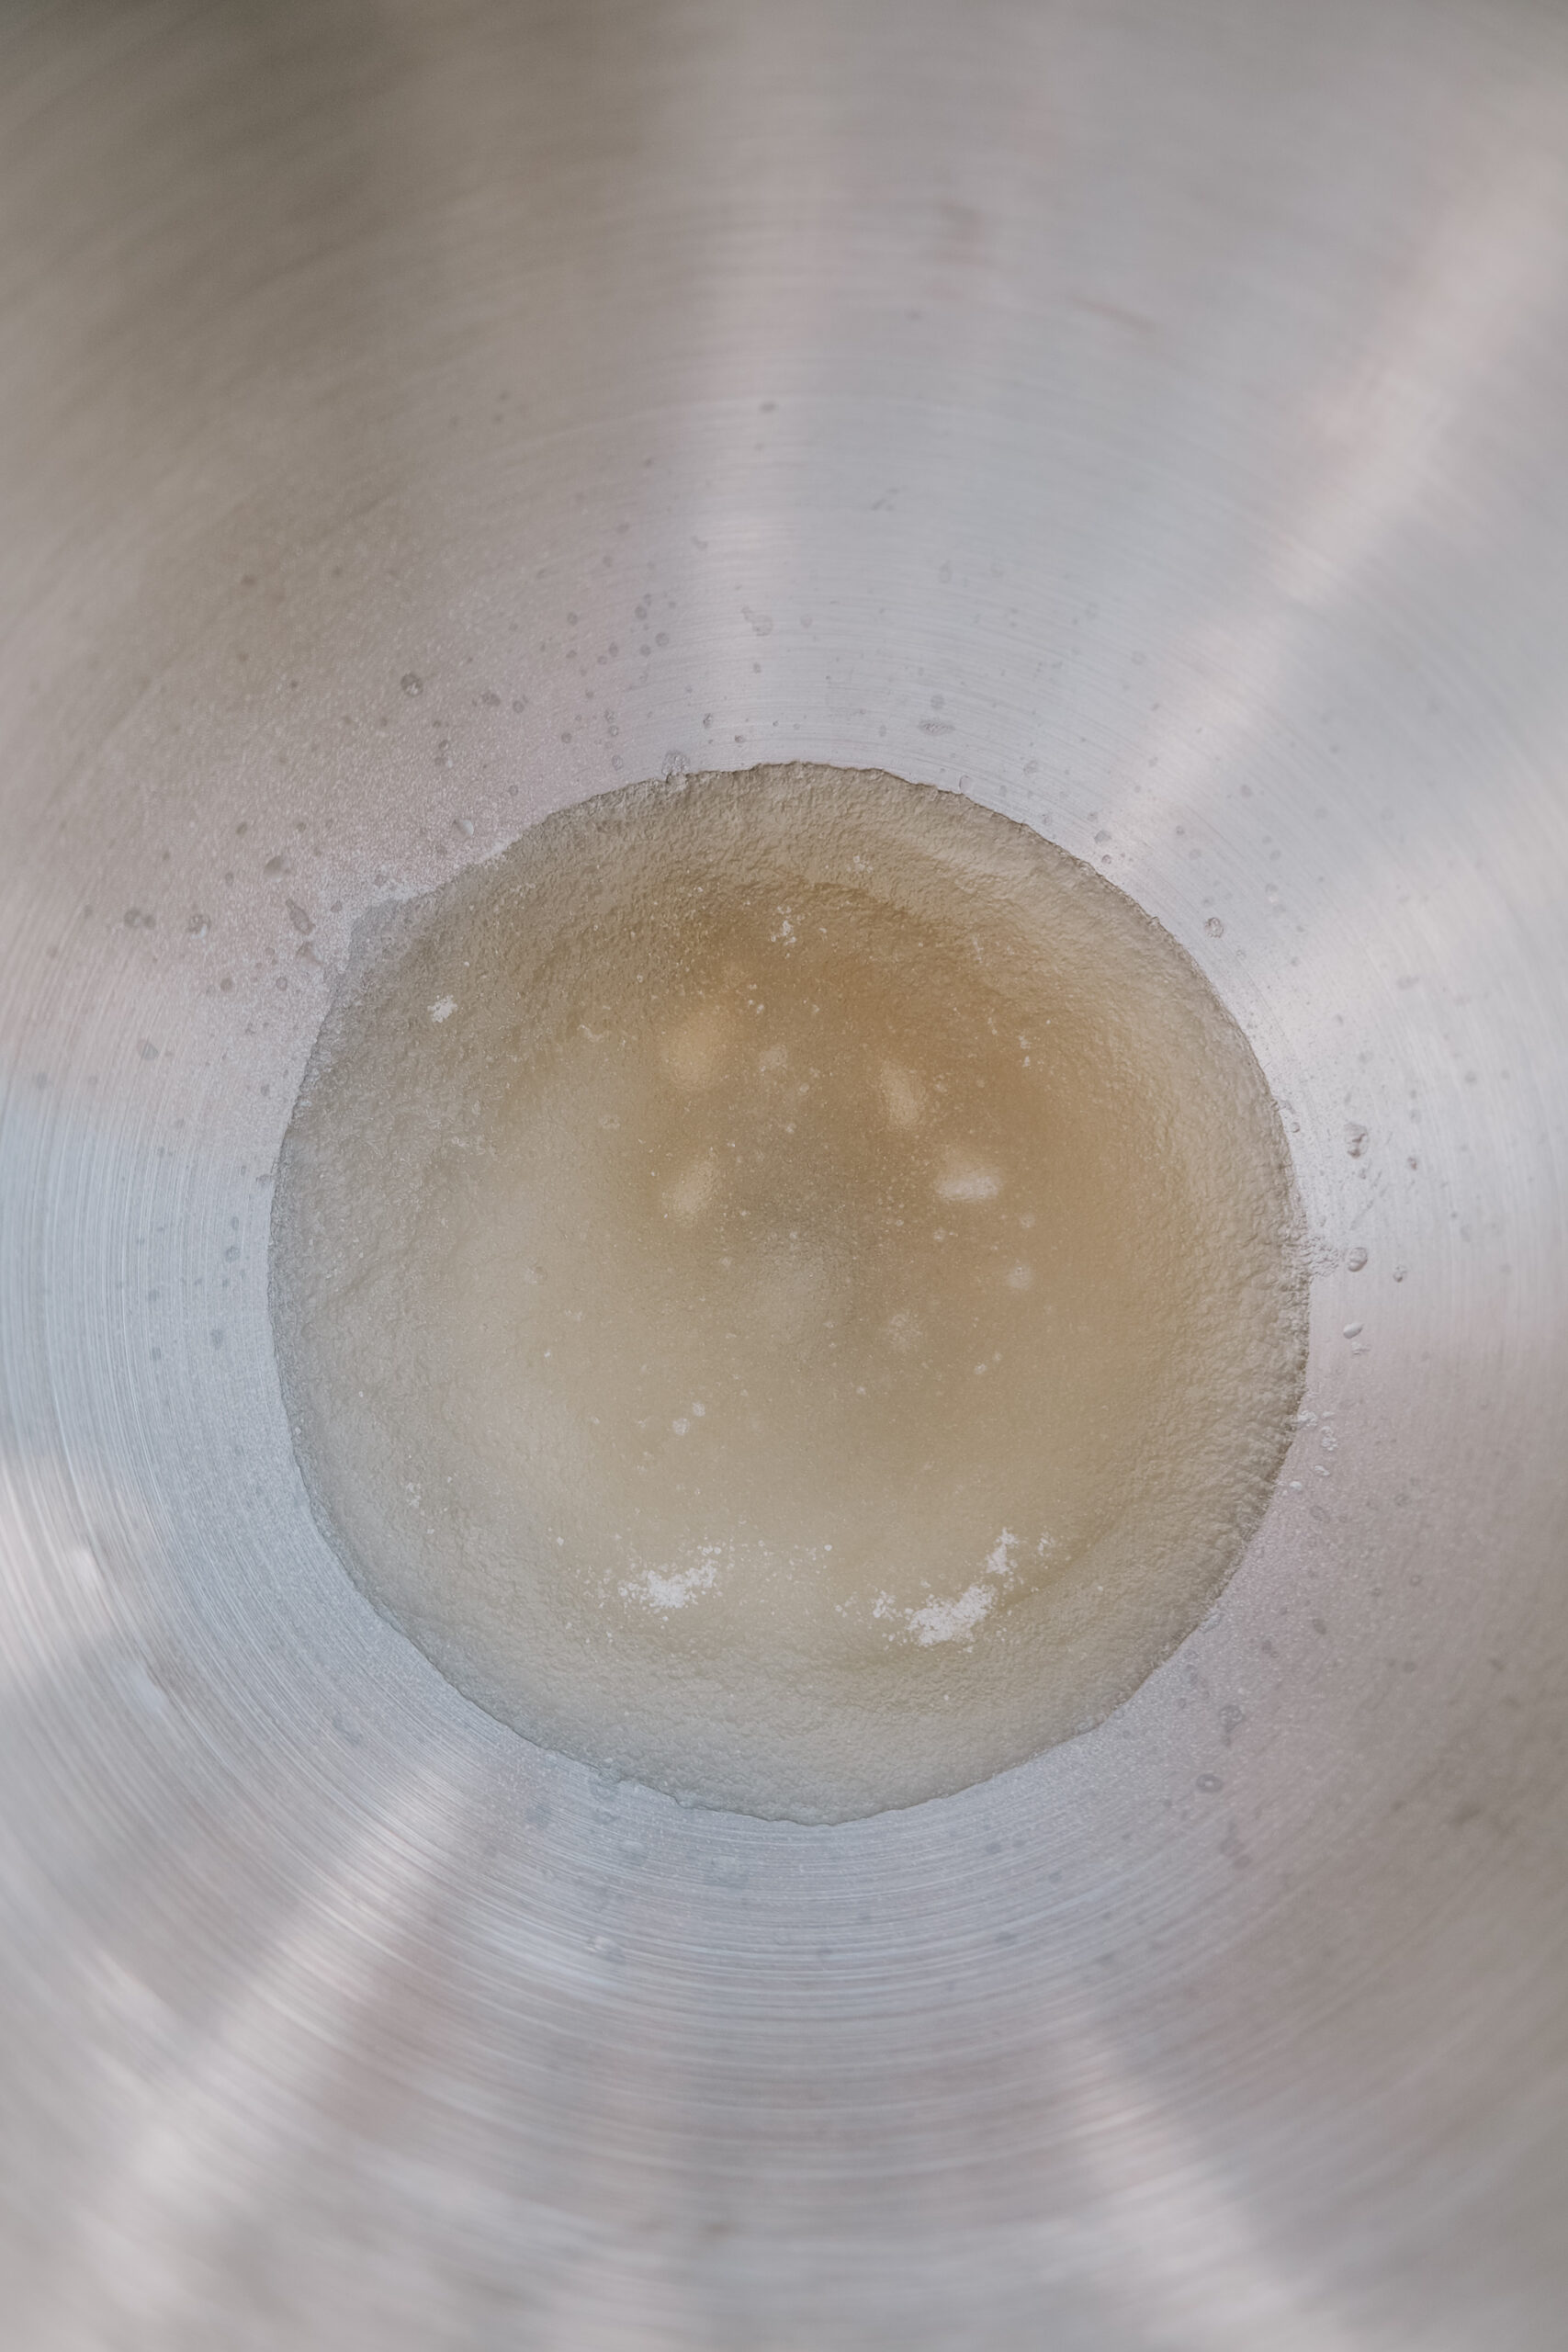
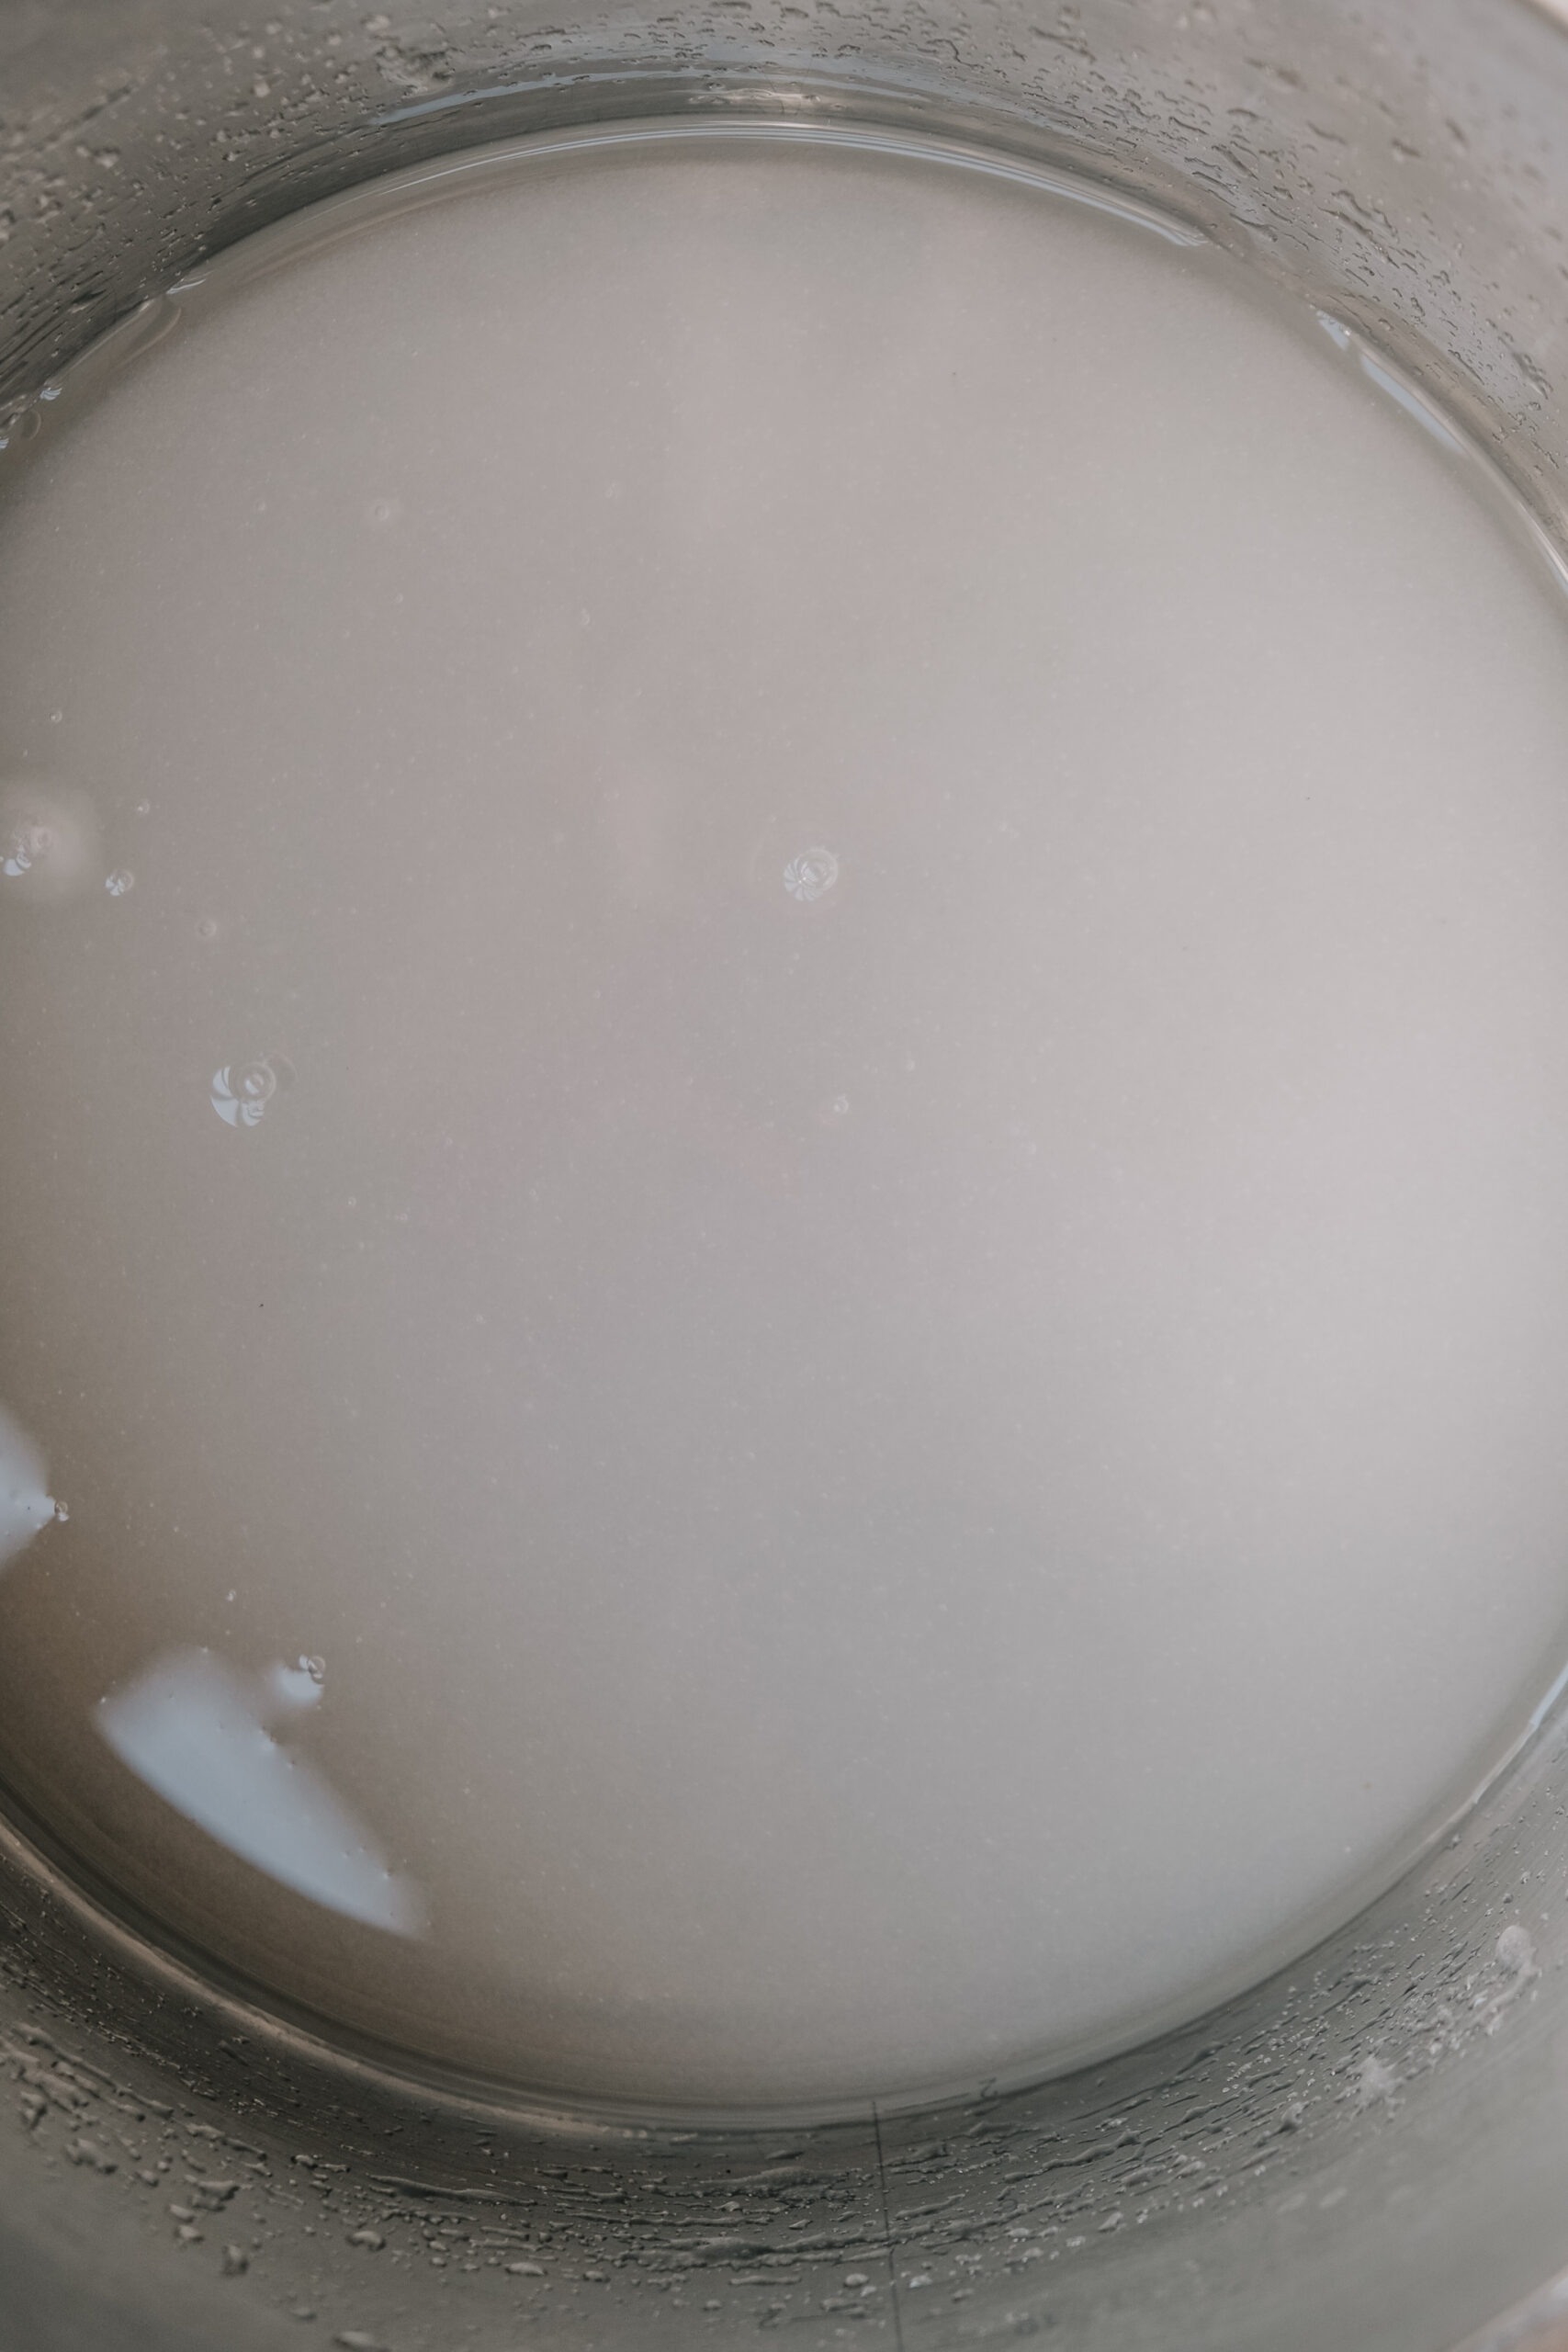
- Pour the warm water into the bowl of an electric mixer and sprinkle over the gelatine. Setting this aside, place the sugar, glucose, and extra water in a medium saucepan over a medium heat. Stir until the sugar has dissolved into the water and glucose.
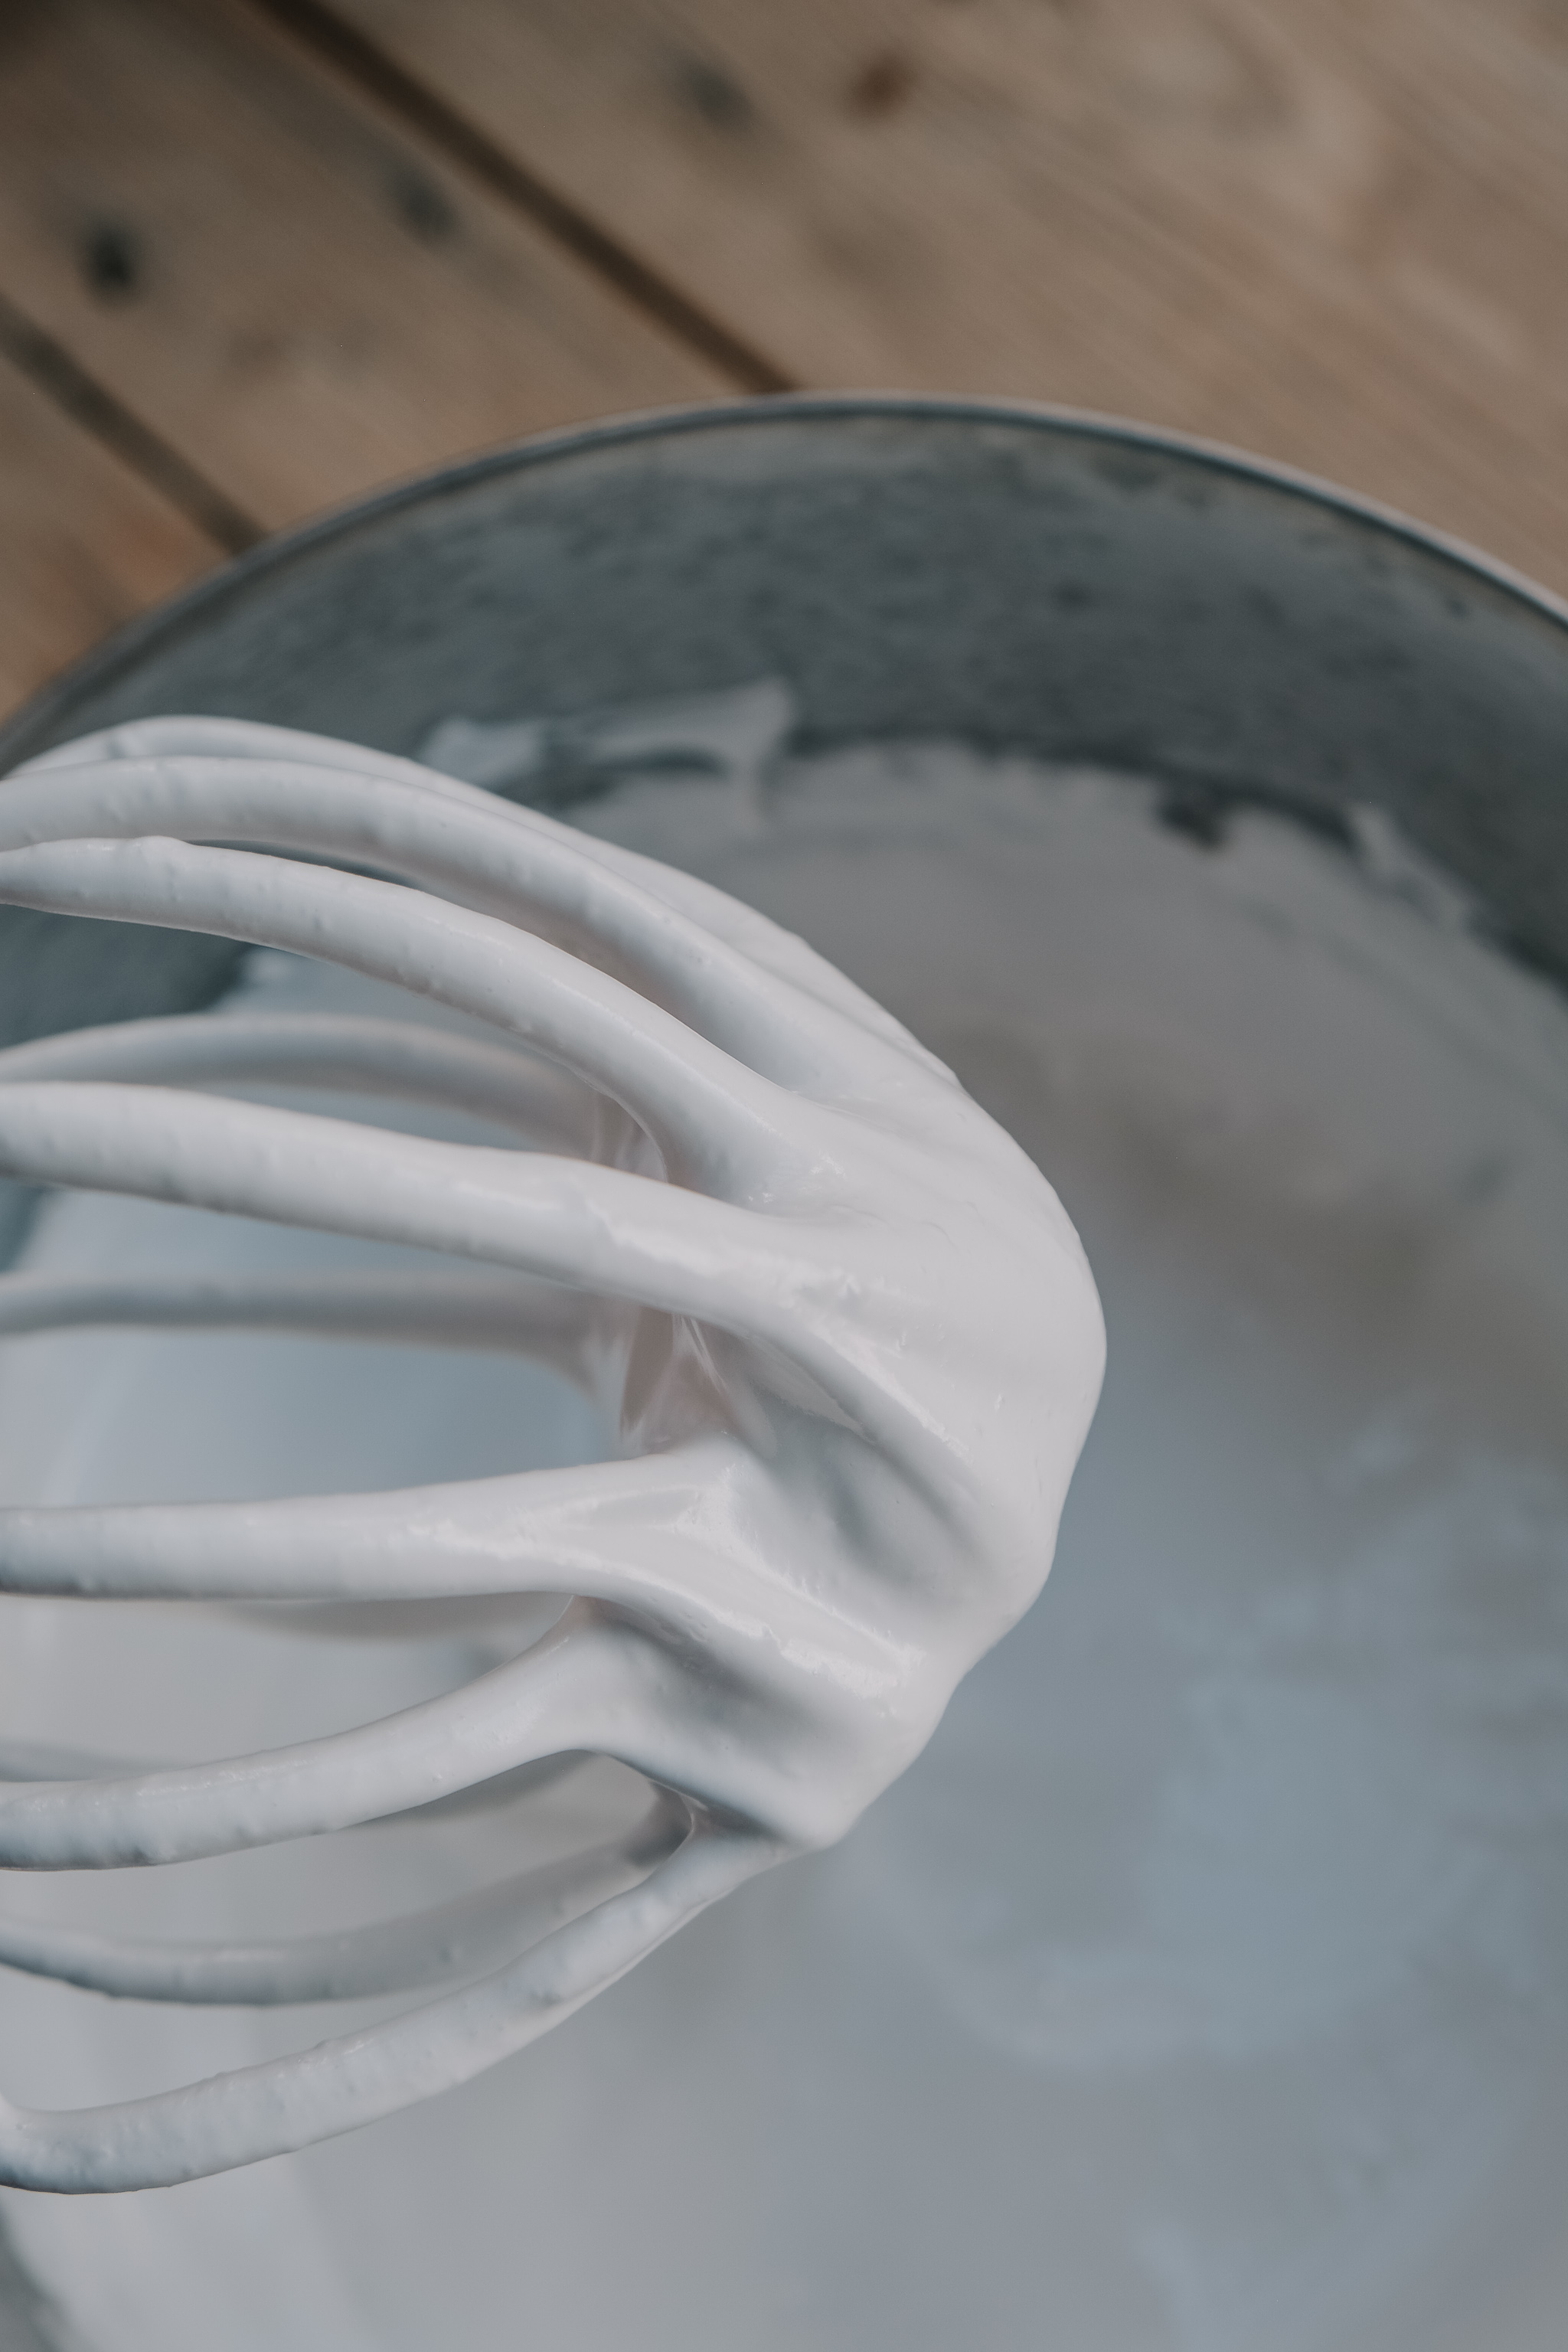
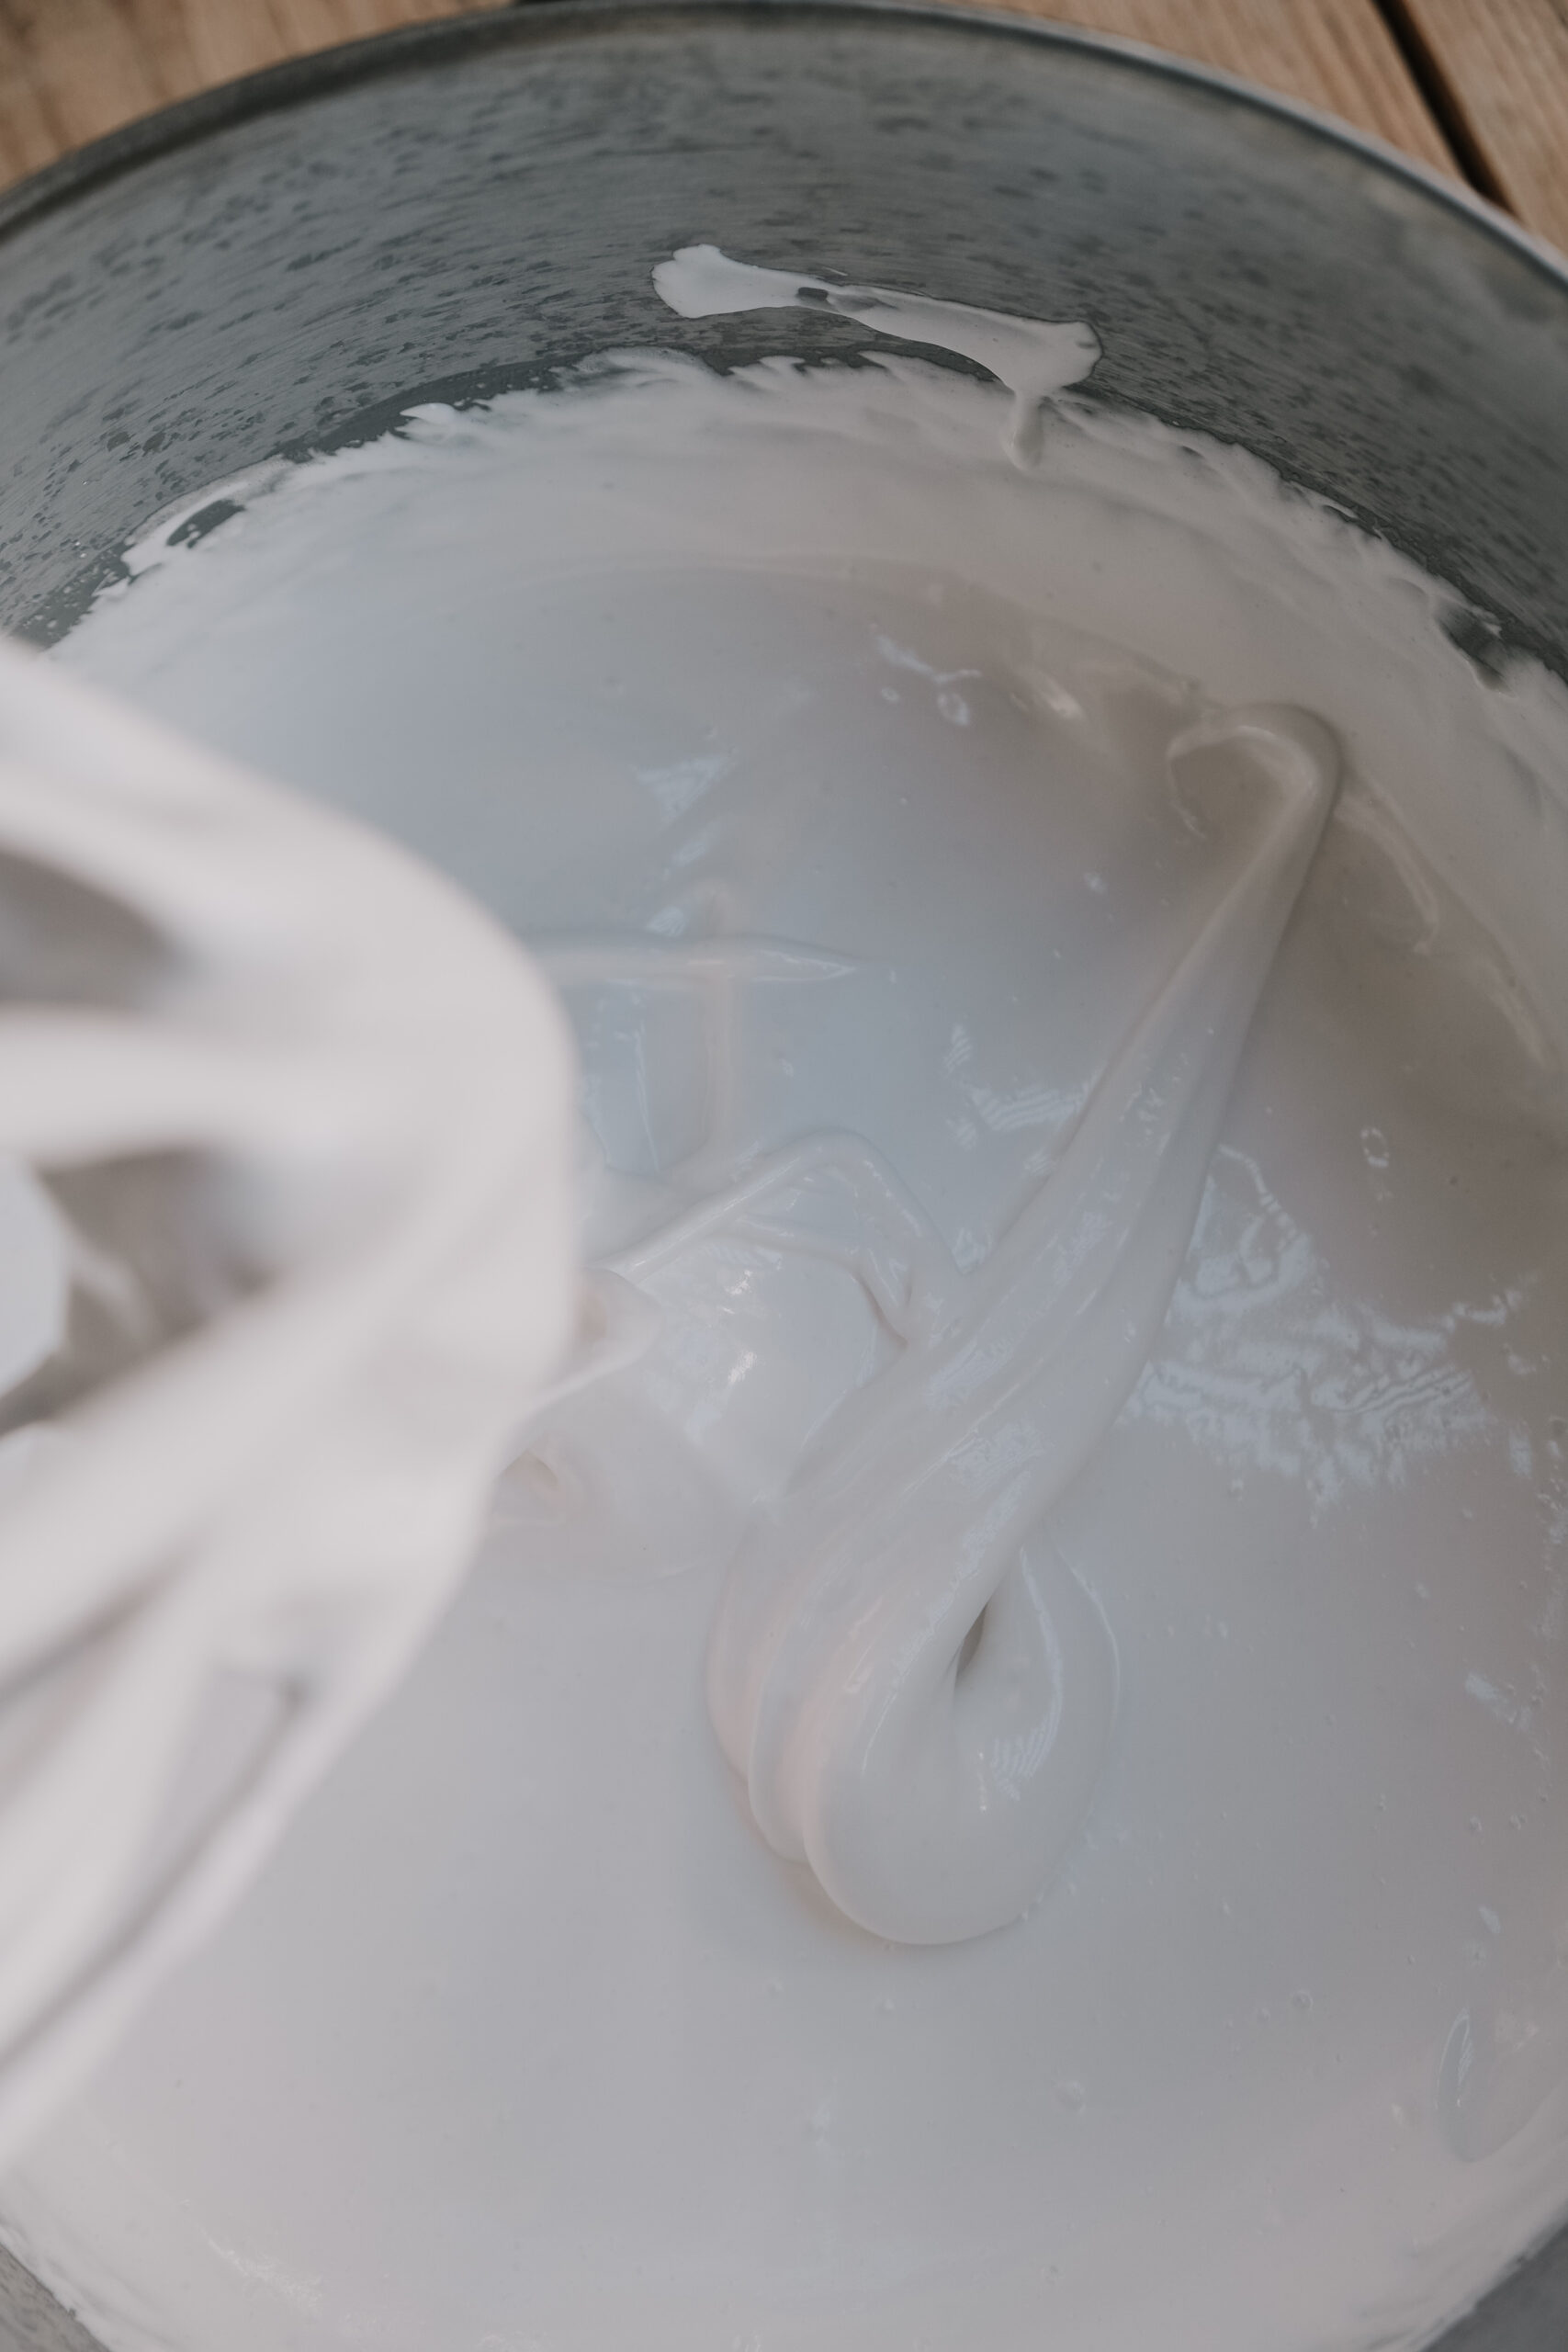
- Stop stirring and increase the heat only slightly to bring to the boil, reducing slightly again to a rolling simmer. Cook without stirring for 5-7 minutes or until a sugar thermometer inserted reads 115℃ (soft ball stage). With a stand mixer running on high speed, gradually pour in the hot sugar syrup in a thin, steady stream into the gelatine mixture. Add the vanilla extract and beat for 5-7 minutes or until very thick and fluffy.
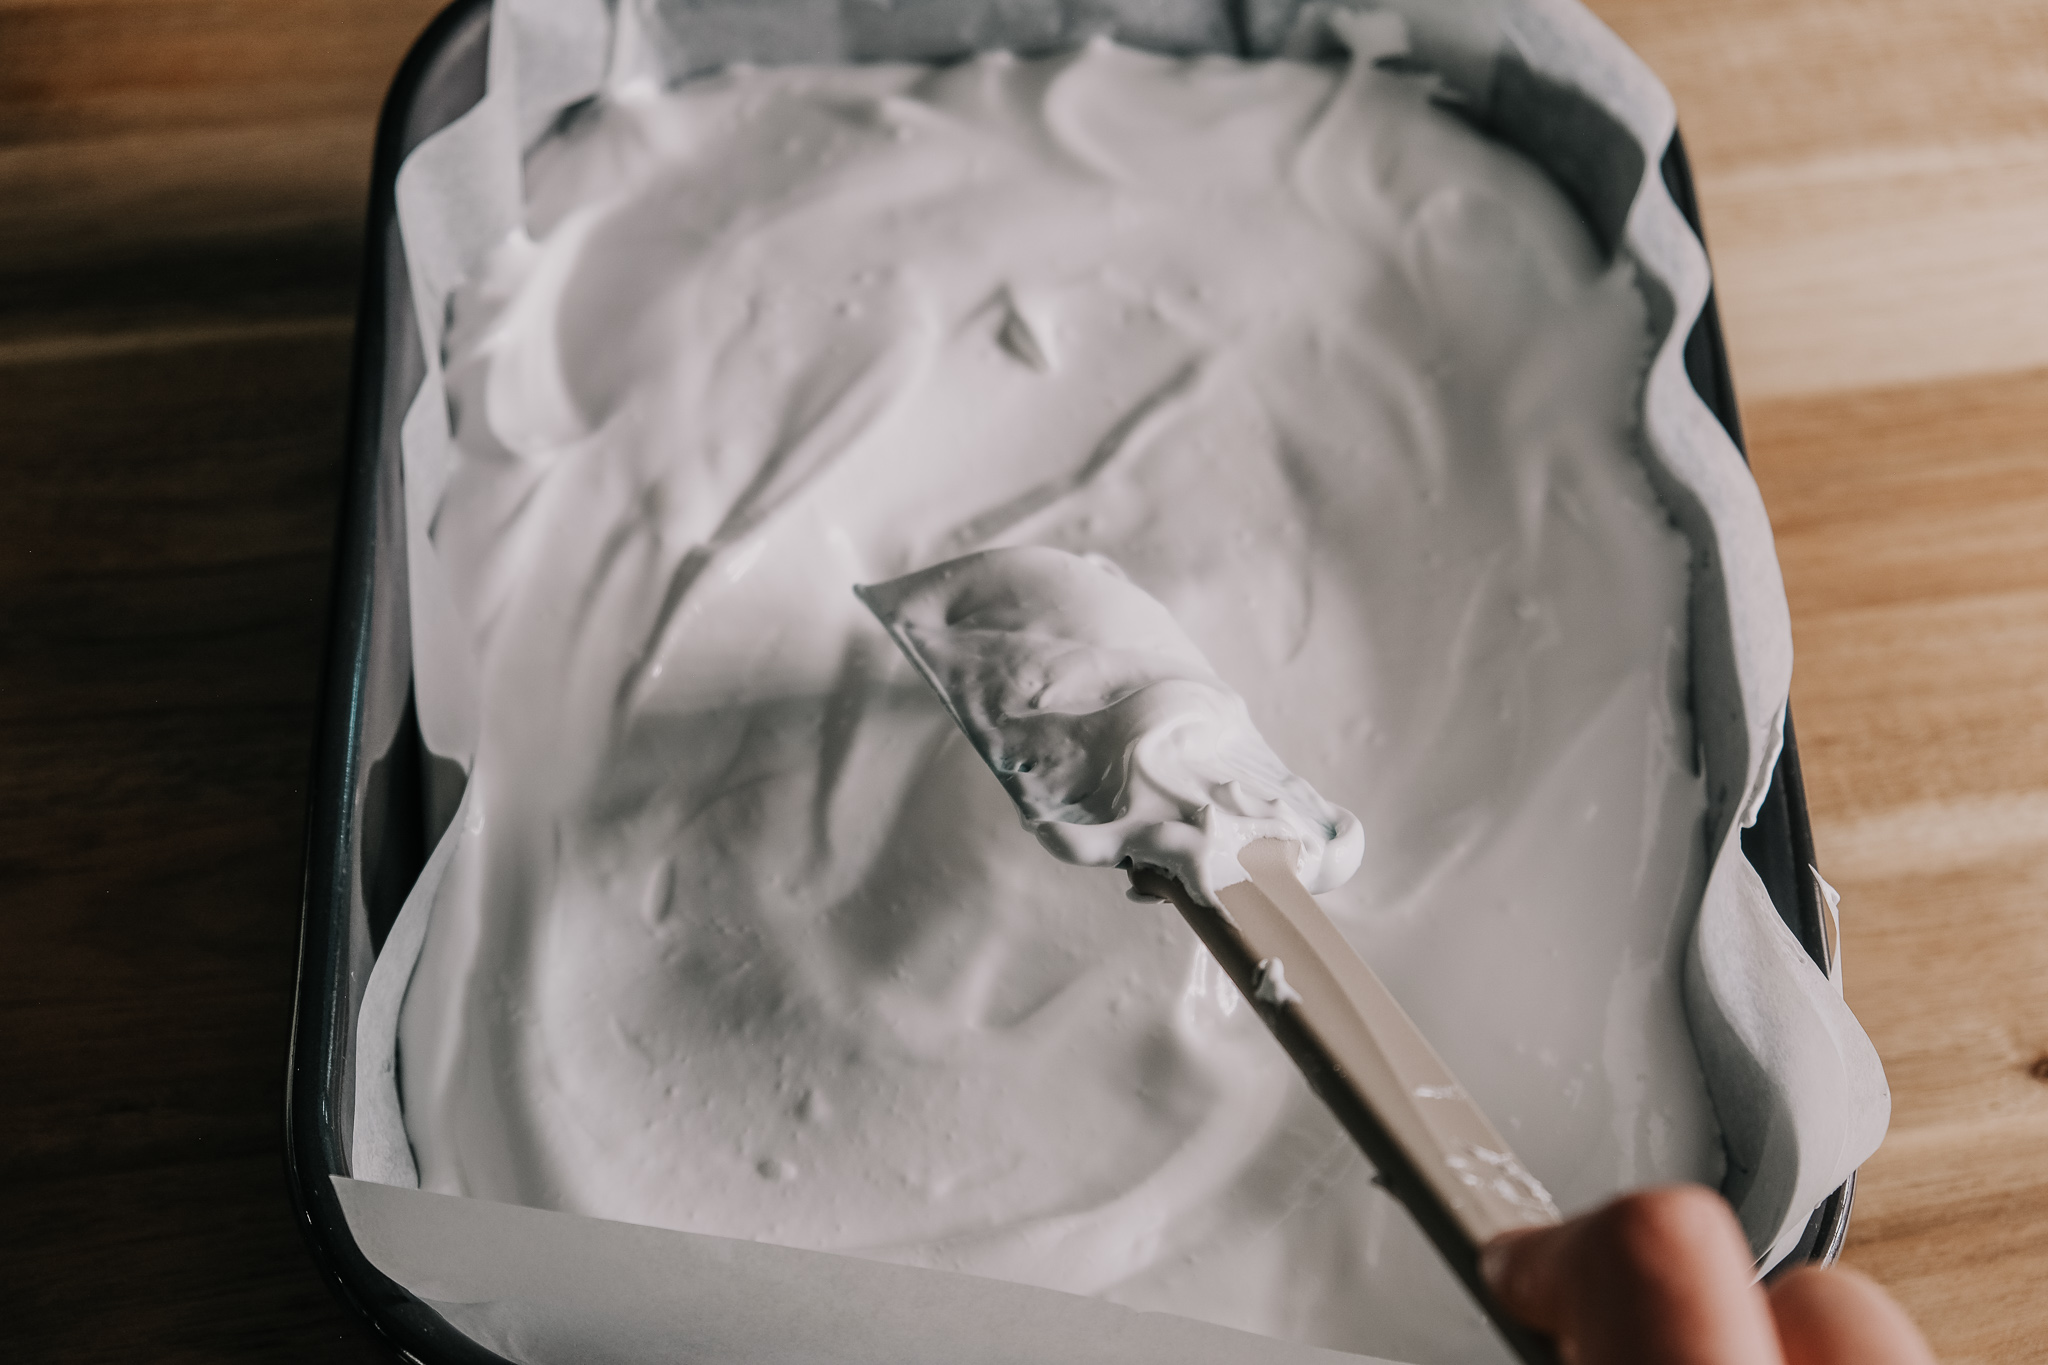
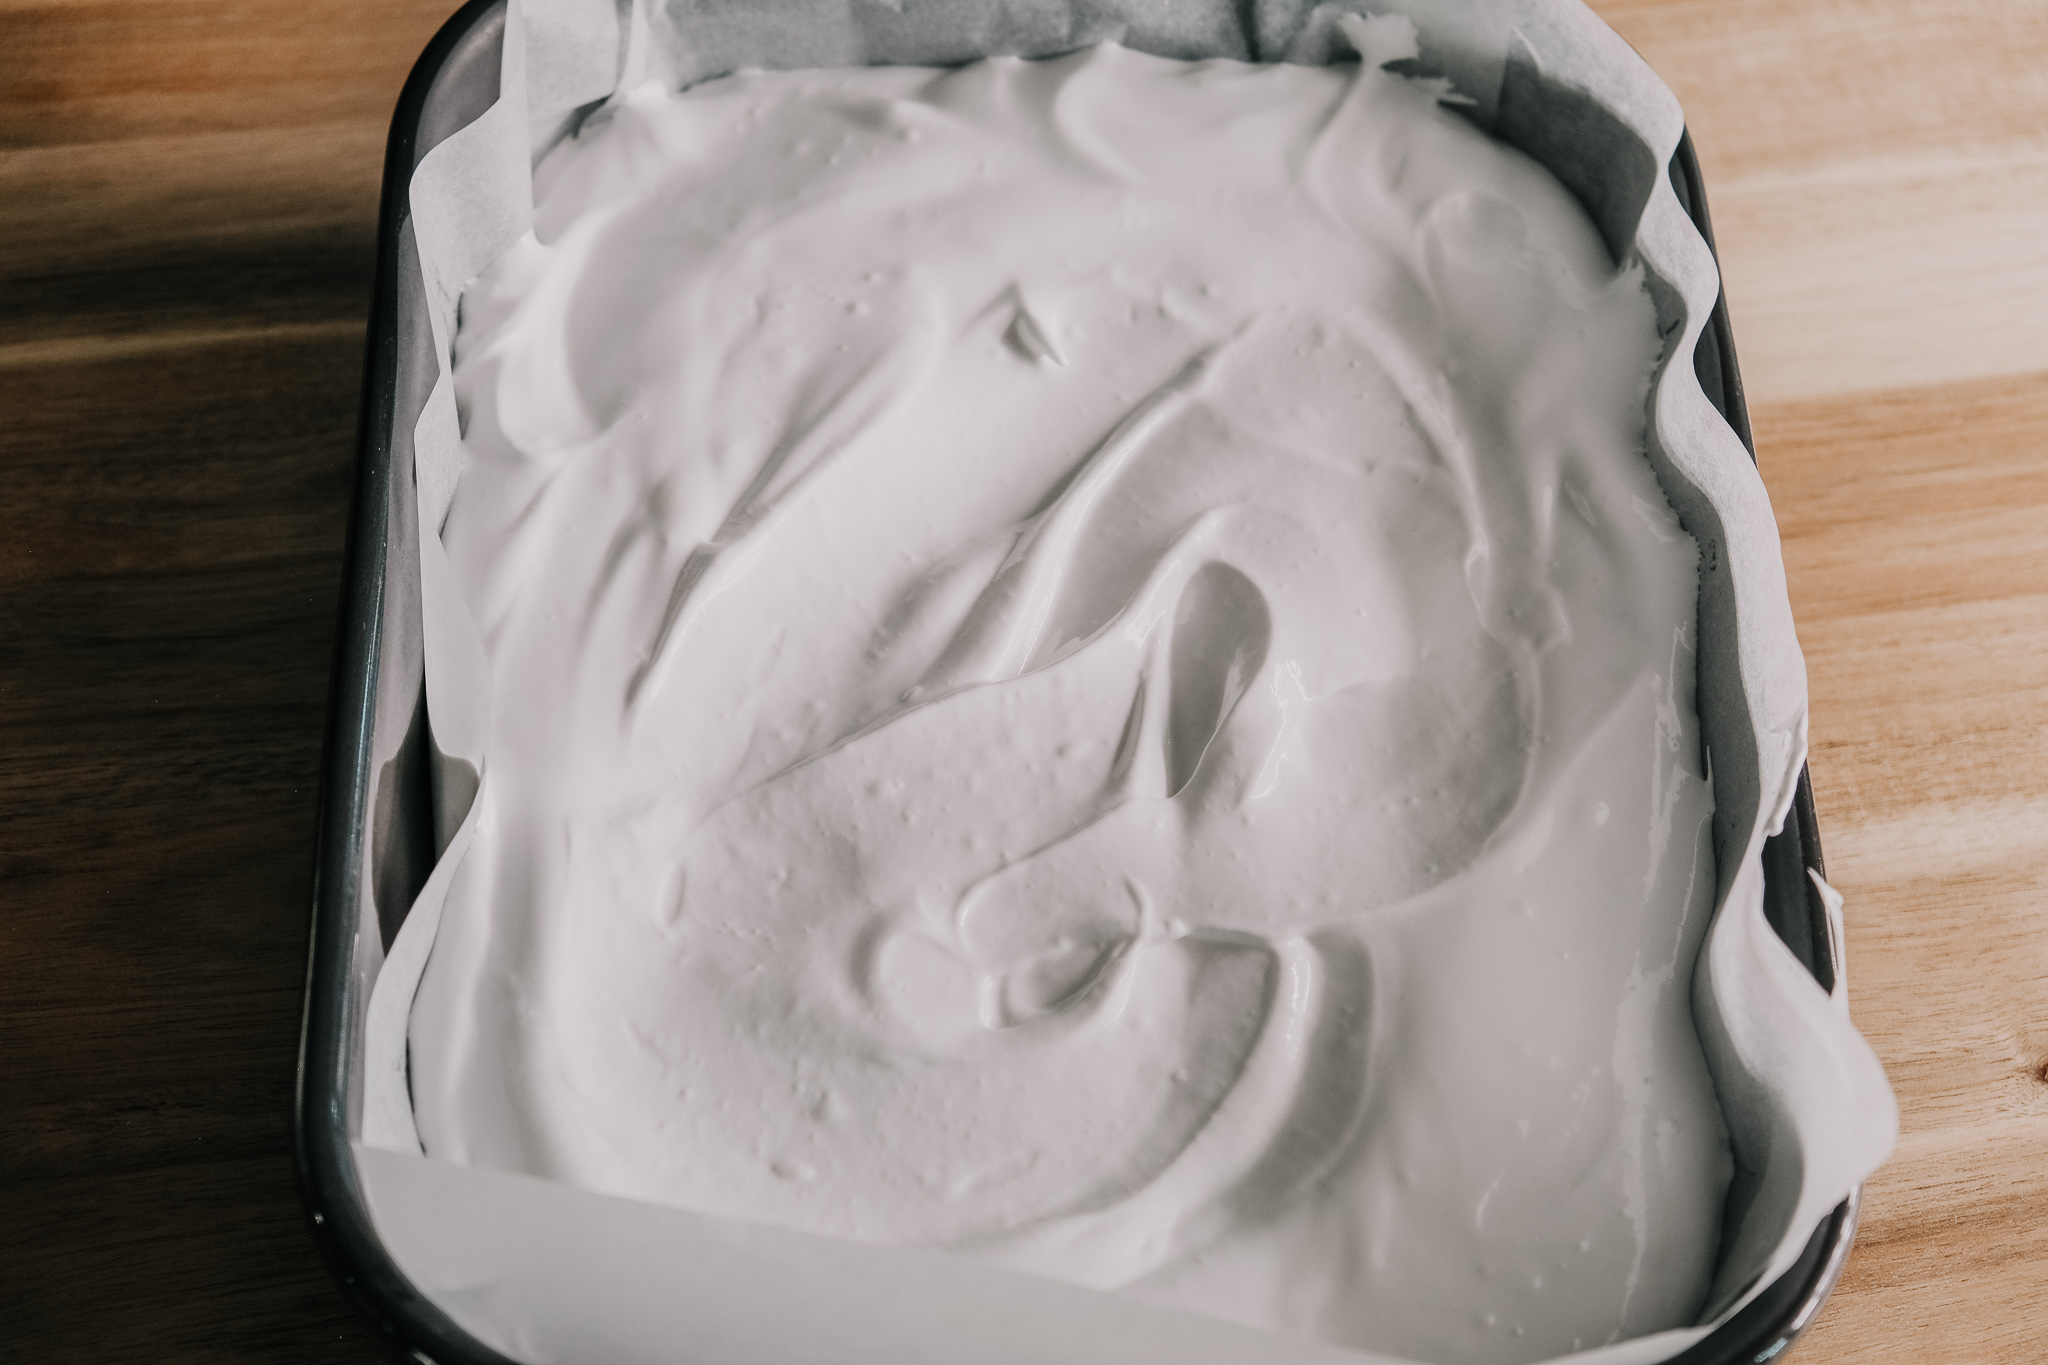
- Quickly spoon the mixture into the prepared tin and smooth the top with a spatula. Leave overnight at room temperature to set.
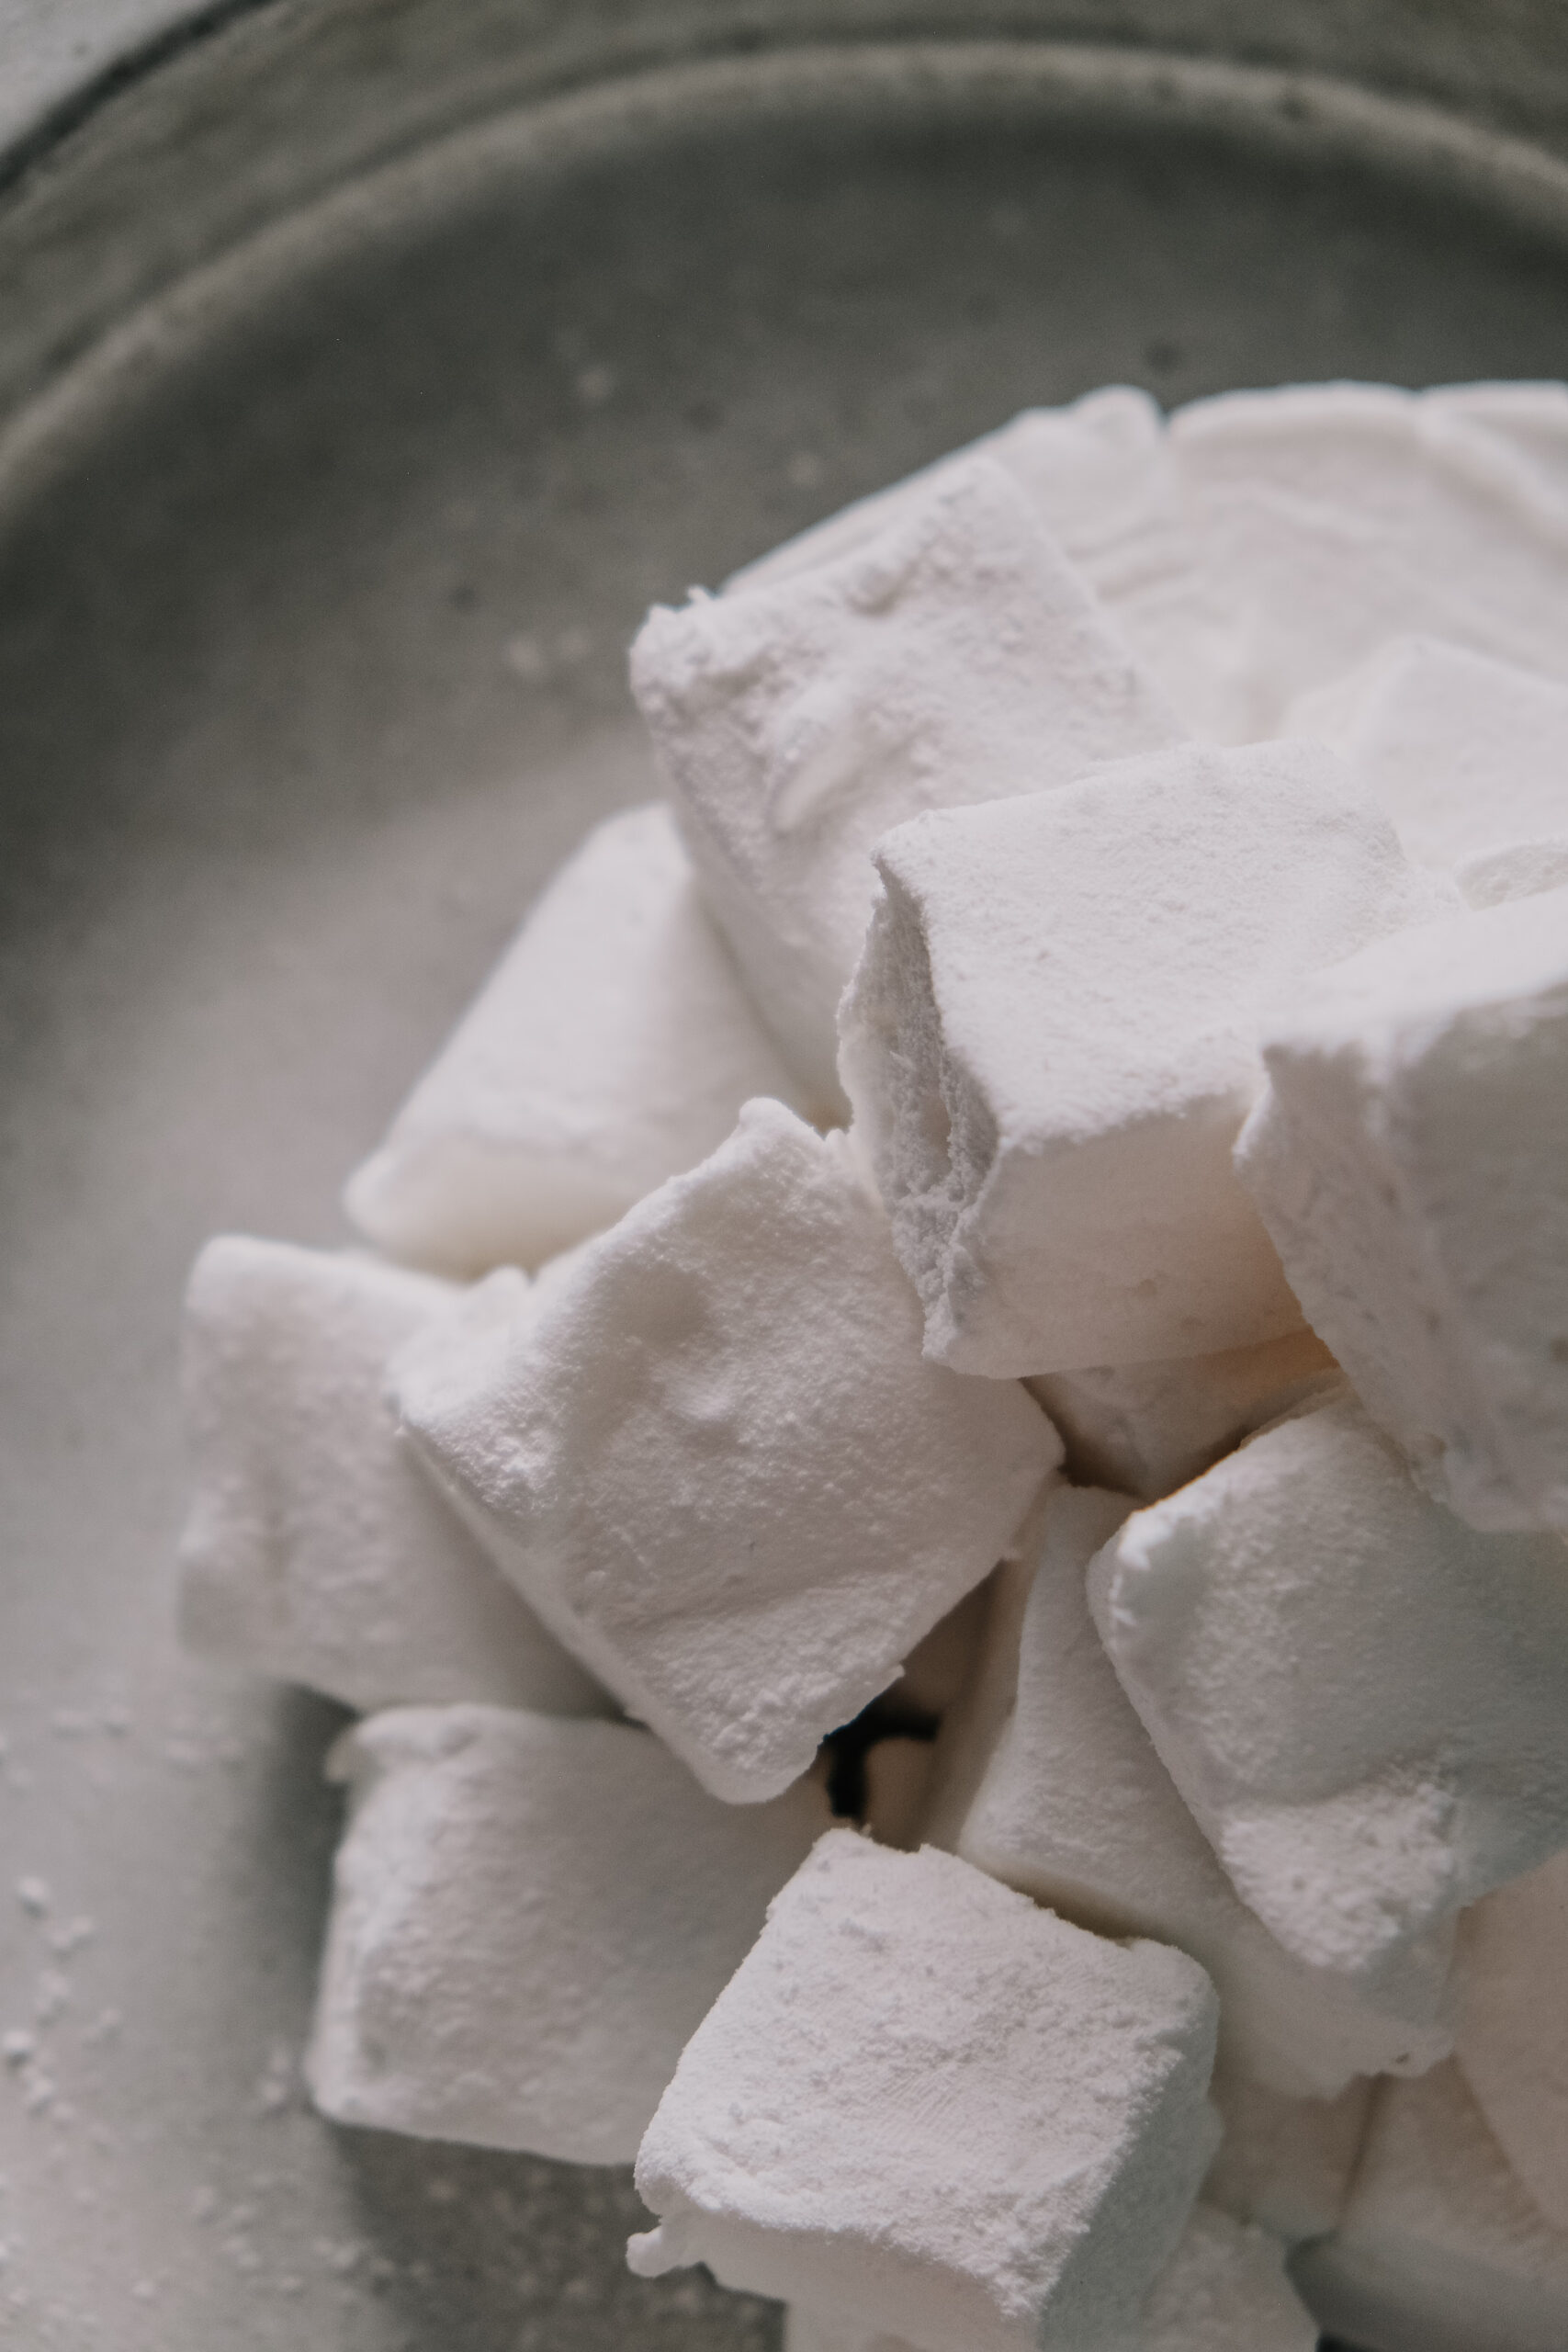
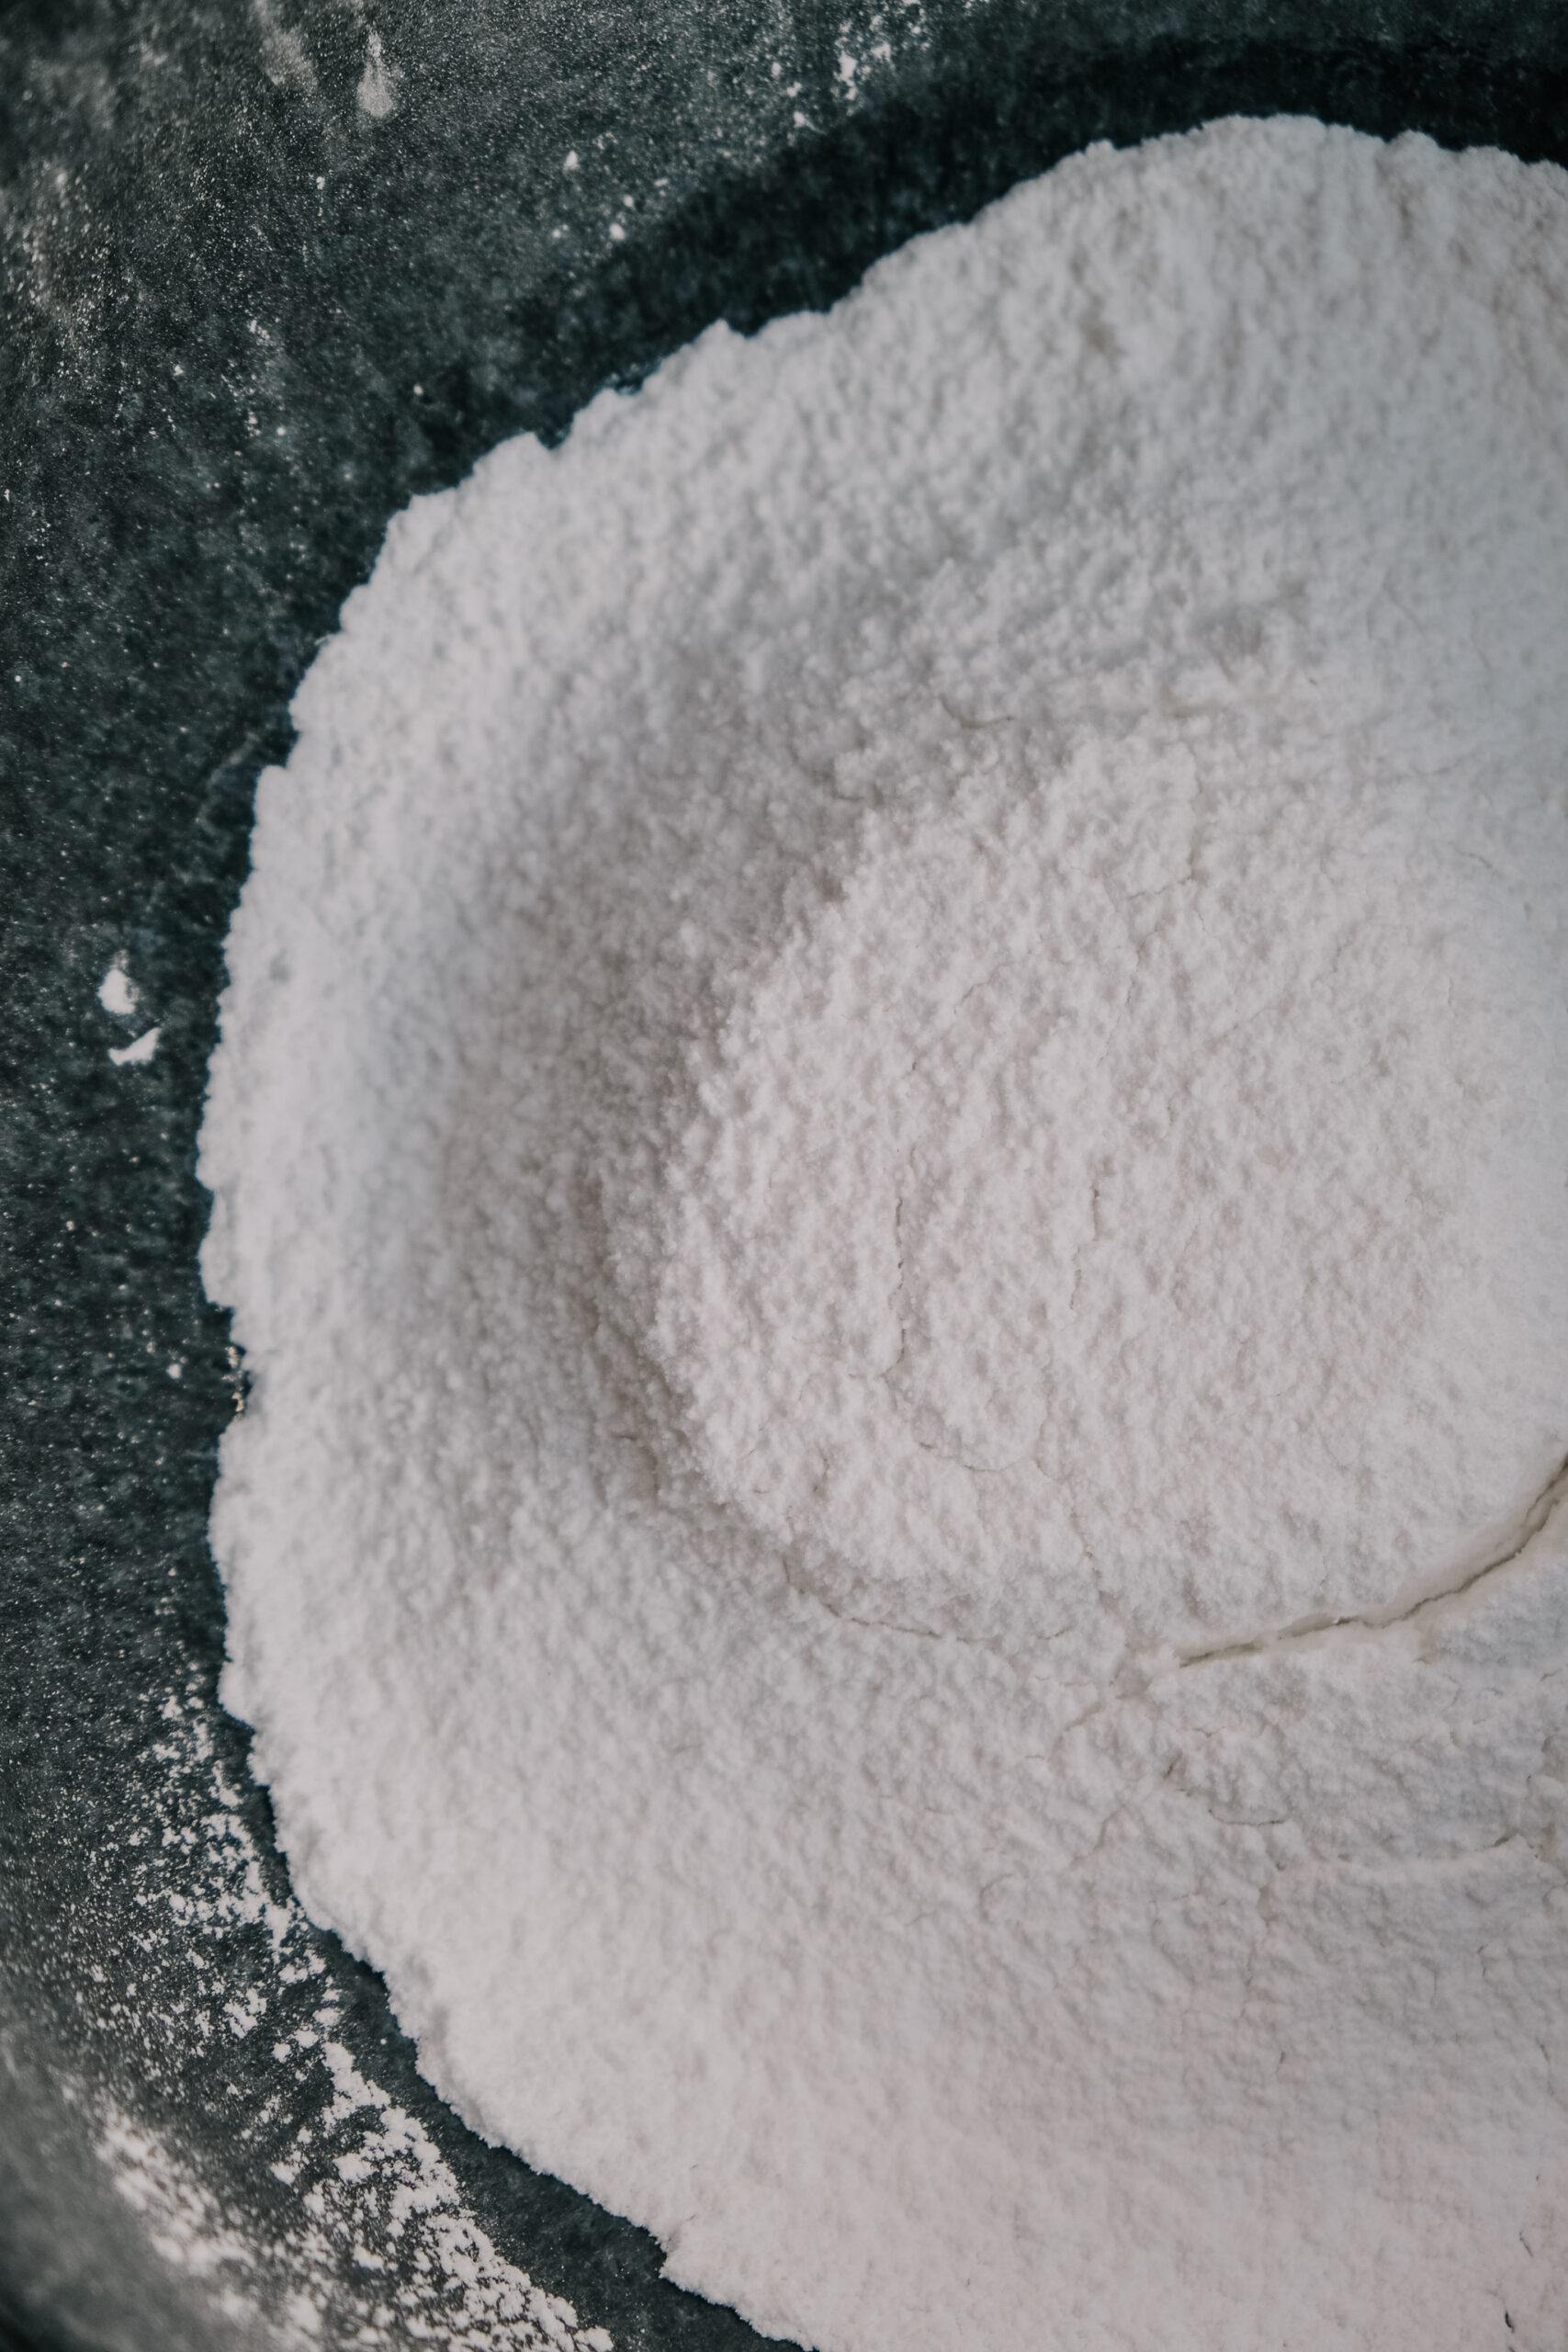
- For the coating, measure and sift the cornflour and icing sugar into a large bowl. Clear a large space on your worktop and sift a few spoonfuls of the mixture into a rectangular shape, slightly larger than the size of the baking tin.
- Gently turn out the marshmallow upside down onto a lightly dusted surface. Peel the baking paper away carefully and sift another dusting over the set marshmallow.
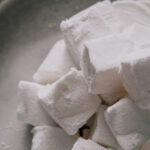
- Coat a knife or a pizza cutter in the mixture and cut into equal squares. You might need to dip the cutter back into the mixture a few more times after it picks up a sticky marshmallow coating.
- Coat the marshmallows in the mixture and transfer into an airtight container or into cellophane bags for gifts.
Notes
I always love hearing from readers, so if you have any questions or would simply like to connect, fill out the form on my contact page or message me through my social media accounts:
Check out the process on video here:
One Comment